Are you ready to “fall back” and change your clock on Sunday, November 1st? One of the nice things (oh, there are so many!) is that this event happens on a Sunday. The extra hour might just be what we need to give us that awesome boost not to be late to church, anymore. We love the end of Daylight Savings Time so much that we decided to make a mini celebration–or, a big deal–out of it. Besides, we’re in the process of teaching our toddler how to tell time, and we hope that this simple-ish party will help us get the message across.
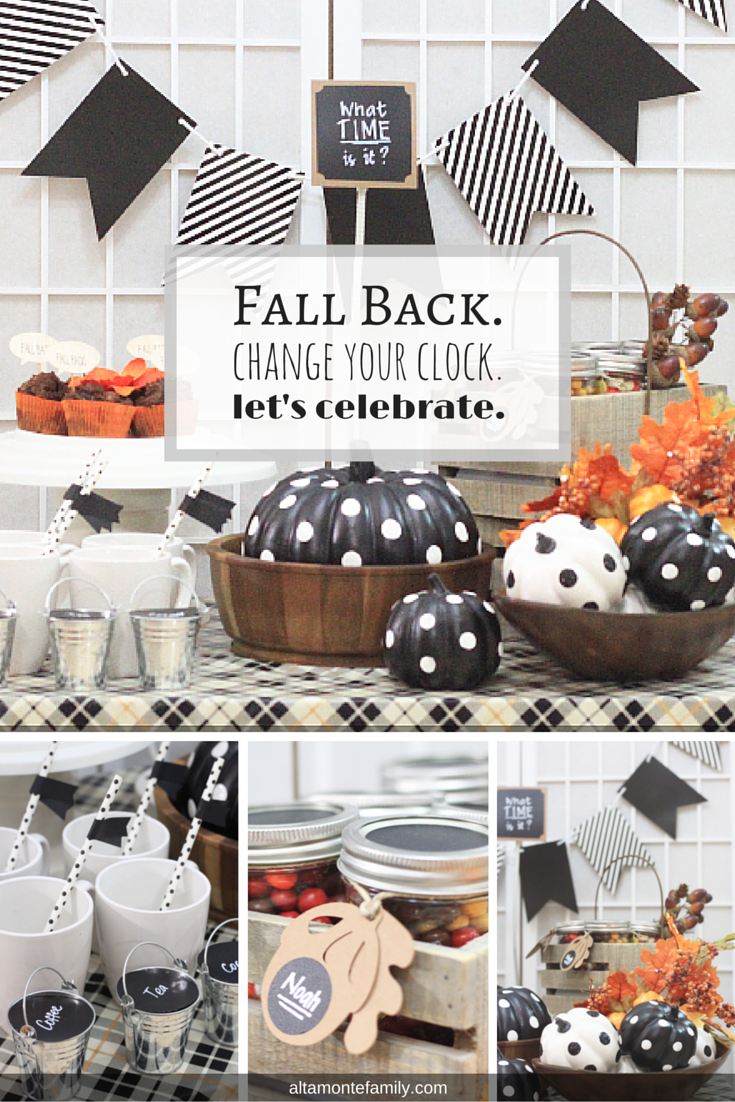
Our Fall-Back Time Change Party Table
A “Fall-Back” table? What’s that? A table to fall back on, when your main fall table setting doesn’t quite work out? Hmmm… that could possibly work. How about we go with “Fall-Back”, as in change-your-clock “Fall-Back”. Now that we’ve established what we mean by a Fall-Back table, let’s talk about how we decorated it! We think it’s more of a laid-back table than a Fall-Back table 😉
The Theme
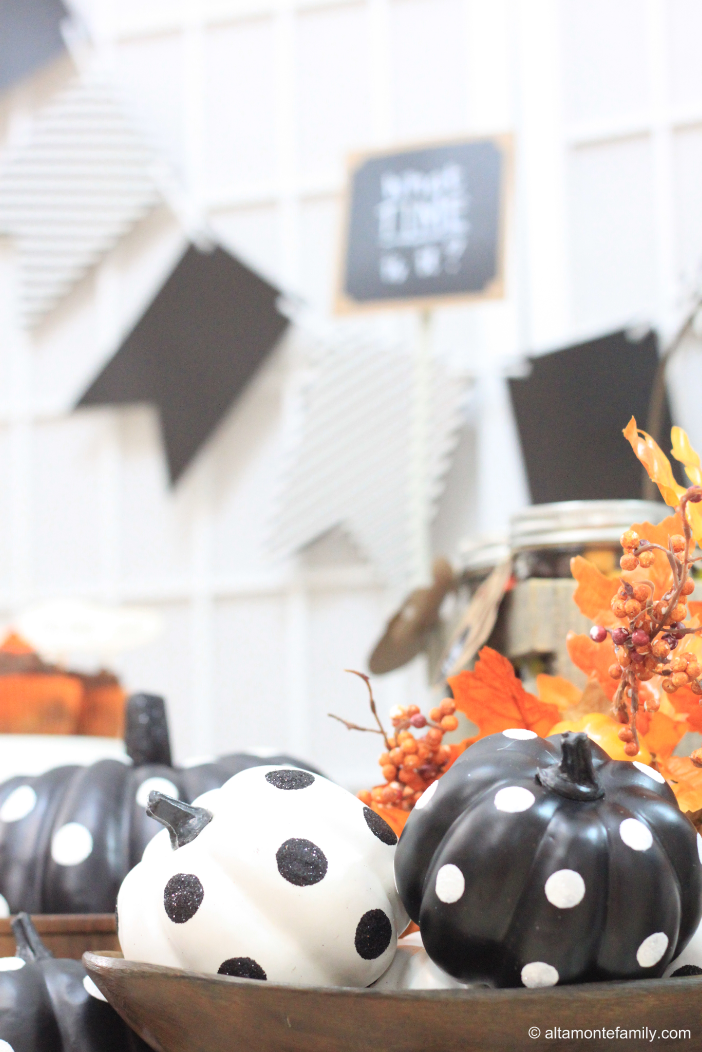
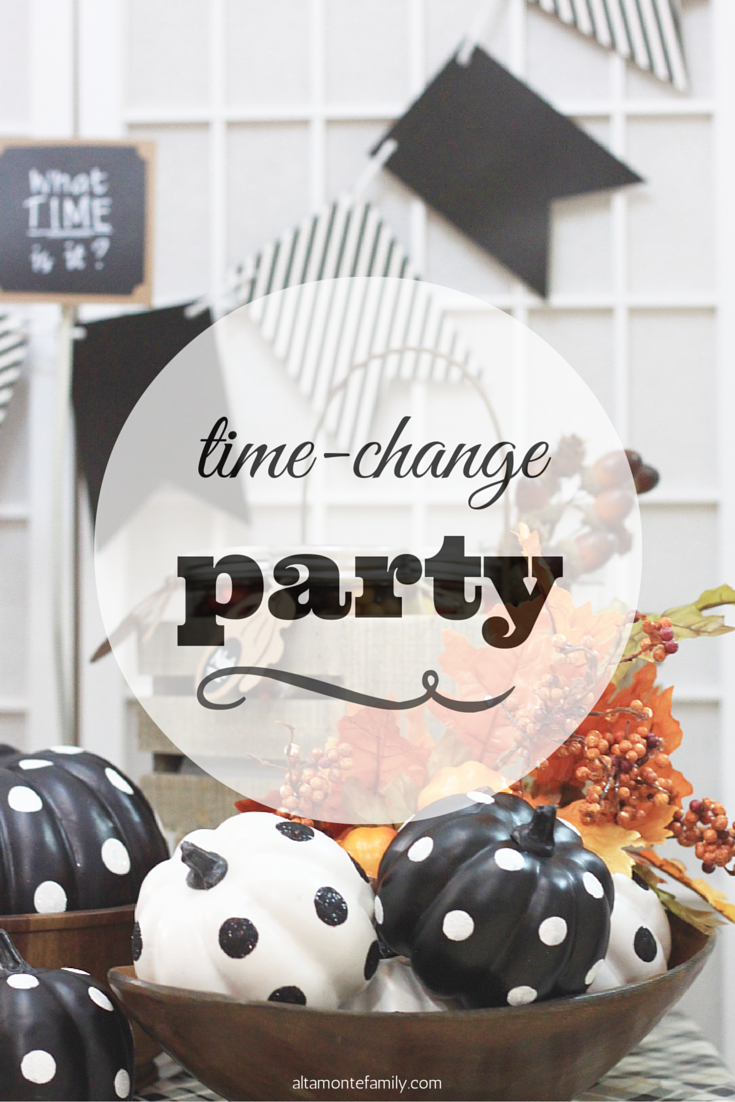
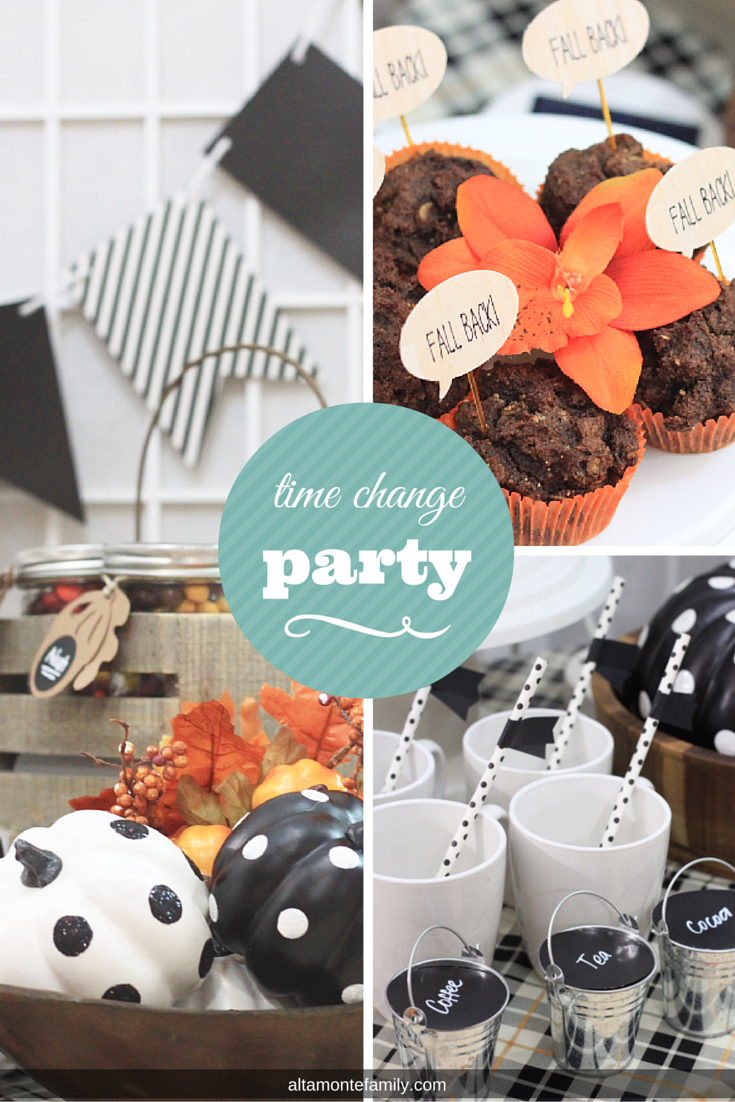
Since we have young children, glass and anything super fancy schmancy is out of the picture. We chose a modern, black-and-white theme–at least, that’s what we decided immediately upon finding these super cute black-and-white polka-dot faux pumpkins in different sizes! The abundance of complementary black-and-white party supplies and decor at most stores makes party planning less stressful for the busy parent.
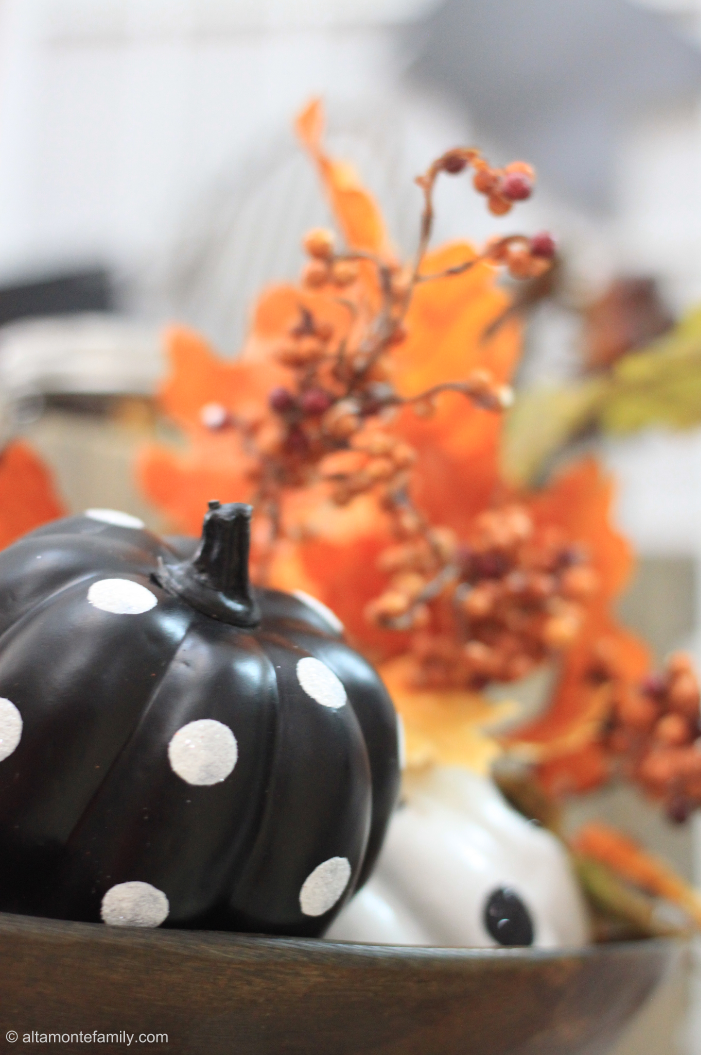
The Decor
We added a touch of burnt orange and red to add that nice contrast and pop of color against our black-and-white faux pumpkins! You can find these fall leaves in the Floral Department at most craft stores. They’re so orange, they’re so difficult to miss 😉
We also used wooden bowls and baskets, like this hand-carved oval bowl, to blend modern (the black-and-white decor and plaid tablecloth) with traditional (the wooden bowls and baskets) as well as seasonal (the Fall foliage and acorns).
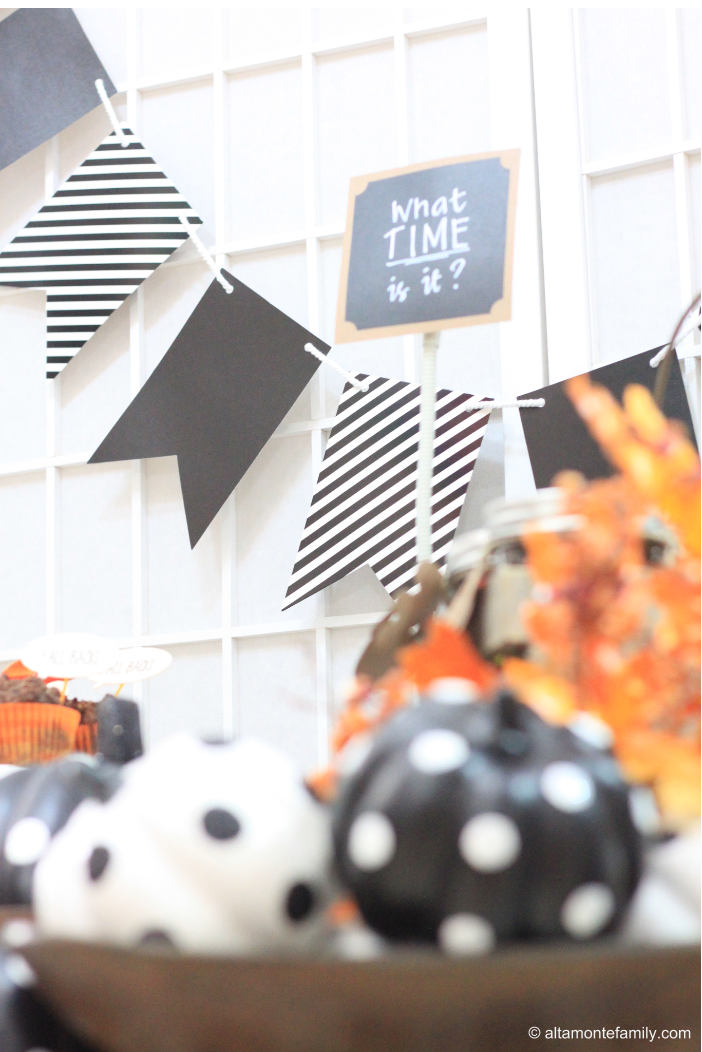
The Paper Bunting
We seriously could’ve DIY’d our black-and-white paper bunting with some scrapbook paper (or metallic poster board, for durability) and a shoe lace (yes, a shoe lace–no joke–the texture grabs on to the paper to hold it in place). To save time, we just purchased it. As our newborn baby gets older, perhaps we’ll have more time to make our own paper buntings ahead of time.
The Chalkboard Sign {Last-minute DIY}
We whipped up a quick DIY party chalkboard sign (above photo) using the following:
- 4 x 4-in cardstock
- 3.75 x 3.75-in black adhesive Con-Tact chalkboard liner
- Liquid chalk marker
- Corner punch by We R Memory Keepers
We love our Con-Tact chalkboard liner! It’s so versatile and it always “saves the day” for any last-minute final touches. We’ve used all kinds of craft punches on it without any problems; for this project, our corner punch worked just fine. Its adhesive back adds to its ease of use, and it’s fairly easy to remove from many surfaces without leaving a gummy mark or stain.
You can attach this DIY chalkboard sign to any stand of your choice–it would look cute on a plain dowel placed in a tall, thin ceramic bud vase.
The Party Straws
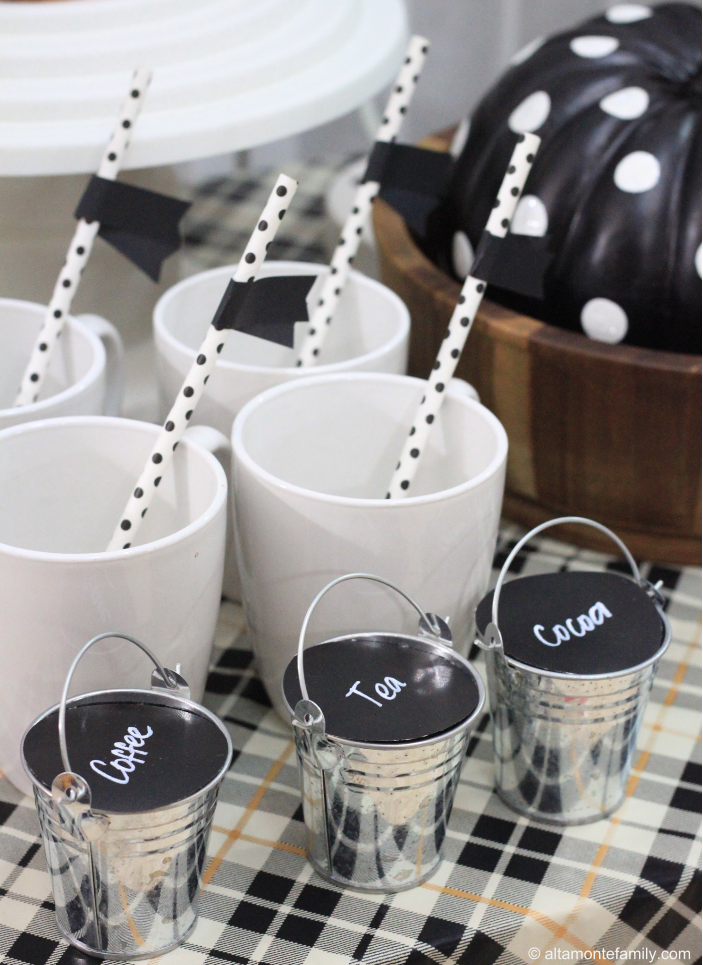
These black-and-white polka-dot paper straws (available in the Party Area at most stores) add so much life to plain white ceramic coffee mugs! The chalkboard flag labels add a nice touch and your guests will thank you, in case their drinks get inadvertently switched around. Simply use a liquid chalk marker to personalize.
The Chocolate Granola Muffins {Recipe}
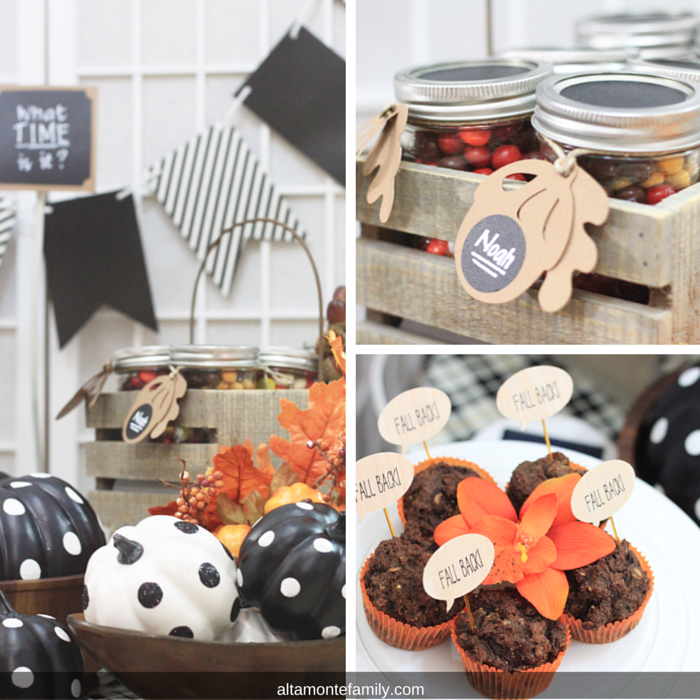
We thought we’d add some gluten-free, reduced sugar chocolate granola muffins to our party table. We simply used this recipe and replaced the organic walnuts with organic granola. We also removed the sugar since the honey granola and bananas already added some sweetness to the recipe.
The Party Favors {DIY}
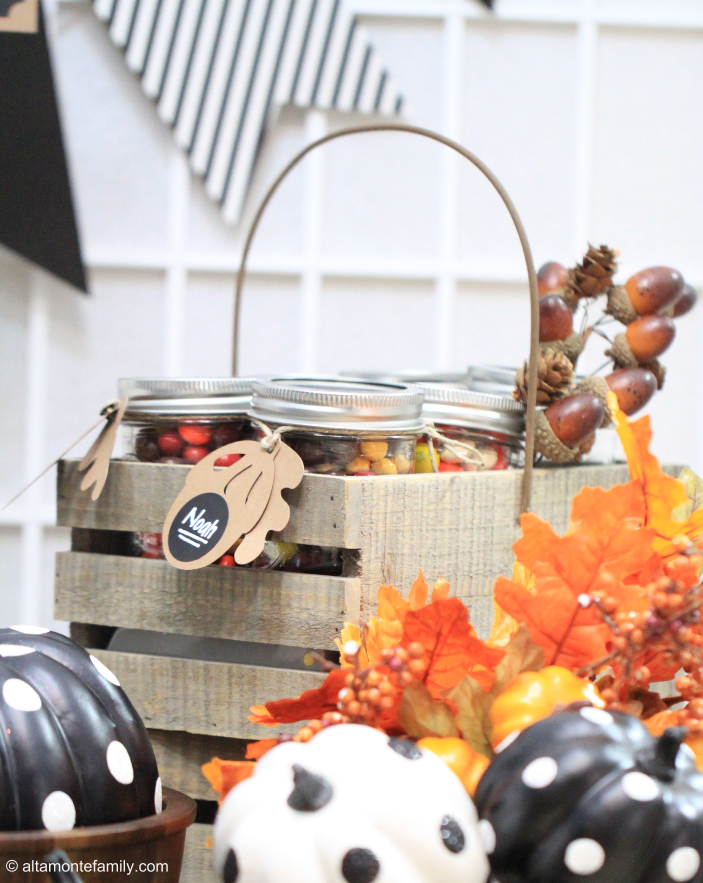
We just had to include Fall flavors to our party table since we couldn’t resist them! These colorful, Fall-flavored candies are sure to satisfy a sweet tooth! By God’s grace, not all of us have allergies or sensitivities to flour, dairy, or sugar! We simply poured them into small mason jars! We punched out chalkboard circles (again using adhesive Con-Tact liner + circle craft punch) to cover the branding information on the lid and used twine to attach our cute gift tags!
The Balsa Wood Cupcake Toppers {DIY}
For a natural look, we made cupcake toppers out of 1/32-in balsa wood! We cut the balsa wood using our Cricut Machine and used a fine-point Cricut Pen to write the sentiment.
The Acorn Gift Tags {DIY}
To save time, we used our Cricut Machine to cut out these acorns and leaves. Once again, we used black chalkboard Con-Tact adhesive liner for the labels and used a small circle craft punch to punch them out. As you can see, we really put this adhesive chalkboard Con-Tact liner to good use along with the liquid chalk marker!

Now that we’ve shared our Fall-Back table with you, we’d like to know:
Do you also celebrate the Fall-Back Time-Change event on the first Sunday in November?
If you like today’s fall party idea, feel free to share, bookmark, or pin it!
We’re Social! Follow us on Pinterest, Facebook, and Instagram for more updates on our latest projects and adventures.
Disclosure: As of the time of writing this post, AltamonteFamily.com is by no means affiliated with any of the companies or organizations mentioned in this article. AltamonteFamily.com has not been compensated in any way nor has AltamonteFamily.com been influenced to write about these products. This post is a result of the personal observations and independent research of members of AltamonteFamily.com. All opinions solely belong to AltamonteFamily.com.
Leave a Reply