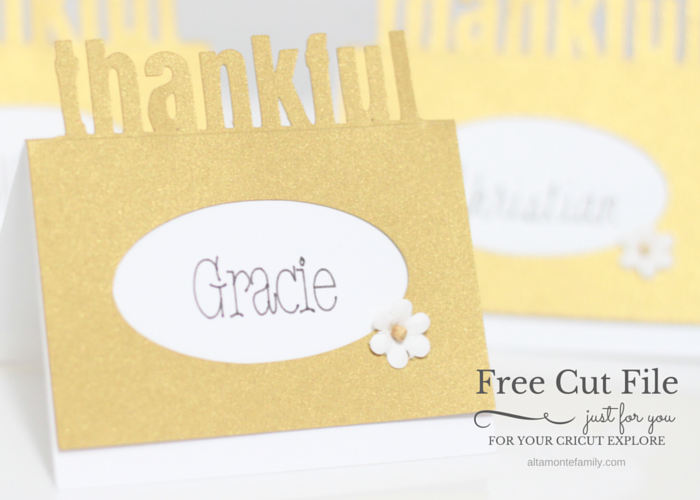
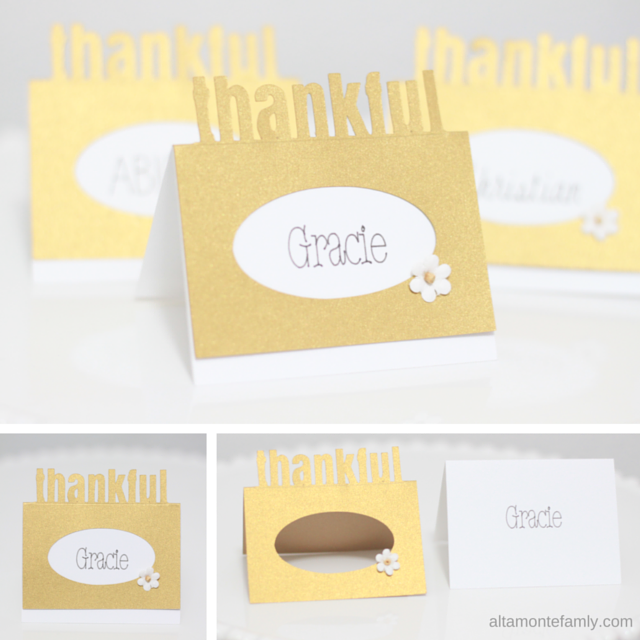
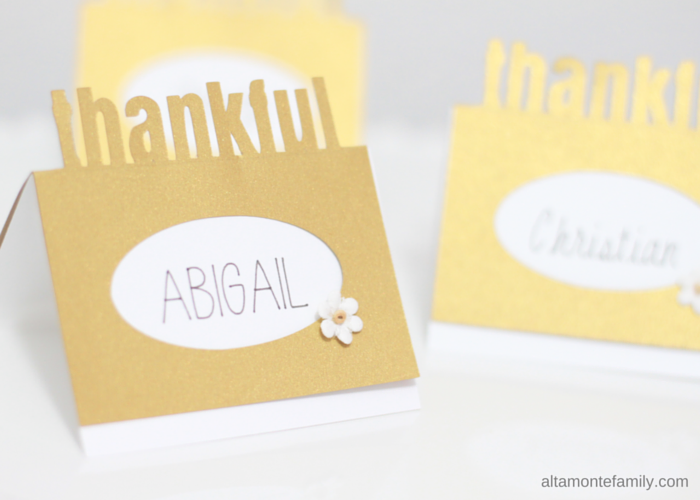
We’ve been seeing all kinds of pop-up crafts and thought of designing and making some of our own! Why not use Google Draw to make a pop-up place card digital cut file for our upcoming Thanksgiving party? We gave it a shot, and it worked!

Although we’re not serial crafters (or we’re just too chicken to admit it), we have enjoyed using our Cricut Machine (we use the Cricut Explore Air) to experiment with crafts that would’ve probably stayed in the back burner. While there are a lot of ready-made images and projects available in Cricut Design Space, we have found our greatest joy to be in designing our very own images. It’s always been so encouraging to hear that our readers actually like what we make (our experiments)! Thank you!!

We have no formal graphic design training or experience and we only use a free tool (Google Draw) to make our digital cut files (as of the time of this post). We only started papercrafting (albeit casually) since we purchased our very first Cricut product back in March 2015 (when the Cricut Explore Air was released). Since then, we’ve been sporadically experimenting with several different projects for the very first time, like customizing our own baby onesies, letter cut-outs, bookmarks, gift tags, and cutting various media like junk mail and balsa wood. We believe God created all of us to be creative and resourceful in our own unique ways! He has blessed us with so much inspiration to draw from, and it’s always so awesome to see other artists’ interpretation of such inspiration!
As a token of our appreciation, we’d like to share a free digital cut file with you today, which is our Thanksgiving Pop-Up Place Card Cut File! We’re very thankful to our readers for following our experiments (including our journey into designing our own printable owls using Google Draw and our weekly inspiration using Canva). It appears that the more (often) we make, the better we get. So, we would like to encourage you to always strive to create something new. Challenge yourself constantly.

Speaking of creating something new…here’s how we created our Cricut Explore Thanksgiving Project:
How To Make A Thanksgiving Pop-Up Place Card
Supplies Needed:
- Cricut Machine (one that can cut and score)
- Cricut StandardGrip Machine Mat
- Cricut Premium Fine Point Blade
- Cricut Pens (we used a fine point pen)
- Cricut Explore Scoring Stylus (optional)
- For the outer layer: Gold Metallic Paper (we used the one from Michael’s)
- For the inner layer: White Cardstock (we used 65 lb paper)
- Flower embellishment from the Paper Studio at Hobby Lobby
- Glue
- Our free cut file (download button, below)
Instructions:
Note: This tutorial is designed for intermediate users of Cricut Design Space. If you would like more details or clarification, feel free to drop us a line in the comments.
- Retrieve our digital cut file (button at the bottom of this post) and upload in Cricut Design Space (make sure you clean it up to turn white space into transparency)
- Re-size your image and note that this is going to be your outer layer (for our outer gold layer, we used a height of 4 inches so that it comes out to 2 inches, folded, with a width of 3 inches)
- Make sure your image is a cut file and not a printable file (otherwise, simply change the settings in the Layer panel)
- Create the inner layer by adding a shape to your canvas (choose a square)
- Resize square to complement dimensions of your outer layer (we used a height of 4.5 inches so it’s slightly taller than the outer layer, with a width of 3 inches)
- Arrange the square by moving it behind your outer layer, so you can see what your final project is going to look like
- Insert text (it’s best to select only the ones with the Writing function), making sure that it’s properly aligned to appear in the middle of the window
- Select the inner layer + the text box and “attach” (optional: add a score line across the middle to remove the guess work in folding)
- Follow prompts to begin cutting, scoring, and writing with your Cricut Explore Air
- Fold both inner and outer layers across the middle, then adhere your flower embellishment using glue
That’s it!
Simple. Elegant. Clean lines.
Get our free digital cut file!
Ready to create? We’re happy to share our work with you by offering today’s digital cut file, for free! Before you continue, we’d like for you to be aware of the following:
We’re only sharing the outer (gold) layer. You can easily create your own inner layer in Cricut Design Space by following Steps 4 – 8, above. Alternatively, you can create and print the inner layer using another program and cut using scissors or a paper trimmer.
This is not an SVG file. We created the digital cut file using Google Draw (a free web-based platform) and saved it as a PNG file (image). Based on our observation, the images in Cricut Design Space are all SVG files, allowing each file to have multiple layers. Our free digital cut files only come as a single layer (since they’re in PNG format); please note that you’re always free to add additional layers on your own by inserting other images from Cricut Design Space or from your own device.
Why is the image black? We typically design our digital cut files (the ones in PNG format) in “black” to make it easier for Cricut Design Space to detect the color contrast. This helps the “magic wand” to quickly clean up the image prior to finalizing your upload.
Some PNG files may need to be cleaned up in Cricut Design Space. We find it helpful to always clean up our PNG or JPG files prior to finalizing our upload. This just means using the eraser or magic wand to turn white spaces around the image into a transparency. This is particularly helpful if you do a lot of layering in Cricut Design Space.
For Personal Use Only: We created these free digital cut files for your personal, non-commercial use only. Please do not alter them in any way. Kindly read our full Terms of Use.
Now that we’ve explained those things to you, we hope you’ll enjoy using our free digital cut files for your next project! Please feel free to click on the link below to get the cut file.
In the meantime, if you could think of other embellishments (acorns, maybe?) to use instead of the little flower, let us know in the comments! We’d love to exchange ideas with you!
We’re Social! Follow us on Pinterest, Facebook, and Instagram for updates. If you like this project, we’d love for you to bookmark it, share it, or pin it! Or, drop us a comment! Thanks for your support!

These are beautiful, I’m working on some place card ideas for Thanksgiving right now. I love the pop up idea!
Thank you, Sarah! I’m sure your project will turn out beautiful! Thanks for stopping by.
JD
I have never used a Cricut and I’ve never used Google Draw, but after seeing this I think I’m going to look into using both! I love these Thanksgiving place cards. What a great idea! Thanks for sharing on the Sunshine Life Blog Link Up!