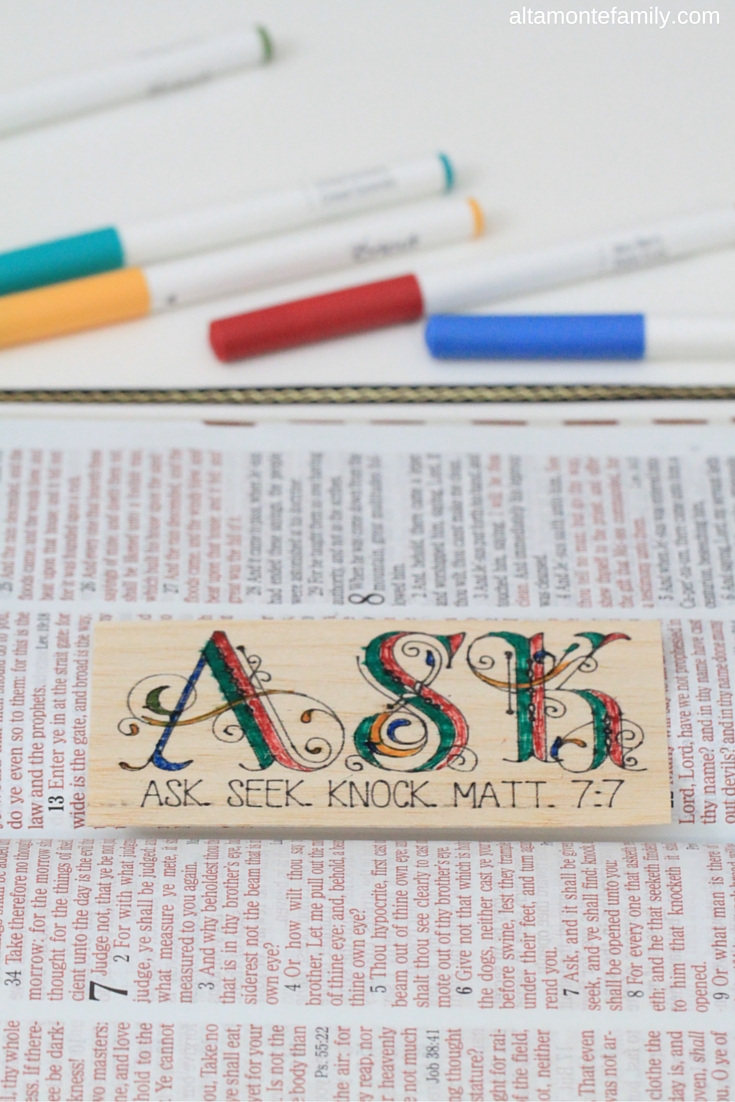
It’s the first weekend of 2016! Can you believe it? How has your start been like so far? Ours has been filled with excitement, exhilaration, as well as devastation. It’s tempting to get discouraged right away, as we shared on New Year’s Day, but we will press on by asking, seeking, and knocking (A.S.K.) on God’s door for wisdom and direction. To cement this principle, we decided to create a balsa wood bookmark inspired by Matthew 7:7 KJV, using our Cricut Explore Air. You may have already seen our other balsa wood projects; this time, we’re experimenting with writing on balsa wood with the Cricut Explore Air, followed by coloring in our project by hand using Cricut Explore pens.
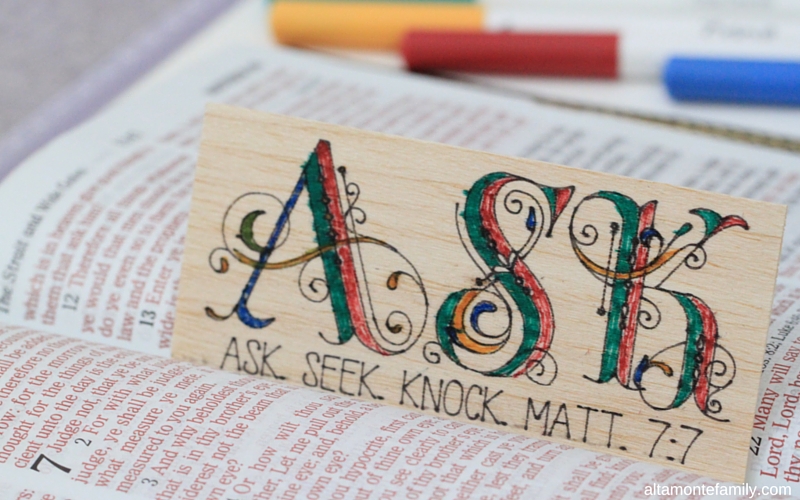
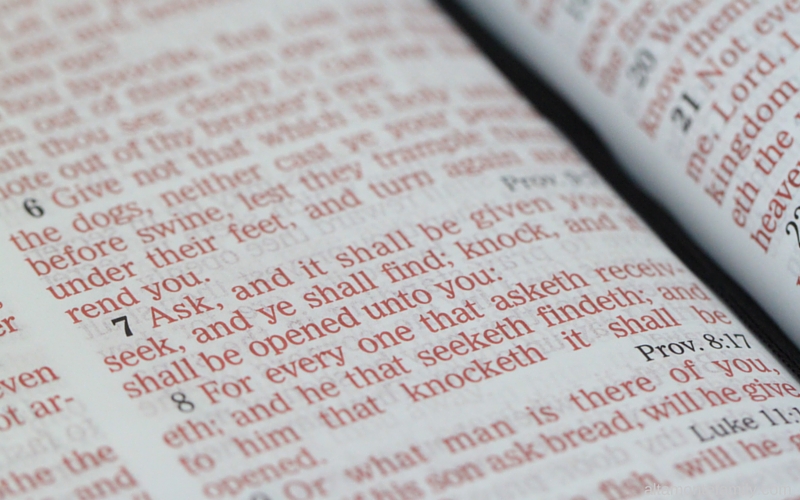
We chose a few key words from Matthew 7:7, specifially, “Ask. Seek. Knock.” These 3 words make up the acronym for A.S.K. As the verse states,
Ask, and it shall be given you; seek, and ye shall find; knock, and it shall be opened unto you:
Matthew 7:7 KJV
Writing On Balsa Wood With The Cricut Explore Air
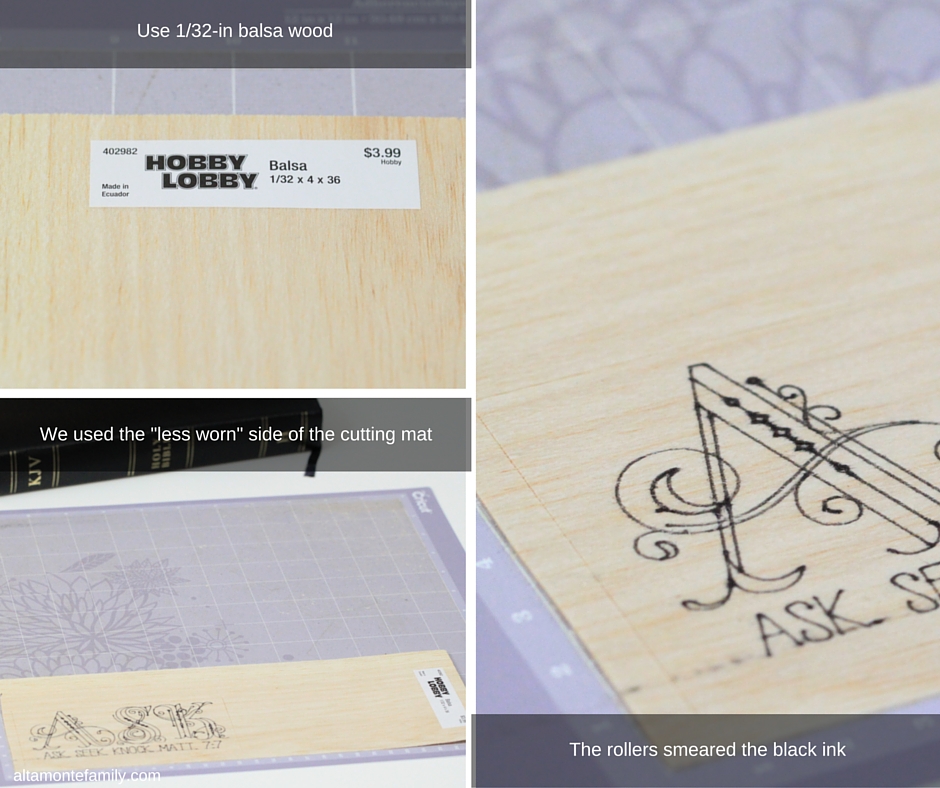
Since today’s experiment is focused on writing on balsa wood with the Cricut Explore Air, we’re just going to go with a very basic rectangular cut pattern (we previously shared in another balsa wood project post that the Cricut Explore is capable of making fancier cuts using balsa wood). When we discovered that the Cricut Explore Air can both cut and write on balsa wood, we decided to experiment with a much more intricate writing design, like the one below.
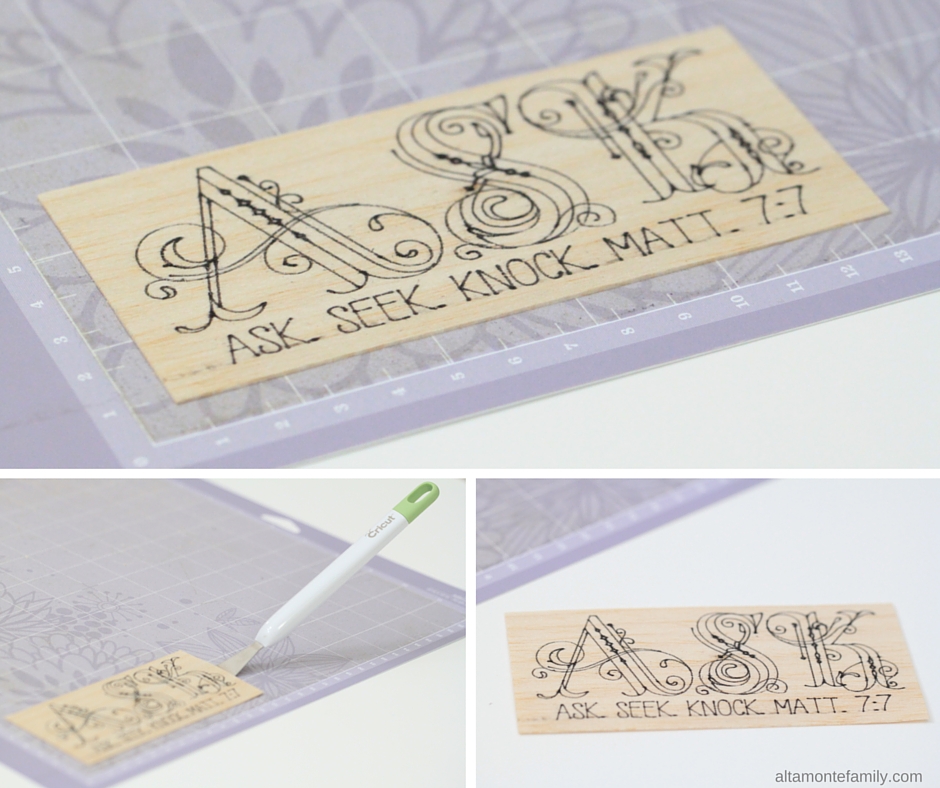
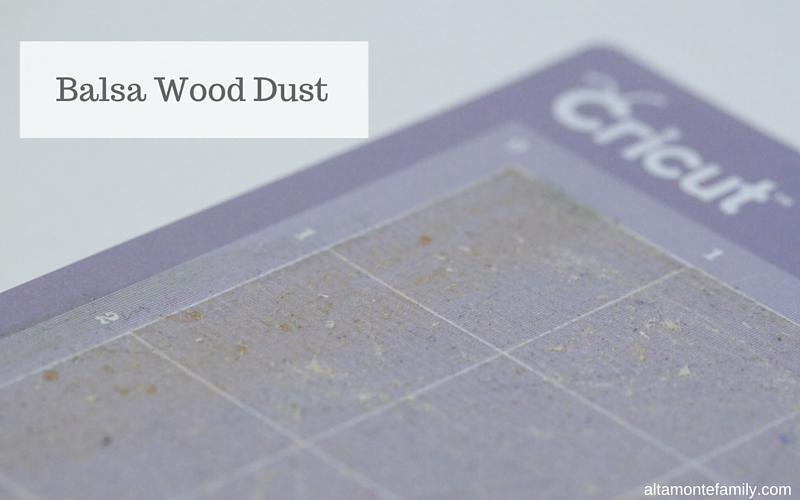
You may have noticed that we attached our balsa wood project on the bottom right side of the cutting mat. We simply did that to see if it would work; plus, we wanted to use the stickier side of the mat, since the top right side had already collected way too much balsa wood dust due to overuse (we’ll share how we plan on removing this dust build-up in another post).
Other than the slight ink smearing, we were pretty impressed with the results! Next time, we’ll adjust our project dimensions so that the rollers won’t cause any more ink smearing.
Okay, so onto the fun part…
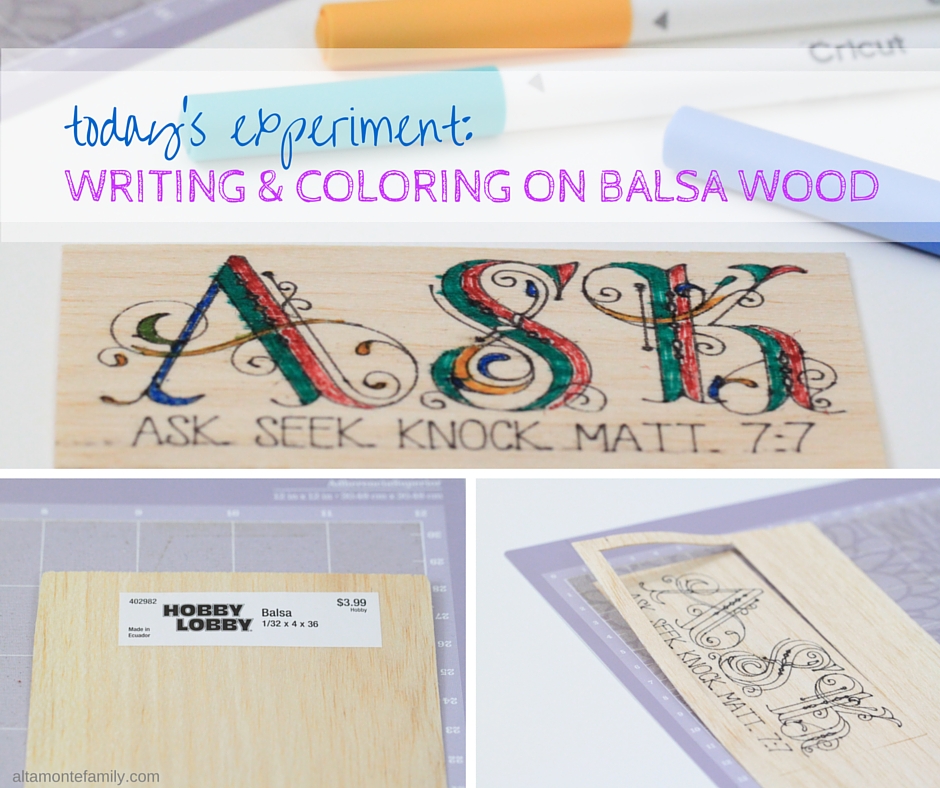
These are the supplies that we used:
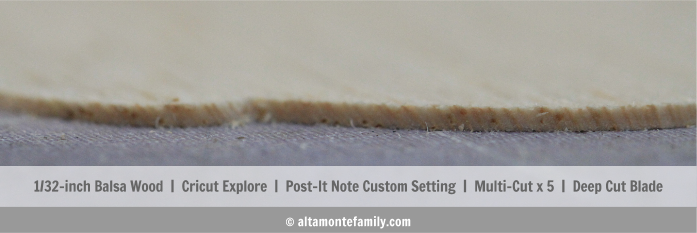
- 1/32-in thick balsa wood {we got ours from Hobby Lobby}
- Cricut Machine (we used the Cricut Explore Air)
- Cricut StrongGrip adhesive mat
- Cricut Deep-Point Blade + Housing (or if you already have the housing, here’s the link to just the replacement blade)
- Cricut Pens
- Cricut Tool Set (we used the scraper and spatula to gently lift the balsa wood off the mat and to clean the balsa wood dust off the mat)
- Font images from the Monogram Motifs cartridge set (this is a super cute set!)
These are the Cricut Explore Air settings that we used:
- Custom Post-It Note setting {set the dial to “Custom” and select “Post-It Note” in Cricut Design Space}
- Ran the project 5 times through the Cricut Explore Air (we removed the pen after the first cut); alternatively, you can set the machine to just cut the balsa wood 5 times first, and when you’re done cutting, you can then re-feed your mat and have the machine write whatever you wish on the balsa wood.
Here’s a snapshot of what we shared when we first experimented with balsa wood on the Cricut Explore Air.
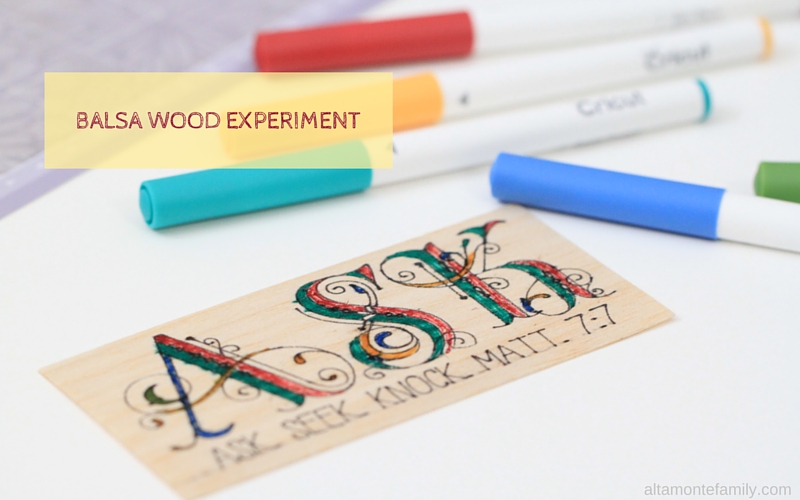
Once the Cricut Explore Air was done with its tasks, we began experimenting with some coloring (by hand) using Cricut Explore fine-point pens.
NOTE: I’m not your go-to person when it comes to coloring as I run a little short in the patience department. I’m sure you can do way better than this as this is not much different from my Kindergarten coloring projects many moons ago. As you can see below, I colored past the lines. I should have listened to my Kindergarten teacher about coloring lightly, especially with markers (and most especially on balsa wood as the ink bleeds easily).
With practice, we hope that our balsa wood projects would improve compared to the first iteration. We’re still getting to know about the Cricut Explore Air’s capabilities when it comes to media other than paper. We’ll be sure to keep you posted as we discover more new things! In the meantime, we’d love to hear from you if you found some inspiration in this post. In turn, we’d love to be inspired by your awesome coloring skills and learn a few tricks or so!
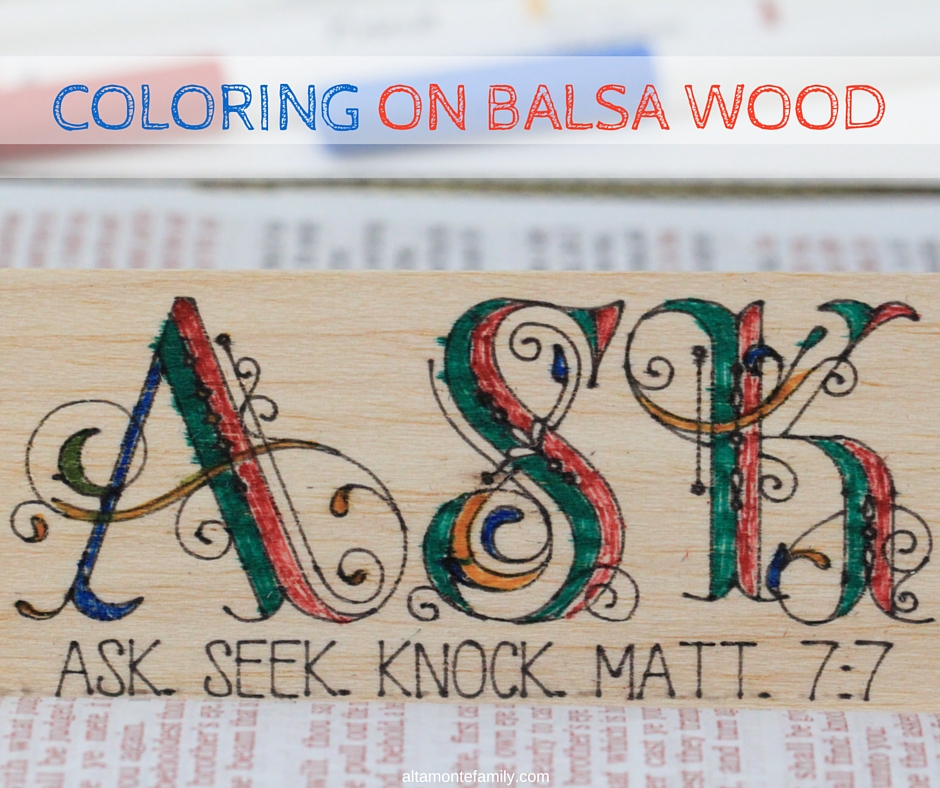
If you like today’s Cricut Explore experiment, feel free to share, bookmark, or pin it!
We’re Social! Follow us on Pinterest, Facebook, and Instagram for more updates on our latest projects and adventures.

Hi there! I’m a new Cricut owner and just love your posts. My fiancé and I are currently planning our wedding and I’m thinking of using the Cricut to cut out and decorate a simple wooden clog shape (I’m dutch) for save the dates. Can you tell me how you got the machine to write on the wood piece in the correct spots? Id like to use the markers to add a lite detail around the edge of the clog and then write all the info in the middle. Any help would be greatly appreciated!!
I want to make Woden name earrings. Can this be done with this machine?
What fonts did you use for ASK? I’d love to try to make a sign if possible with same fonts used.