This shop has been compensated by Collective Bias, Inc. and its advertiser.
All opinions are mine alone. #SuperAbsorbent #CollectiveBias
We just got back from a family road trip–you know, that one last hurrah before the new school year officially starts–and we survived! While our kids are relatively seasoned roadtrippers (based on the absence of the “Are we there yet’s?”), our youngest experienced a bit of discomfort because he’s teething! If you’re a new parent and will be traveling with your baby soon, here’s our version of a road trip kit for teething babies–from packing techniques, where to get quality diapers at value, and everything in between!
Packing a road trip kit for teething babies
We all know that traveling with a cranky baby is no fun, and we can only imagine how painful it must be for them when they’re teething (although not all teething babies are the same). If you’re planning on traveling soon, you may want to let your baby’s pediatrician know. Some teething babies may run a fever or have a little bit of diarrhea, so it’s best to be prepared. The best thing we can do for our teething baby is to keep him as happy, entertained, and comfortable as possible. With the prolonged car seat time (especially at night), we make sure to stock up on quality, absorbent diapers at a great price (we use Huggies Little Movers Plus–it’s a smart choice for babies on the go, with Leak Lock® protection up to 12 hours).
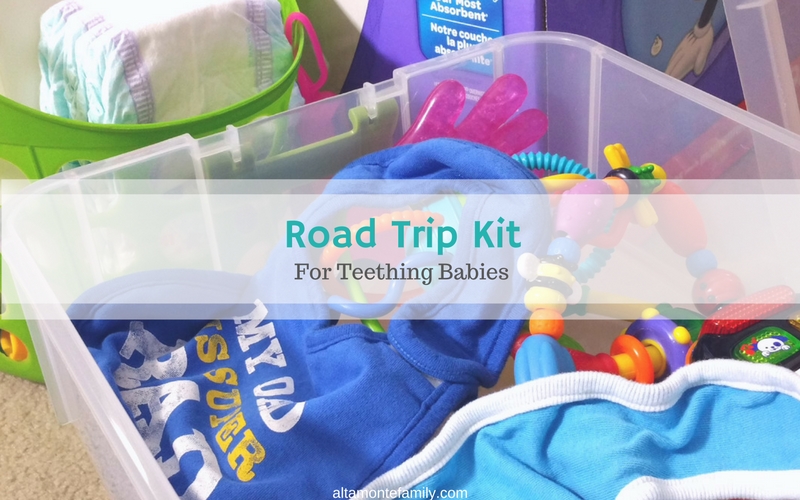
Besides the diaper bag, we also pack a road trip kit just for our teething baby. We reserve the diaper bag for later (after we’ve reached our destination), to make sure that it remains fully stocked. This system has worked best for us–of course, feel free to tailor it according to what works best for you and your baby.
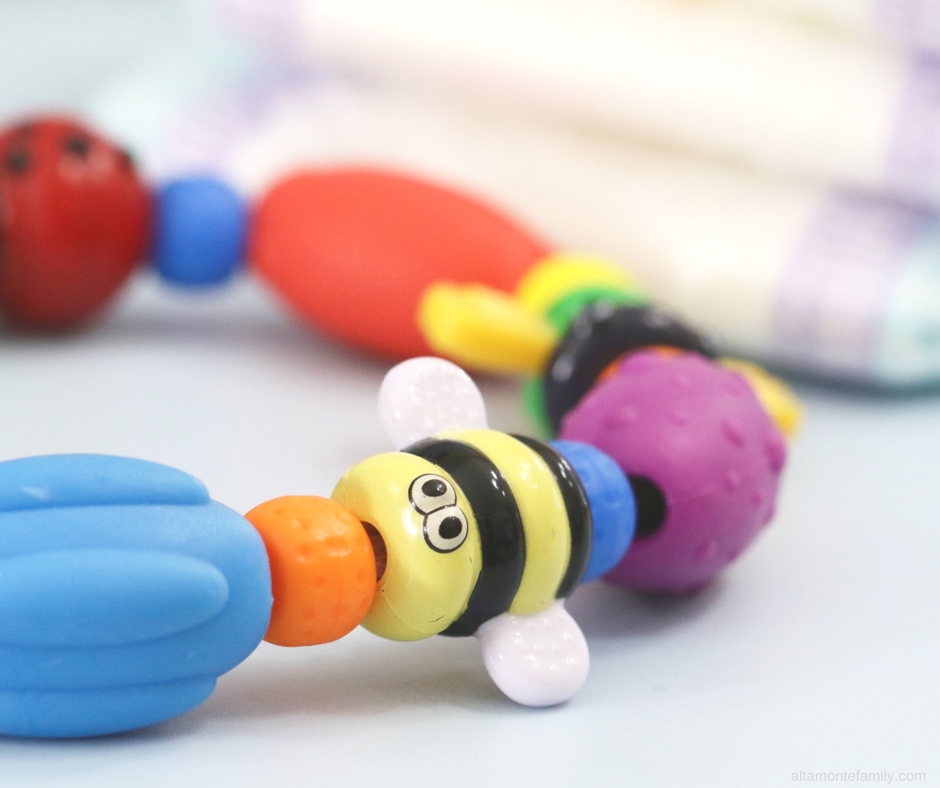
Step 1: Gather your supplies.
Here’s what we packed:
- Huggies Little Movers Plus diapers
- Diaper changing mat
- A change of clothes
- Diaper rash cream
- Age-appropriate food and snacks (we packed yogurt, rice rusks, and baby food pouches)
- Sippy cup
- Teethers
- Toys
- Bibs (because teething babies tend to drool a lot)
- Books (the soft, baby-safe ones, of course)
- Thermometer
- Pain reliever for babies (as needed and as directed by your baby’s pediatrician)
- Hygienic wipes for wiping down plastic toys and teethers (safe for cleaning breast pump accessories, high chairs, tables, etc.)
Tip: We keep a package of baby wipes + hand sanitizer in the back of our vehicle for those emergency roadside diaper changing sessions.
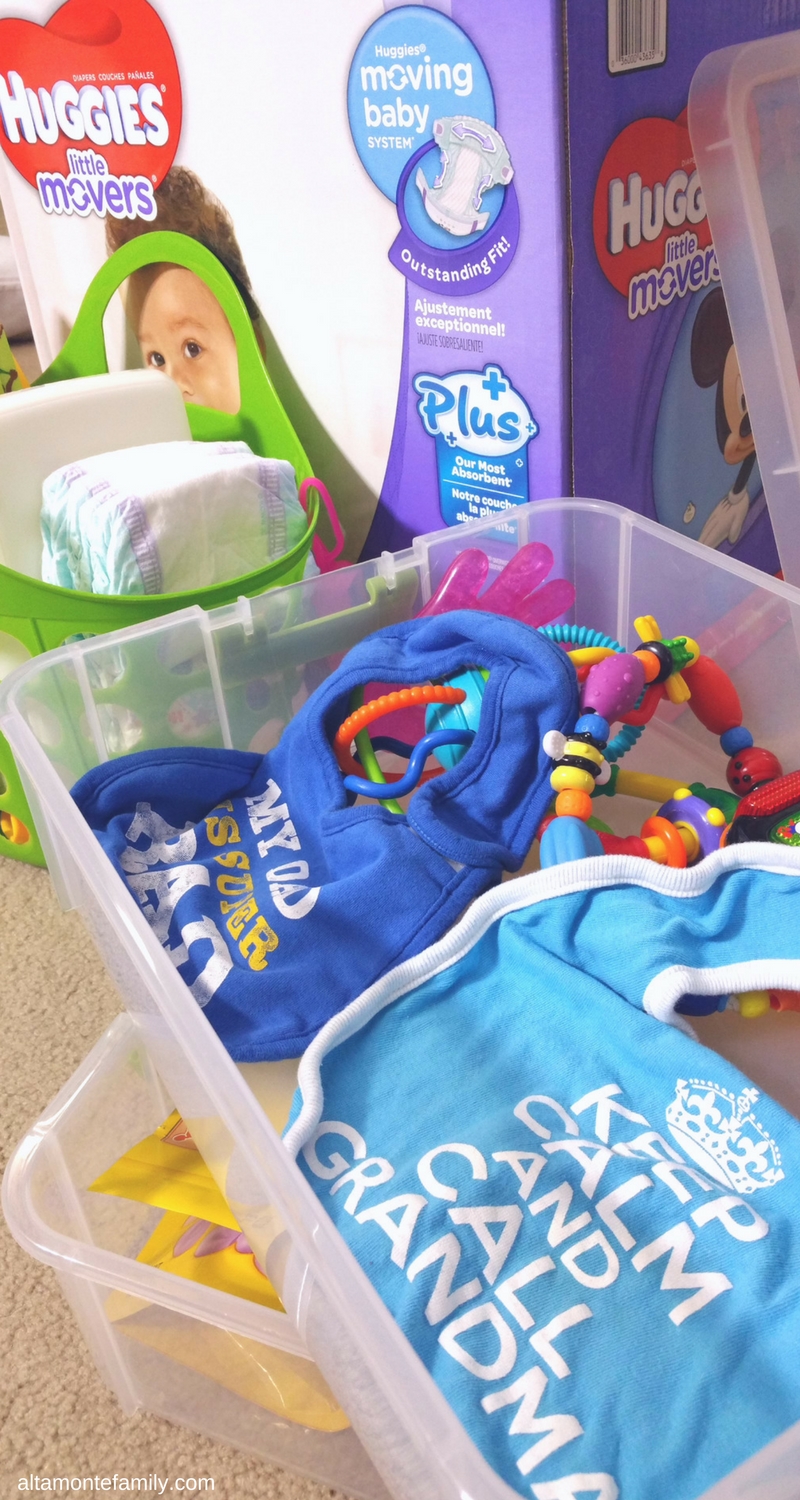
Step 2: Organize and group your supplies in a stackable plastic bin.
Depending on the available space that we have in our SUV, we either use three stackable bins (with the diaper changing essentials in the bottom bin) or create a separate diaper changing kit that’s easy to grab and go (pictured above). We used the latter for our most recent trip since we had the extra space (we tend to pack a little lighter during the Summer + we only traveled a little over 1,000 miles one-way this time).
Similar to how we organize smaller items for our road trips, we usually fill the top bin with the non-edible stuff and the bottom with food, snacks, and meds.
Step 3: Place the road trip kit (including the diaper changing essentials) in an easily accessible area in your vehicle.
Our stackable bin usually sits on the floor beneath the car seat and the separate diaper changing kit goes in the back.
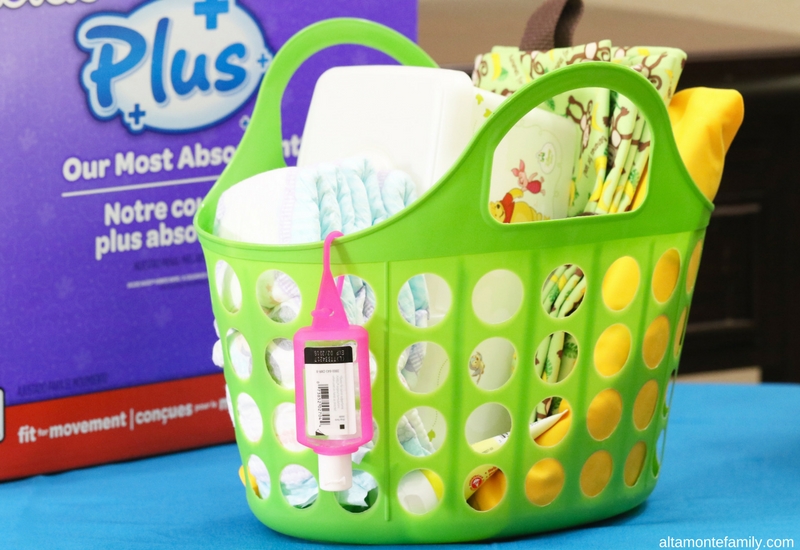
The above emergency roadside diaper changing kit isn’t the only thing that has saved us during our road trips…
When we were newbie parents, we would solely rely on the diaper bag for packing and retrieving diapers… until said diaper bag either got buried in the road trip luggage rubble or we suddenly realized that we had already depleted our diaper supply… and we were driving along the interstate in the middle of the night (true story)… in the rain (actually, a thunderstorm). We learned a valuable lesson that night!
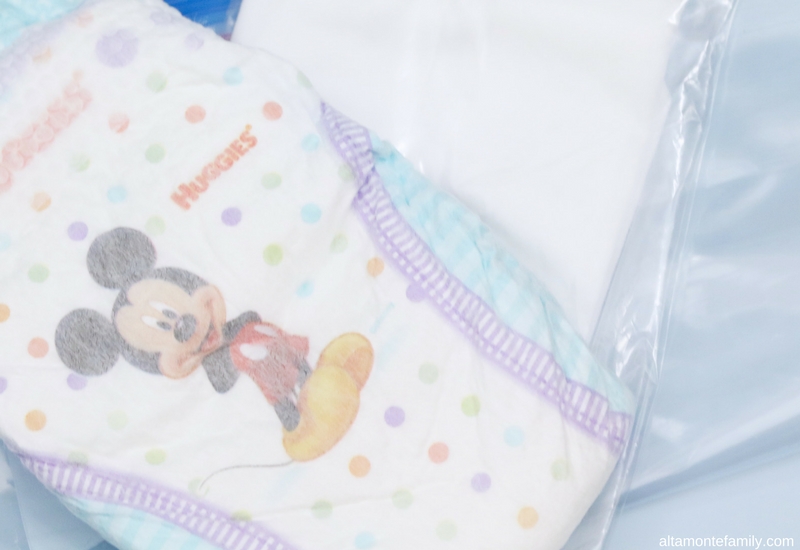
As a result, we started packing backup diaper kits especially for those unexpected moments. We’d simply bundle a diaper and a few pieces of baby wipes (packaged in a small, resealable plastic bag) and package them together in a larger, gallon-size resealable plastic bag.
Here’s where we like to strategically place our emergency stash:
- Our vehicle’s glove box
- Our vehicle’s mini ceiling compartments–where the TV / movie player typically goes
- Our vehicle’s back seat pockets
- My husband’s back pack / suitcase
- My purse
You just never know when you’re going to need them!
So, are you all set for your upcoming road trip?
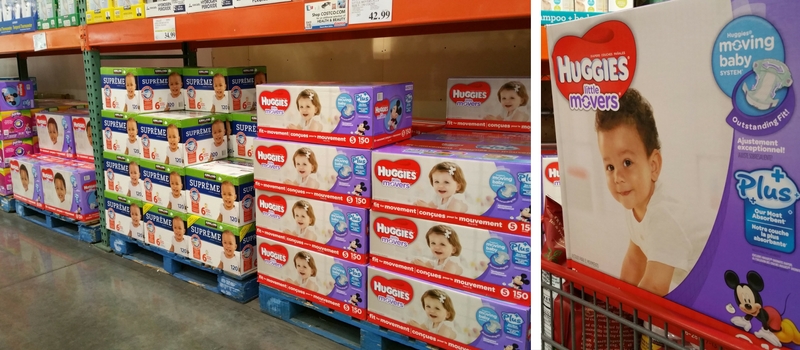
Check out these savings at Costco to help you get started:
- Huggies Little Snugglers Plus (Sizes 1 & 2): $37.49, $31.49 after $6 discount and Free shipping (this offer valid 9/1 to 9/25)
- Huggies Little Movers Plus (Size 3, 4, 5, & 6): $42.99, $36.99 after $6 discount and Free shipping (this offer valid 9/1 –to 9/25)
Starting in August, Huggies Little Snugglers Plus will also be available in size Newborn, starting at $29.99 (available in select warehouses and online at Costco.com).
Enjoy your travels–and don’t forget to pick up a box of Huggies Little Movers Plus / Little Snugglers Plus before you go!
We’re Social! If you liked today’s post, feel free to share, bookmark, or pin it! Follow us on Pinterest, Facebook, and Instagram for more updates on our latest projects and adventures.
Traveling with a teething baby is always touch-and-go, so it is definitely best to be prepared! #client
This list is so great. Lots of really clever tricks that I never would have thought of!! Thanks for sharing 🙂