This post contains affiliate links where indicated. This means we may receive a small commission
if you make a purchase after clicking on our affiliate link. For more information, please read our Disclosure Policy.
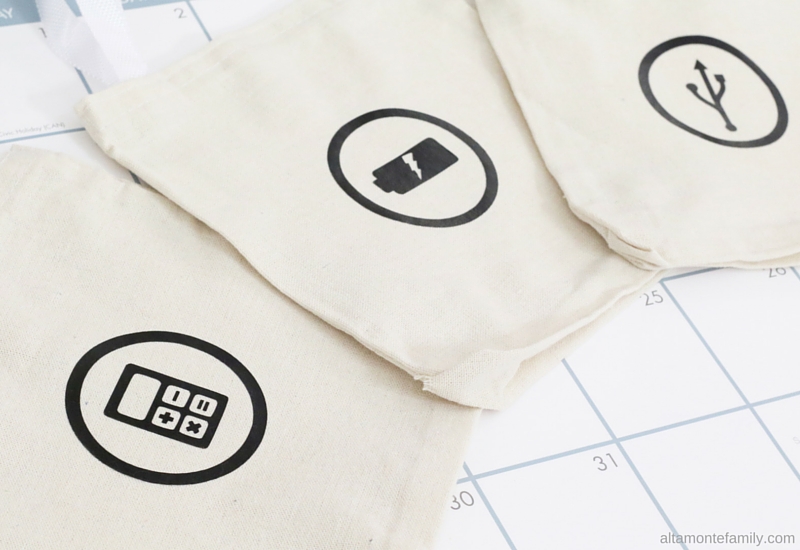
Add these designs for storing and organizing your small electronics accessories! We used our Cricut Machine to cut these out but you can also use a utility knife if cutting by hand.
 Supplies Needed:
To create this beginner-friendly project, you will need:
- Cricut machine or any electronic cutting machine that can read or convert layered SVG files
- StandardGrip Machine Mat
- Premium Fine Point Blade
- Scraper, Weeder, Scissors, and Spatula from the Tool Set
- Fabric, glass or any surface on which iron-on or regular vinyl will be applied
- Your choice Cricut Vinyl (we used black and gold glitter vinyl) depending on your project: Iron-On HTV | or | Smart Vinyl (if cutting without a mat)
- Iron and ironing board (if applying iron-on HTV on fabric)
- Thin dish cloth or tea towel to protect iron-on vinyl from iron (if applying iron-on HTV on fabric)
- Our free cut files (click on the button below to go to the project and download the free cut files)
If using the Cricut infusible ink system or dye sublimation:
- Cricut Infusible Ink Transfer Sheets
- Cricut Heat Press (make sure the temp reaches 400°F or 205°C) or Cricut Mug Press (if you’re decorating a mug)
- Cricut Round Coasters or Cricut Square Coasters (if you’re decorating coasters)
- Cricut Customizable Blanks (from mugs, shirts, totes bags, ball caps, and more)
- Cricut Heat Resistant Tape
Be sure to follow instructions and guidelines depending on the type of vinyl material you will be using.

Instructions for Iron-On HTV Vinyl:
- Download our free digital cut file and upload in Cricut Design Space
- Since this is not an SVG file (it is a PNG file), you will need to “clean up all white spaces”, including the white space between the letters, before finalizing your upload (using Cricut Design Space Select & Erase Tool)
- Upload image as cut file (vs print-then-cut file)
- Re-size image in Cricut Design Space according to your desired size
- Cut out a piece of iron-on vinyl making sure you have padded an extra 1.5 inches on each side
- Attach iron-on vinyl to Cricut StandardGrip Adhesive mat, shiny side down
- Save and press “Go”
- Follow instructions, load your mat, making sure the dial on your Cricut Explore machine is set to “Iron-On Vinyl” and you’ve selected “Mirror Image” before proceeding
- After the machine has completed the cutting process, remove the mat
- Using the Cricut Explore weeding tool, begin weeding out the negative part of the iron-on vinyl (if needed, use the Cricute Explore spatula to lift the plastic film that contains your design off the mat)
- Attach your design (plastic film) onto the surface of your project, right side up (make sure you’ve pre-washed the material if using cotton, T-shirt material, or anything that shrinks–as directed by the material instructions)
- Follow instructions on the instruction sheet that came with your cutting material (iron-on vinyl, vinyl, etc.)
Link to project inspiration: College Dorm Room Organization
For Personal Use Only: We created these free digital cut files for your personal, non-commercial use only. Please do not alter in any way. Kindly read our full Terms of Use.
USB Cut File
Battery Charging Cut File
Calculator Cut File