This shop has been compensated by Collective Bias, Inc. and its advertiser.
All opinions are mine alone. #allfreeclear #CollectiveBias
Happy Tuesday to our fellow adventurers, creatives, and foodies! We got a bit too excited yesterday talking about a new cookie recipe discovery that we made with our kids as well as a super cool secret-agent-themed dinner activity, that we forgot to ask you how your weekend went! We know–we can’t use the “but we follow you on Instagram” excuse. We hope it isn’t too late to ask as well as to fill you in on some of the Central Florida adventures that we enjoyed during the gorgeous weekend that just went POOF! Before we get carried away again, we wanted to share a treat with you today! Yay! Besides sharing an iron-on vinyl tutorial, we are going to share one of our favorite cut files for 2016, for free! Wouldn’t you agree, adventure is out there!
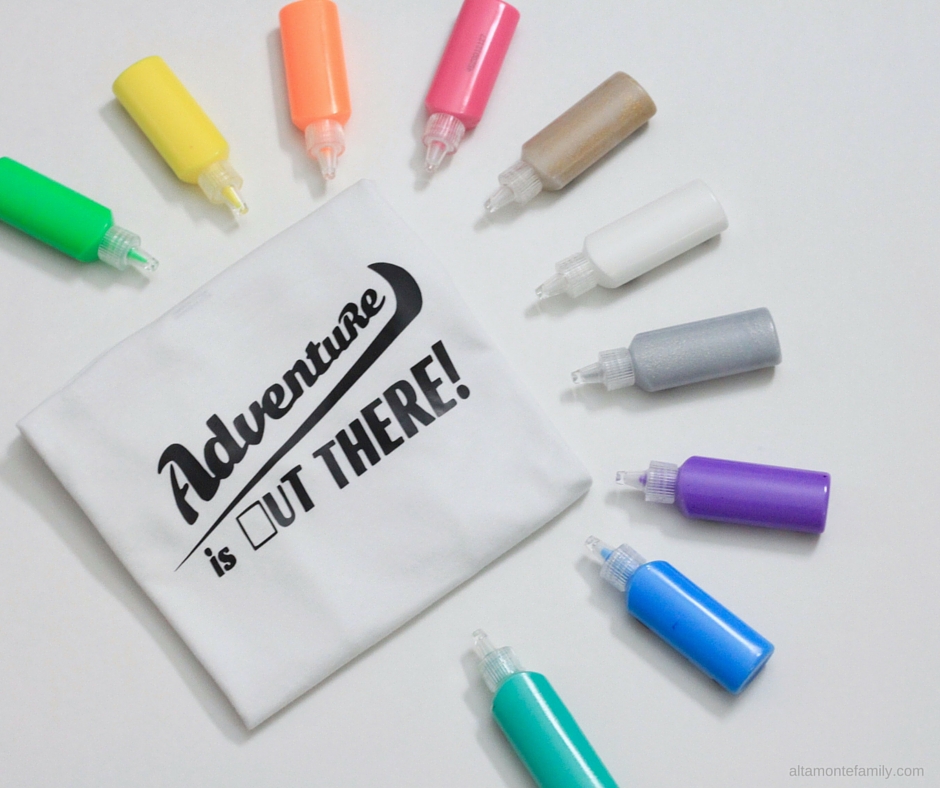
Our spontaneous visit to Flagler Beach this weekend inspired us to design this fun T-shirt! As we were driving back home, we quickly took a mental note of what we’re going to need to make the shirt…
Cricut Supply List and Options
- Cricut Machine or any electronic cutting machine that can read or convert layered SVG files (we typically use a Cricut Explore Air or Cricut Maker)
- Cricut Iron-On HTV | or | Smart Vinyl (if cutting without a mat)
- Cricut Tool Set (we used the weeding tool and spatula)
- Cricut StandardGrip Machine Mat
- Cricut Premium Fine Point Blade
- White Cotton T-shirt (pre-washed if it’s new)
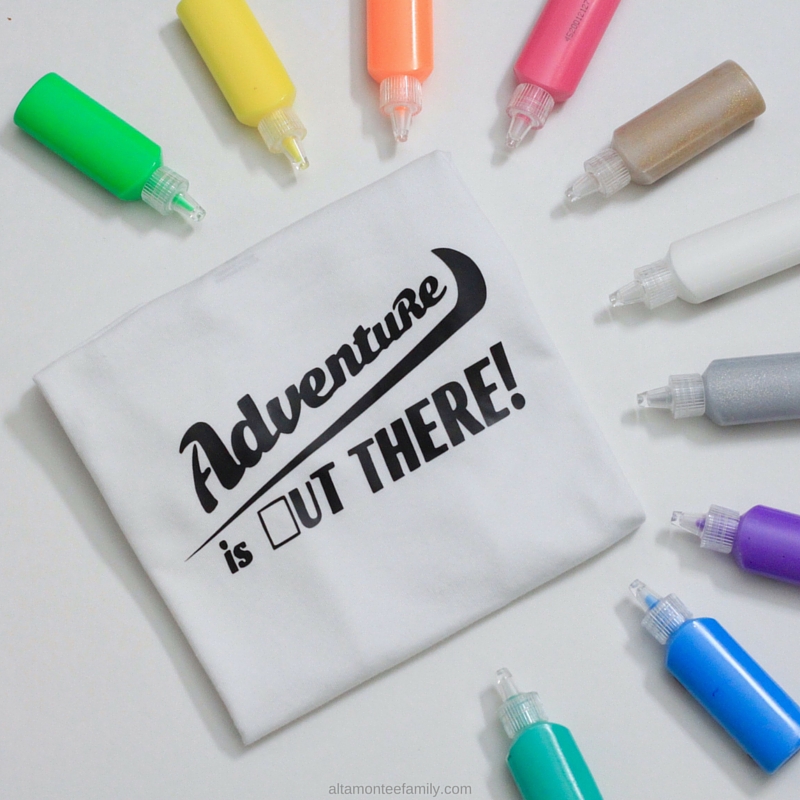
- Dimensional fabric paint (optional)
- Iron
- Ironing board
- Dish towel
- Laundry detergent (we use all® free clear detergent)
If using Cricut’s infusible ink system or dye sublimation:
- Cricut Infusible Ink Transfer Sheets
- Cricut Tool Set
- Cricut StandardGrip Machine Mat
- Cricut Heat Press (make sure the temp reaches 400°F or 205°C) or Cricut Mug Press (if you’re decorating a mug)
- Cricut Customizable Blanks (if doing sublimation — from mugs, shirts, totes bags, ball caps, and more)
- Cricut Heat Resistant Tape
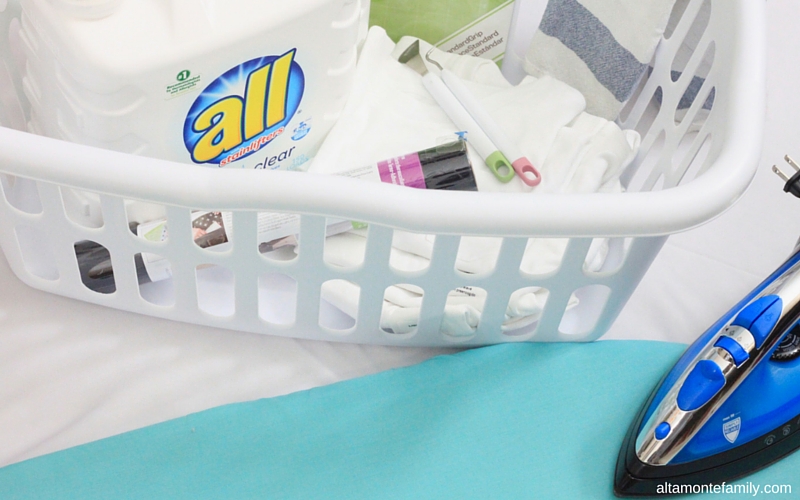

Before we learned to design our own T-shirts using iron-on vinyl, we scoured the crafty blogs and forums for information. One of the most overlooked steps in DIY iron-on vinyl projects is making sure that the T-shirt has been pre-washed. The instructions on the cutting materials clearly tell us to do this to avoid any possible shrinkage after the design had already been applied.
So far… we haven’t forgotten to pre-wash any of our T-shirts… whew! It has become routine for us to immediately wash any new clothing or linens since all of us have very sensitive skin. This means that even our “crafting T-shirts” aren’t spared from going into the wash right away. We use all® free clear detergent because it’s clinically proven to be gentle on skin–and it’s hypoallergenic! Because our skin is super sensitive, using a detergent that’s 100% free of dyes and perfumes is very important to us. Did you know that all® free clear is the #1 recommended brand by dermatologists, allergists, and pediatricians for sensitive skin? Thankfully, it also delivers a powerful clean, especially for moments like this, when we get to let the kids be kids. We don’t have to worry about sensitive skin when it comes to cleaning up this mess!

So we didn’t bring any beach toys…
Not that we forgot… we’re just pretty spontaneous and adventurous as a family!
We love the outdoors (especially during this time of the year), even if it can be messy, dirty, muddy, and wet. Double or triple that anytime kids are involved–especially our kids.
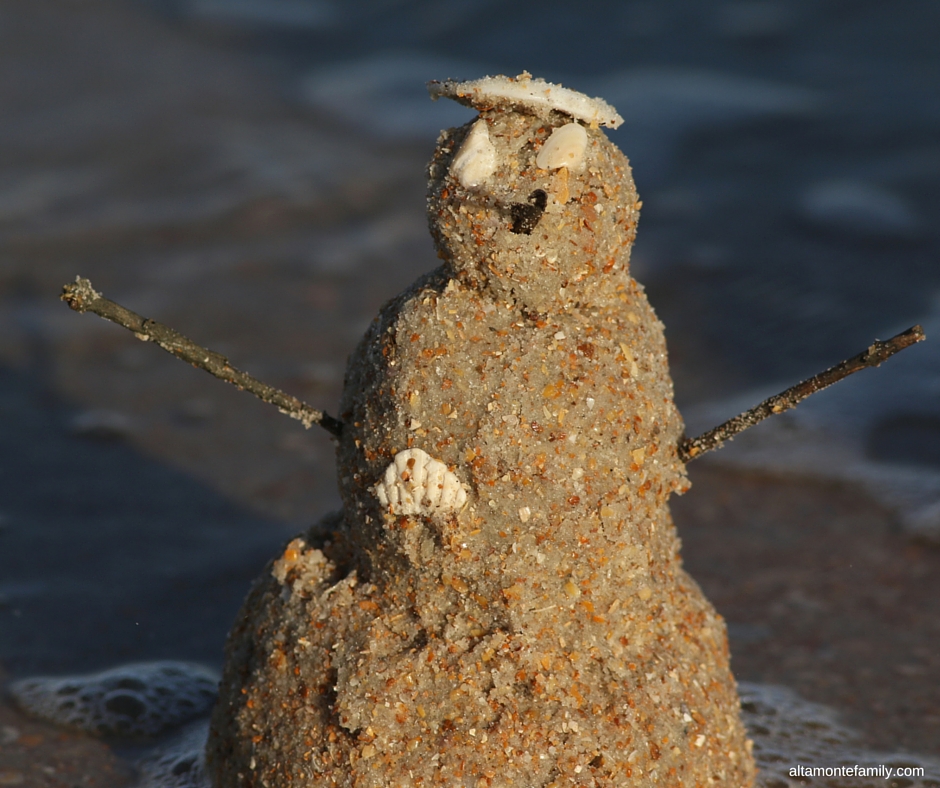
Unstructured play time allows our kids to discover new things or make cool things or both! During our Flagler Beach adventure this weekend, our inquisitive teenager spent countless hours exploring the coquina sand, examining sea shells, and finding a few shark teeth. Besides the baby, the younger ones were busy making their own sand sculptures, including this Hawaiian snowman. He quickly became a “leaning” snowman as the waves started coming in…
A friendly dog started running towards us…
As cute as he was, some of us are unfortunately allergic to dogs…
Add to that cats, dust mites, ragweed, grass, tree pollen… and that’s just the environmental allergies.
But, who’s to say we can’t have any fun? Our Allergist (okay, we’re kidding).
Besides other precautionary measures advised by our healthcare providers, we need to stay on top of our laundry–wash immediately, wash often, and use a detergent that’s free from irritants and allergens that can get in the way of having fun… like all® free clear. It removes 99% of top everyday and seasonal allergens: cat and dog dander, dust mite matter, ragweed, grass, and tree pollen*.
*Note: all® free clear is not intended to treat or prevent allergies.

Obviously, we enjoyed our weekend so much! How was your weekend? Have you been suffering from any allergies, too?
Iron-On Vinyl Tutorial
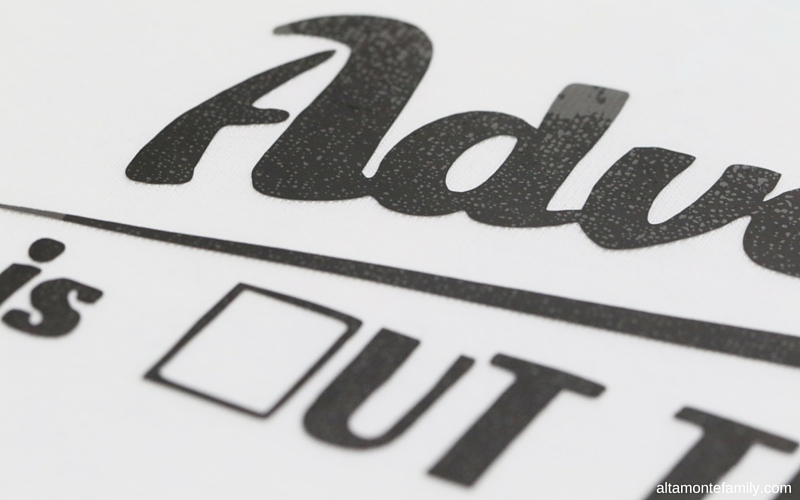
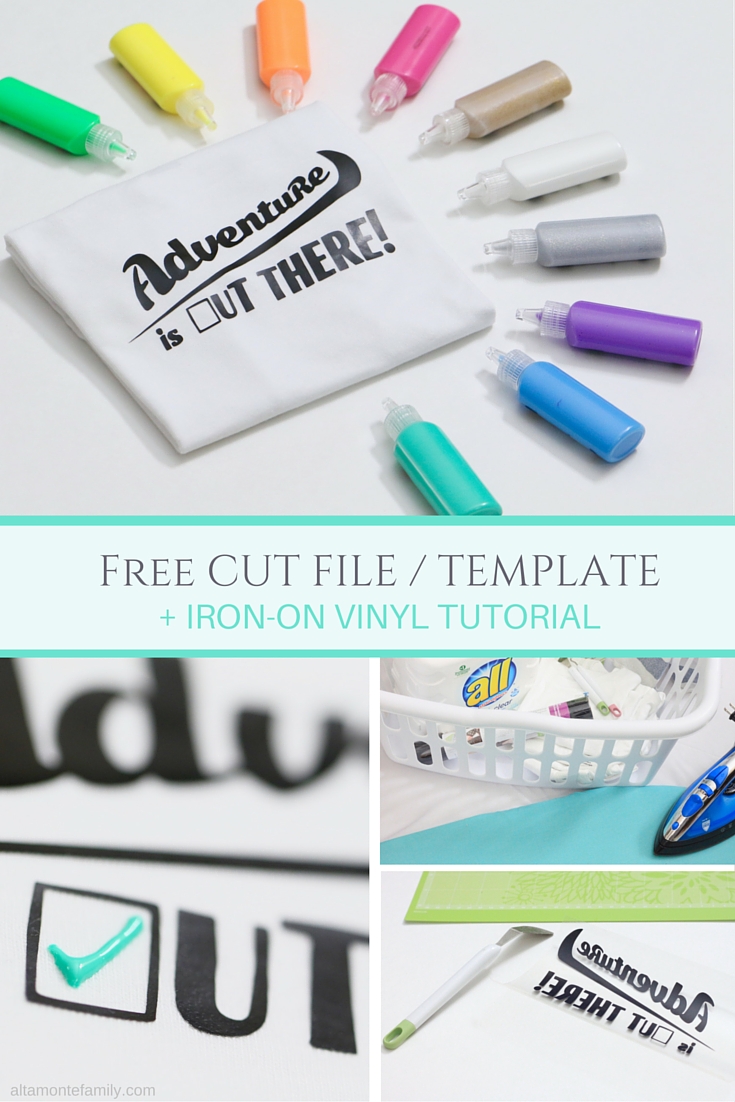
It’s awesome when one adventure gets to inspire another adventure! It never gets old. We wanted to bring even more fun and excitement home with us, so we decided to make this T-shirt design. The empty box (or parallelogram, if you prefer to be technical) is there to encourage you to make it your own. Add in any design that makes you happy. For a proud parent, it could be a child’s thumb print. For a budding artist, it could be any masterpiece that strikes his or her fancy.
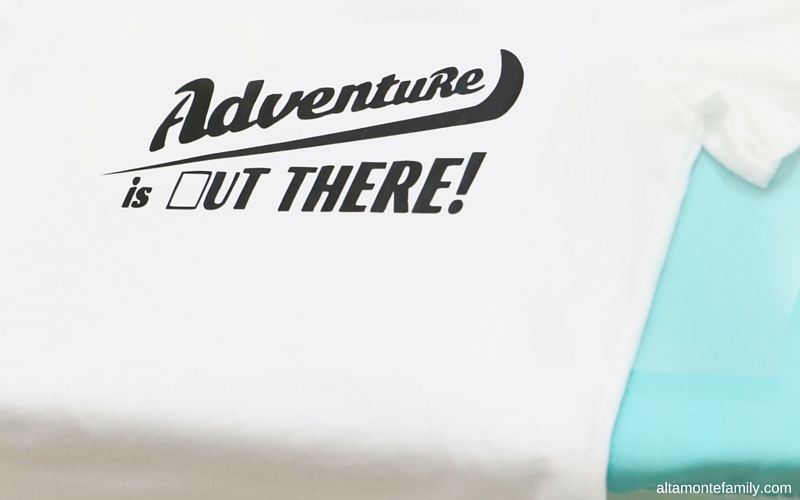
Then there’s always the option to simply leave your mark.
After all, God made each of us unique and special. He has given us our own set of talents. There’s no need to compare ourselves with others. We are all important in His eyes.
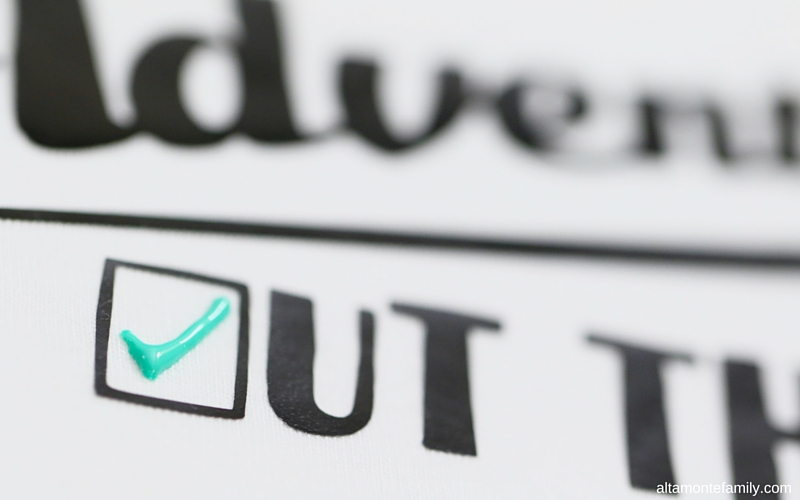
We used dimensional fabric paint to make our (check) mark stand out.
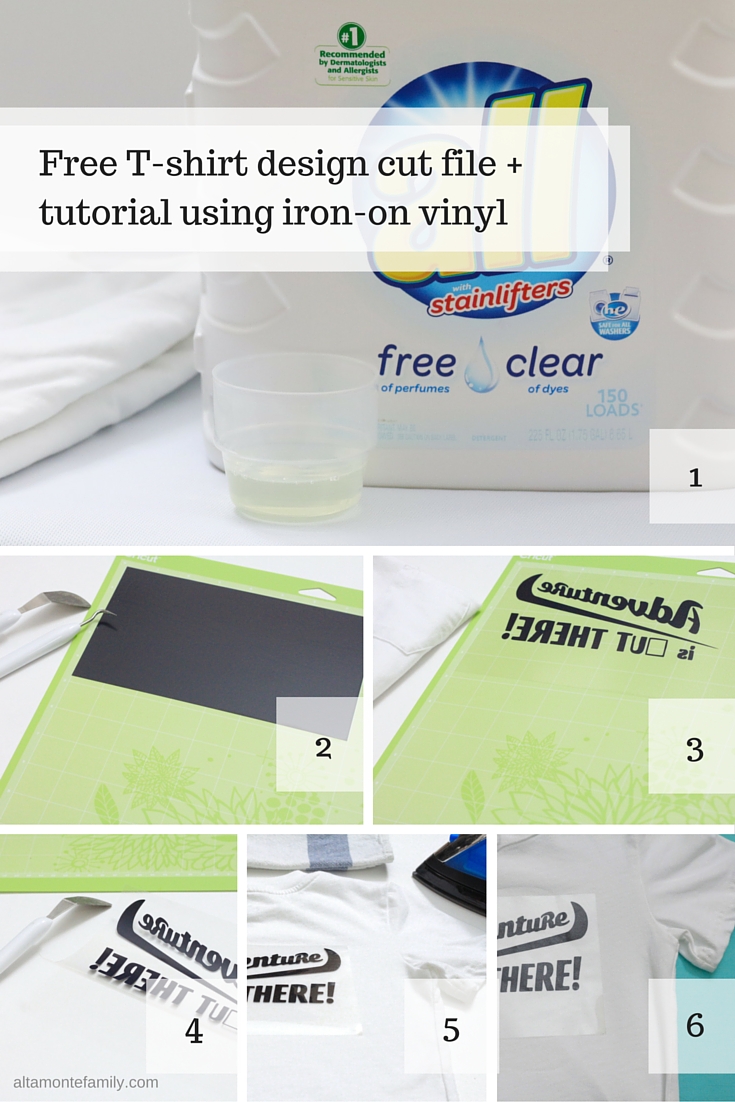
Anyway, if you’re more visual and already somewhat familiar with iron-on vinyl projects, here are some step-by-step photos.
Note: If you’re also using all® free clear, remember to follow the directions for use exactly as shown on the packaging. Do not overuse it by putting too much product in one load.
Instructions:
- Pre-wash the T-shirt before adding your design
- Download our free digital cut file (link at the bottom of this post) and cut using an electric die-cutting machine or any other appropriate crafting tools (make sure that the piece of iron-on vinyl is positioned face down with the shiny plastic material on the bottom)
- Weed out the negative part of the iron-on vinyl material
- Remove plastic film (with the design) from off of the cutting mat
- Position plastic film onto a desired area on the T-shirt while preheating the iron
- After preheating the ironing board, place the T-shirt (design facing up) onto the ironing board, cover plastic film with dish towel, then use iron to affix your design (make sure to follow the instructions on the iron-on vinyl packaging exactly as shown)
Based on our experience, the iron-on vinyl design is ready once the plastic film starts to make quite a few bubbles. We removed the plastic film layer once the project has had the opportunity to cool down a bit.
Then we added some dimensional fabric paint (which we had to leave on for 4 hours + another 72 hours before thoroughly giving the T-shirt a good wash using some of that all® free clear in the washer).
Where to get the free digital cut file
If you would like to see more detailed instructions or would like to get the free digital cut file or template, feel free to click on the button below. Please note that it is a PNG file and not an SVG file.
If you would like to pick up some all® free clear detergent or all® free clear Mighty Pacs®, we found ours at Sam’s Club.
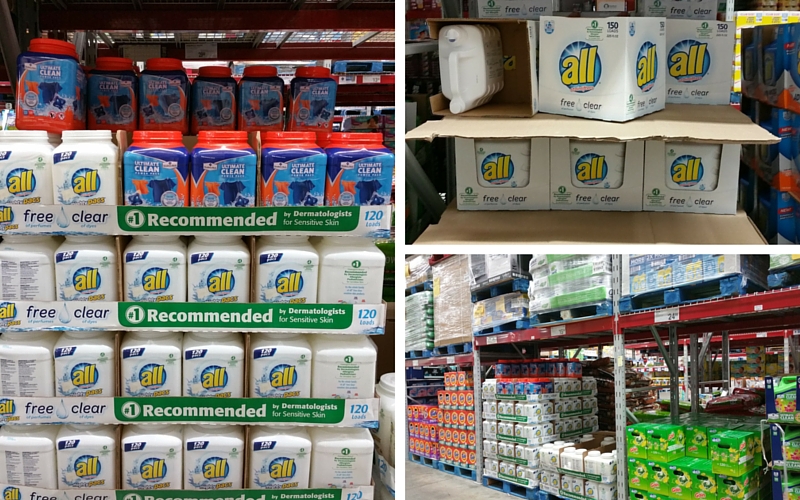
Ready to create? Where will you wear this shirt or who will you give it to? Feel free to tag us on Instagram, we’d love to see how you made this shirt your own!
Check out these other stories, tips, and adventures and be inspired!
Adventure is out there!!!
We’re Social! If you liked today’s post, feel free to share, bookmark, or pin it! Follow us on Pinterest, Facebook, and Instagram for more updates on our latest projects and adventures.
So fun! Love the shirts… great idea to design your own. #client