We went shopping at Hobby Lobby yesterday shortly after our baby’s meet-and-greet with my husband’s coworkers. I saw a piece of 1/32-in balsa wood and thought, “Can the Cricut Explore cut balsa wood?” Sure, there are other way more popular blogs out there that confirm that the Cricut Explore can indeed cut balsa wood; the thing is, the learning experience (and thrill?) is far greater when you get to see it for yourself!
For a moment, my son was worried and asked if our Cricut Explore Air is insured. It isn’t. And–no, we didn’t get our machine for free or at a deep discount like the big-time official Cricut bloggers. We purchased ours the moment the Lia Griffith teal model came out in March. It wasn’t until a few weeks ago (late September) that we became an affiliate with Cricut… simply because we really like using our Cricut Explore Air.
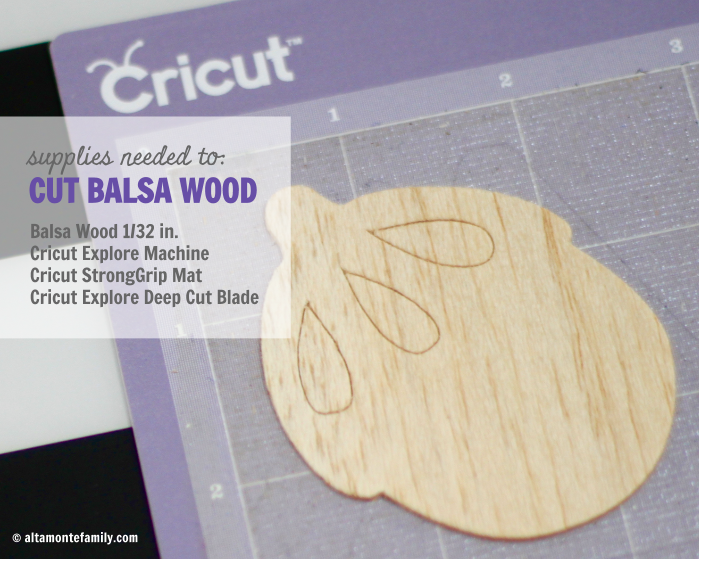

We’re not serial crafters (as mentioned in our previous 3-month review of the Cricut Explore Air) and we have never owned anything-Cricut before. What got us curious was its techy aspect–the bluetooth technology–as well as its long list of things it can cut! Being a millennial mom and selective early adopter (my 1st gen iPad still works), I was curious to give the Cricut Explore Air a try, even at my [husband’s] own expense. The whole family has been hooked on the Cricut Explore Air since then… and, quite frankly, this purchase was mainly the driving force behind starting this blog. It’s our hope to share our creative–and sometimes expensive–pursuits with you while making sure to give the glory back to God! He is the Source of our creativity, He is the Master Creator, and we can draw so much inspiration from His Creation! Case in point, we’re using an acorn for today’s experiment. This acorn cut file comes from the Lia Griffith Four Seasons Home Decor cartridge.
Can’t you tell we just love Lia Griffith’s work? We purchased her exclusive Cricut Explore Air bundle, and now we just purchased her Four Seasons Home Decor cartridge! While we also enjoy making our own digital cut files in Google Draw, we can certainly appreciate the creativity of other artists whose work we love.
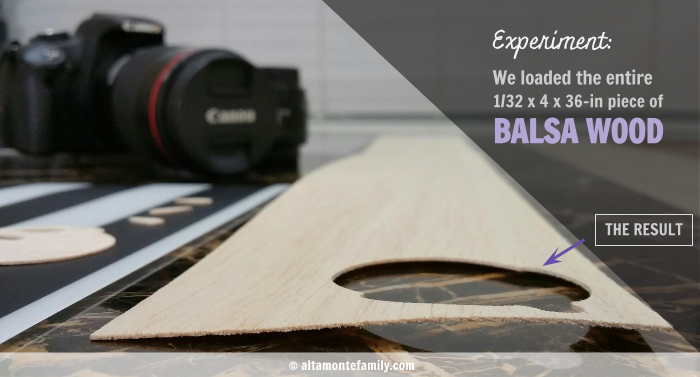
Because I was being part-lazy, part-crazy, I decided to load the entire 36-in piece of balsa wood onto my Cricut Explore Air. I used a not-so-brand-new StrongGrip adhesive cutting mat (I had only used it twice before), and I was pleased to see that no shifting occurred despite running 5 multiple cuts on the balsa wood (note: I did not unload the cutting mat for each re-run).
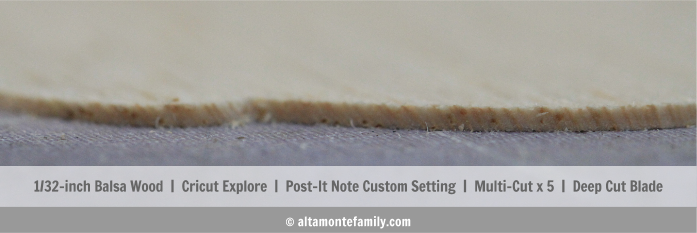
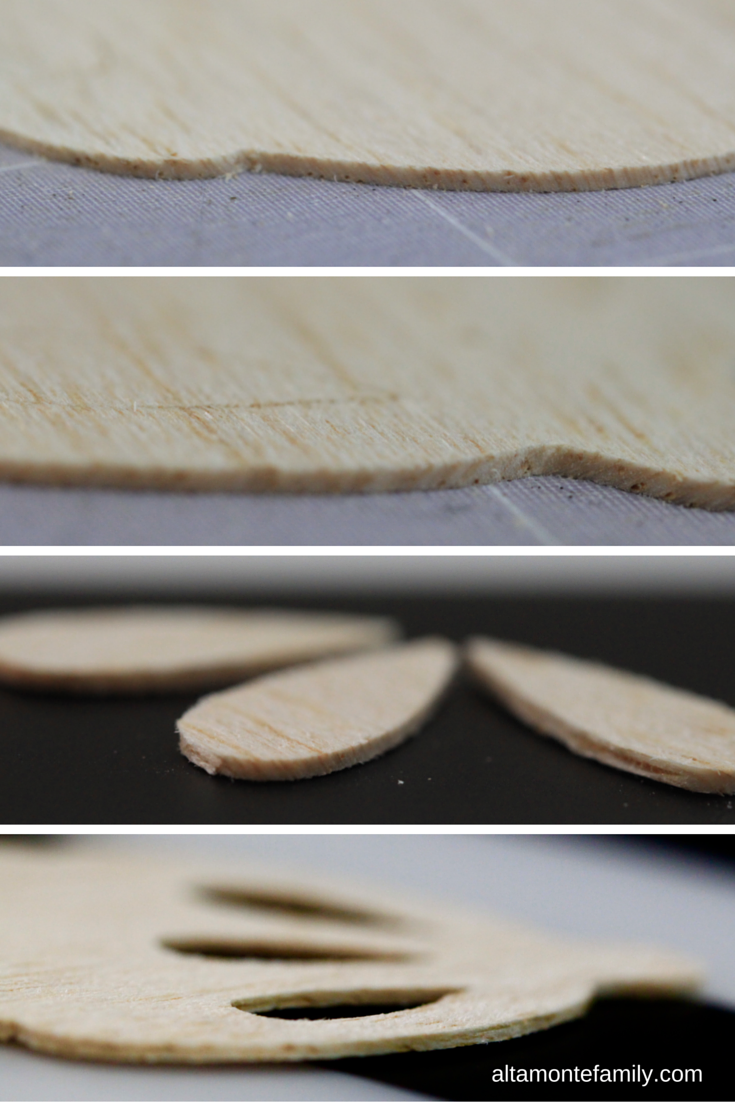
The quality of the cut appears to be quite clean, considering the brittle / fragile characteristics of balsa wood with a 1/32-in thickness.
I was so excited to run the project through the machine that I had forgotten to change the custom settings! I may have turned the dial to “Custom” but I had forgotten to configure the settings in Cricut Design Space! The default configuration was set to a “Post-It Note” cut. Thankfully, the cut came out clean after running it through the machine 5 times.
I repeated the process, only this time, I adjusted the Custom Settings and set it to Distressed Foam (since it appears to be the thickest medium in the bunch). The project didn’t “make the cut” the 1st try…neither did it do a great job up until the 5th try. So, I decided to give the “Post-It Note x 5” method another try. Sure enough, it worked. Again!
Here are the supplies we used:
- 1/32-in thick balsa wood {we got ours from Hobby Lobby}
- Cricut Machine (we used the Cricut Explore Air)
- Cricut StrongGrip adhesive mat
- Cricut Deep-Point Blade + Housing (or if you already have the housing, here’s the link to just the replacement blade)
- Cricut Tool Set (we used the scraper and spatula to gently lift the balsa wood off the mat and to clean the balsa wood dust off the mat)
- Image from the Four Seasons Home Decor cartridge
How To Cut Balsa Wood With Cricut Explore
Please note that our quick tutorial may not sound “official” to those who follow directions very closely. We’re simply sharing what has worked for us:
- Make sure that you have loaded the Cricut Explore Deep Cut Blade (with housing, of course).
- Attach a piece of 1/32-in thick balsa wood onto your Cricut StrongGrip Adhesive Mat.
- Set the dial on your Cricut Explore to “Custom”.
- Select the “Post-It Note” custom setting in Cricut Design Space.
- Load your project (mat) onto Cricut Design Space and press “Go”.
- Do not unload your project after the first cut. Re-run the project 4 more times.
- Carefully unload the project. Use a weeder, if needed.
That’s it!
Since balsa wood can be quite fragile to work with, we learned not to use designs with narrow spaces between the detail work. While our Cricut Explore Air managed to make clean cuts of the detail work, we noticed that some parts of the balsa wood started breaking off shortly after production. Perhaps working with a thicker piece of balsa wood, like 1/16-in, may help. We shall see (so keep checking back)!
Update: We experimented with balsa wood with a thickness of 1/16-in. Our conclusion? We’d rather stick with the 1/32-in balsa wood.
Here are our observations about the 1/16-in balsa wood:
The 1/16-in balsa wood appears to be too thick for the Cricut Explore, the rollers end up leaving unsightly marks on the wood. We tried moving the rollers off to the side as others recommended in other popular blogs, but we didn’t want to “force-move” them and risk breaking the parts.
The 1/16-in balsa wood appears to be too brittle. We used it to make the exact same acorn project (as seen in the photos above using 1/32-in balsa wood) and parts of the wood started to chip off, thus ruining the project.
For the 1/16-in balsa wood, the best project would be a basic cut (based on our limited experimentation), like a basic heart shape, no wider than 2.3-in wide (so that it’s not too wide for the rollers leave a mark). We ran it 5 times using the “Post-It Note” custom setting (using the Distressed Foam setting ruined it). The results were satisfactory however the edges were not as smooth compared to the 1/16-in balsa wood project.
In the meantime, we will be creating lots of projects with balsa wood now that we know how it works!!! We’re super excited!!! Be ready for more Cricut Explore Air tutorials when they start pouring in!
So, what do you think?
We’d like to hear your thoughts: Have you ever used the Cricut Explore to cut balsa wood? What have your results been like?
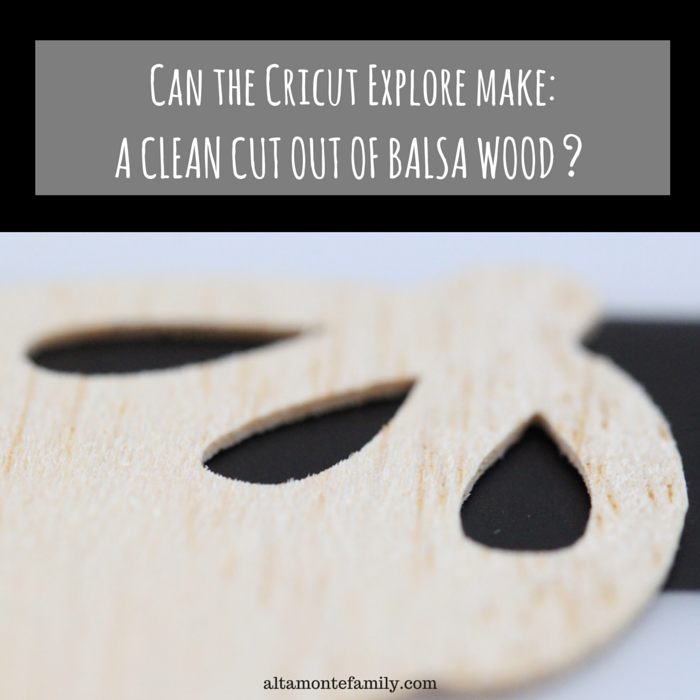
If you like this post or would like to learn how to use the Cricut Explore Air to cut balsa wood, feel free to save, pin, share, or bookmark this post!
Recent Cricut Explore Balsa Wood Project
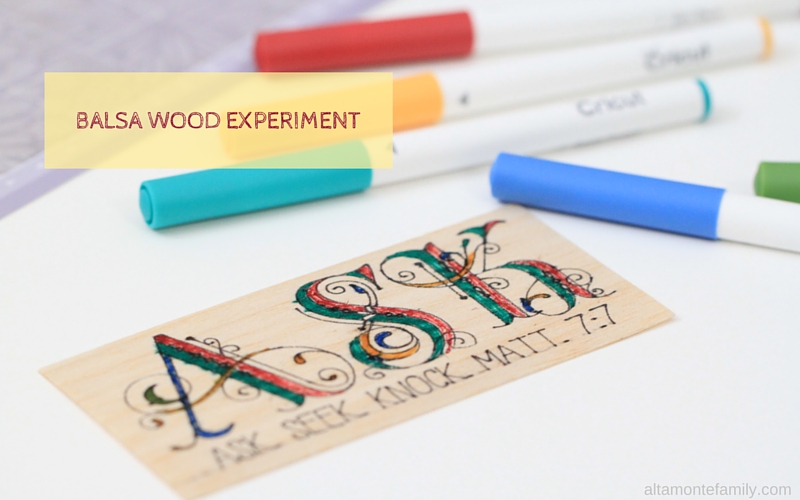
Click on the pic below to check out our latest Cricut Explore balsa wood project / experiment!
Follow Us On Social Media: Keep checking back for more project inspiration! Follow us on Pinterest, Facebook, and Instagram for updates.
I love your wood project. it’s amazing to see what all the cricut can do,especially cut wood..I would like to see more of your projects that you have done. I am just getting started with my cricut and i don’t know much at all about it but I am eager to learn. Thanks for Sharing! SADRA OSUNA
I saw on another blog where they mirrored the image so the roller marks would be on the back.
Can the regular Cricut Explore do this. and what kind of housing do u use??
The only difference between Explore Air and Explore one is that the air is wireless. As long as you have the deep cut blade and housing you should be fine using the strong grip mat.
I have the new Cricut Explorer and do not have the “Post it Note” option. What setting would I use to cut my wood? I’m anxious to create a Monogram.
Thank you!
I am new to cutting balsa using my cricut explore air 2. Where does one find the “post-it note” custome setting in design space. I can only find balsa 1/16 when selecting custome material
Can the old cricut machines do this wood cutting please
Does it make your blade duller faster?
Hello, will the cricut work for words cut from balsa? I see the word GATHER on walls and would love to make my own.
I was thinking of trying this with a word. What are your thoughts?