Disclosure: This post contains affiliate links and I will be compensated if you make a purchase after clicking on my links.
A lot has happened since we’ve last been super active on this blog! After about 2 years of doing paid work, God began to add to our family — in the form of dogs! What started out as one, gradually (or not so gradually) turned into a pack of five! For a little while, we even had a “six pack”, while we fostered a labradoodle who later found his forever home! Anyway, God has immensely used our pups to inspire and motivate me to learn new skills over the last year and a half: from sewing, embroidery, drawing, surface pattern design, and slowly but surely, Adobe Illustrator! So, when Blurb extended the opportunity to try out their products, I saw it as a “catalyst” of sorts to push me to do more! Using my artwork inspired by our pups and their Instagram “furiends”, I’ve put together a tutorial (with screen shots) on how to create custom notebooks with Blurb!
How To Create Custom Notebooks With Blurb BookWright
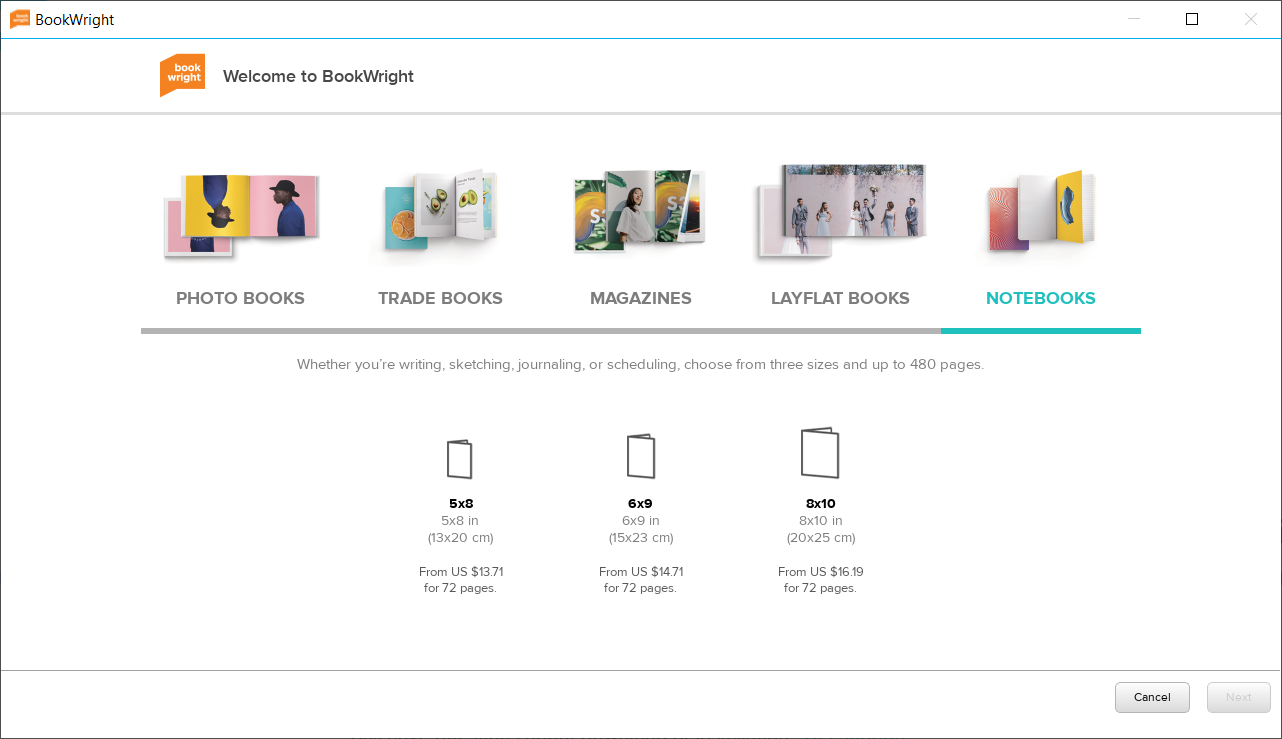
While Blurb offers alternatives on creating and designing your own products, I decided to use their proprietary platform known as, “BookWright“. I downloaded it on my PC (although I primarily use an iMac, but remember, I’m using this opportunity to push my skills and patience to the next level) and the installation process was quite breezy and straightforward. The user interface is pretty simple and easy to follow, with opportunities to change your mind regarding your layout and design.
Take the screen shot below, for example:
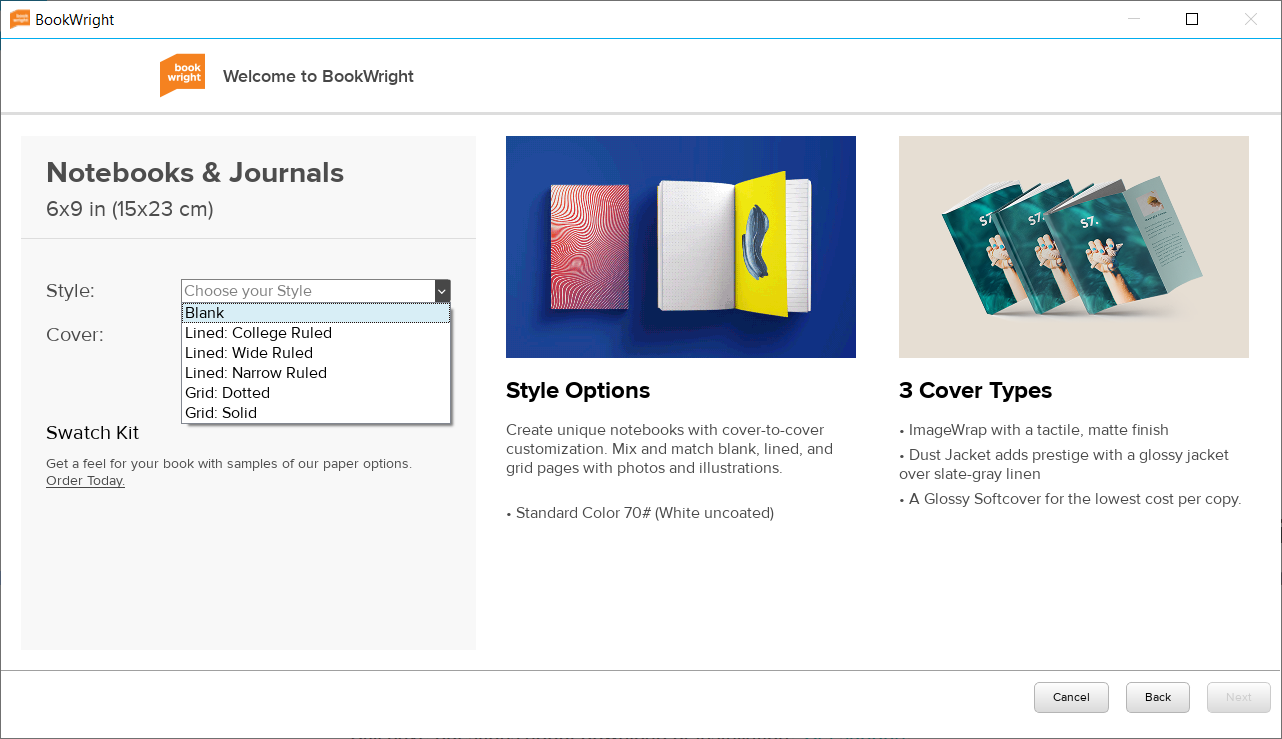
While the prompt asks you to choose a “style”, you can easily change it to whatever you want once you’ve gotten past all of the initial setup prompts. As a matter of fact, my custom notebook had a combination of blank and dotted pages. Blurb BookWright allows you to seamlessly customize your notebook from cover to cover! I think this is what makes Blurb’s service very unique. In contrast, most custom notebook providers only offer the ability to customize the notebook cover, and *maybe* the first page. For those who like to be creative and enjoy infusing a “DIY element” to custom notebook gifting, Blurb is a great solution!
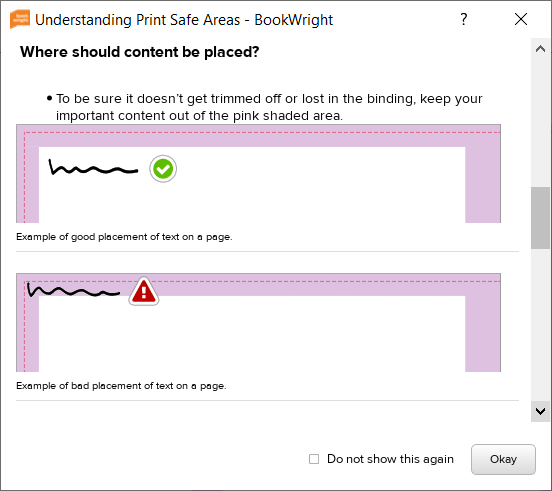
One of the many things I enjoyed while creating custom notebooks with Blurb was the warning prompt! Okay, maybe I didn’t enjoy it all the time, especially when I was working on the custom notebook during the wee hours and my hand-eye coordination wasn’t at its best!
Let’s talk about custom notebook covers, for a sec…
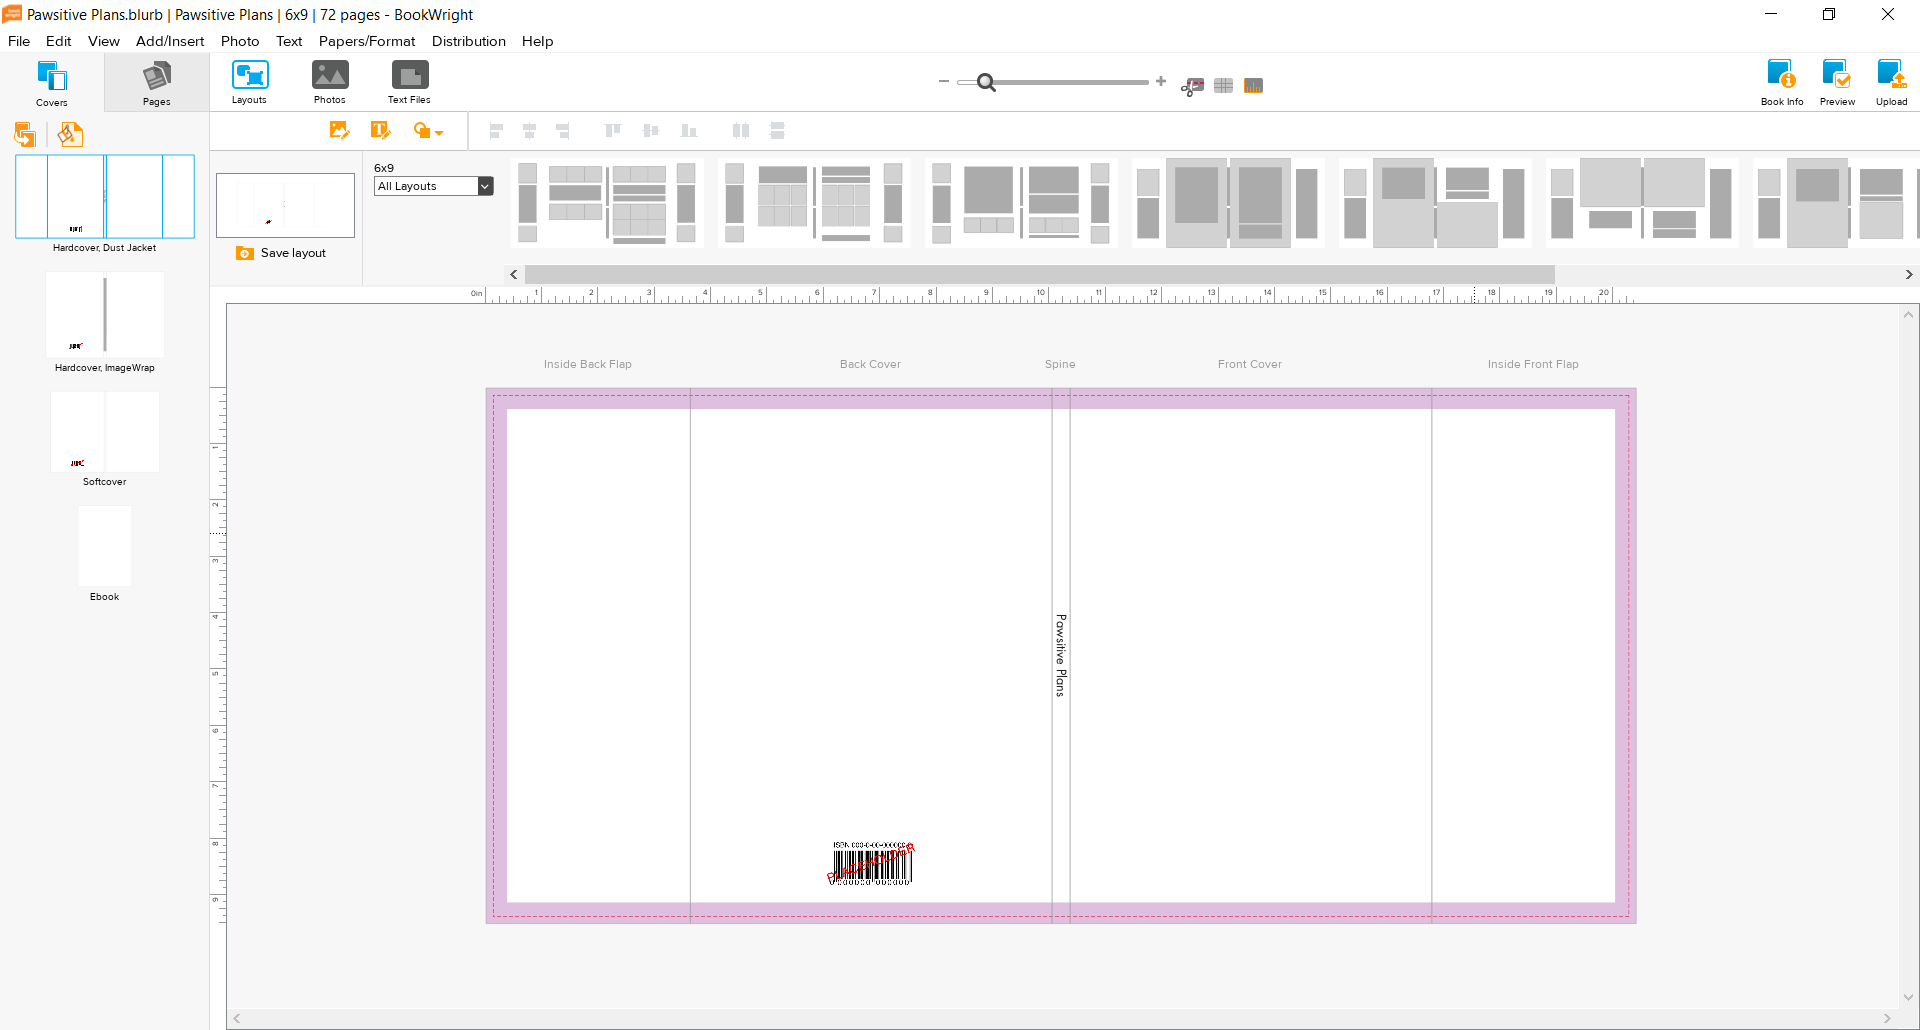
As you can see below, my “covers” tab is active. You’ll have the opportunity to set up your notebook’s a) Hardcover dust leaf jacket, your b) Hardcover ImageWrap cover, c) your Softcover, and d) your Ebook cover. I decided to skip the Ebook part since I’ve yet to see a notebook turned into an Ebook. Maybe you’ve come across one before; do tell!
Just above the work area, you’ll see a myriad of layout options, all provided by Blurb BookWright. Additionally, you have the option to create and save your own layout! You can customize your own layout by specifying the dimensions of your image and text. You can also add in some basic shapes!
To make your custom notebook truly unique, simply import your own images / artwork. As you can see, I chose a very specific theme. Working on this custom notebook project has pushed me to create more drawings — because I enjoy a notebook with illustrations sprinkled throughout.
Of course, your custom notebook design, layout, and theme are up to you! You don’t have to use too many illustrations. As a matter of fact, you really don’t have to use any, if you prefer to embellish your custom notebook with your favorite quotes! The options within Blurb BookWright are more than enough to get you started.
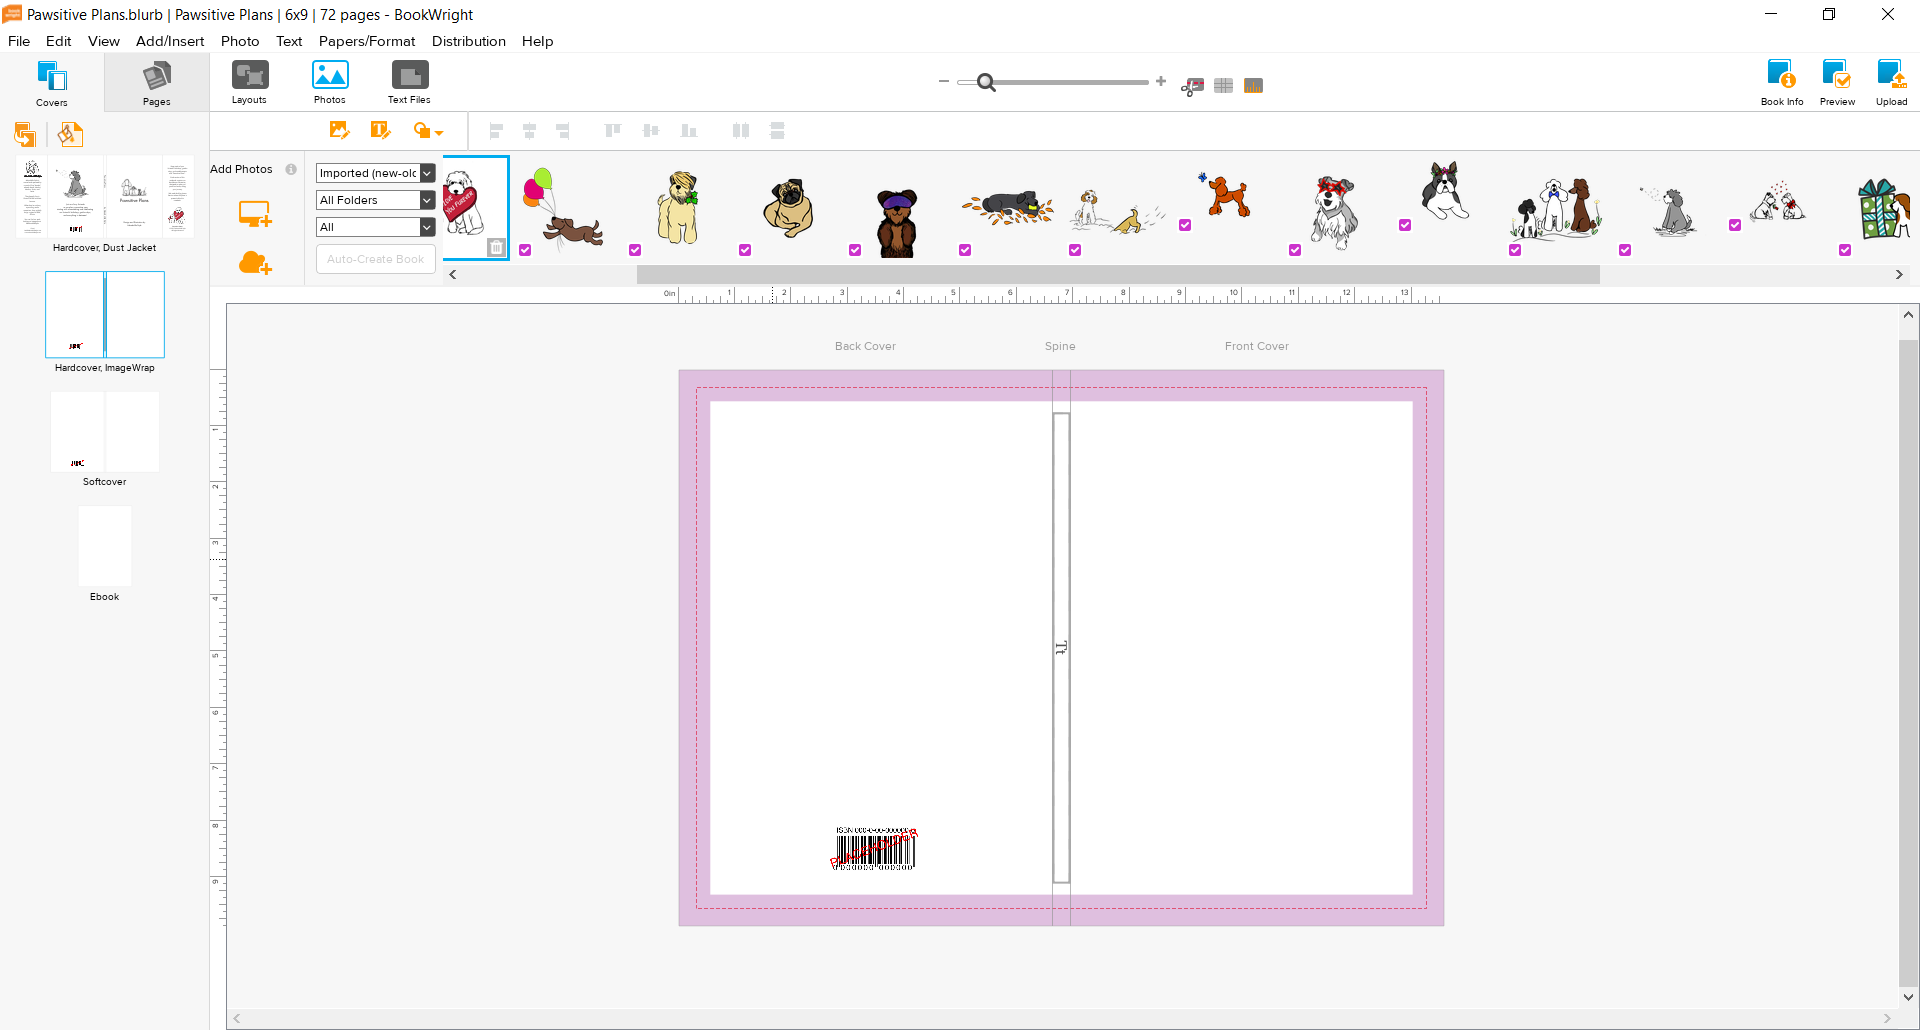
Oh, there’s one more feature that’s pretty cool with these custom notebooks with Blurb: you get a free ISBN number! Actually, I got one ISBN per notebook cover type, namely: a) Hardcover dust leaf jacket, b) Hardcover ImageWrap, and c) Softcover.
Before Blurb BookWright allows you to purchase or set up your notebook for sale, you will have the option to spellcheck your work.
Once you’re done with the spellcheck section, you’re all set!
To summarize, here are the…
10 steps to create custom notebooks with Blurb*:
- Create a Blurb account online — it’s free!
- Download Blurb BookWright on your desktop computer (or laptop) — this is also free!
- Follow the setup prompts.
- Design your pages — there is no charge until after you’ve completed the design process and uploaded your book for printing.
- Design your covers — each notebook cover type has its own layout options.
- Save your work.
- Click on the “Upload” button on the top right.
- Name / re-name your work.
- Spellcheck, if desired (highly recommended, of course).
- Make your purchase / set up your product for sale.
For me, the most challenging part was deciding on the page layouts, particularly the built-in “notebook” layout options. So many design decisions — it’s quite a fun process!
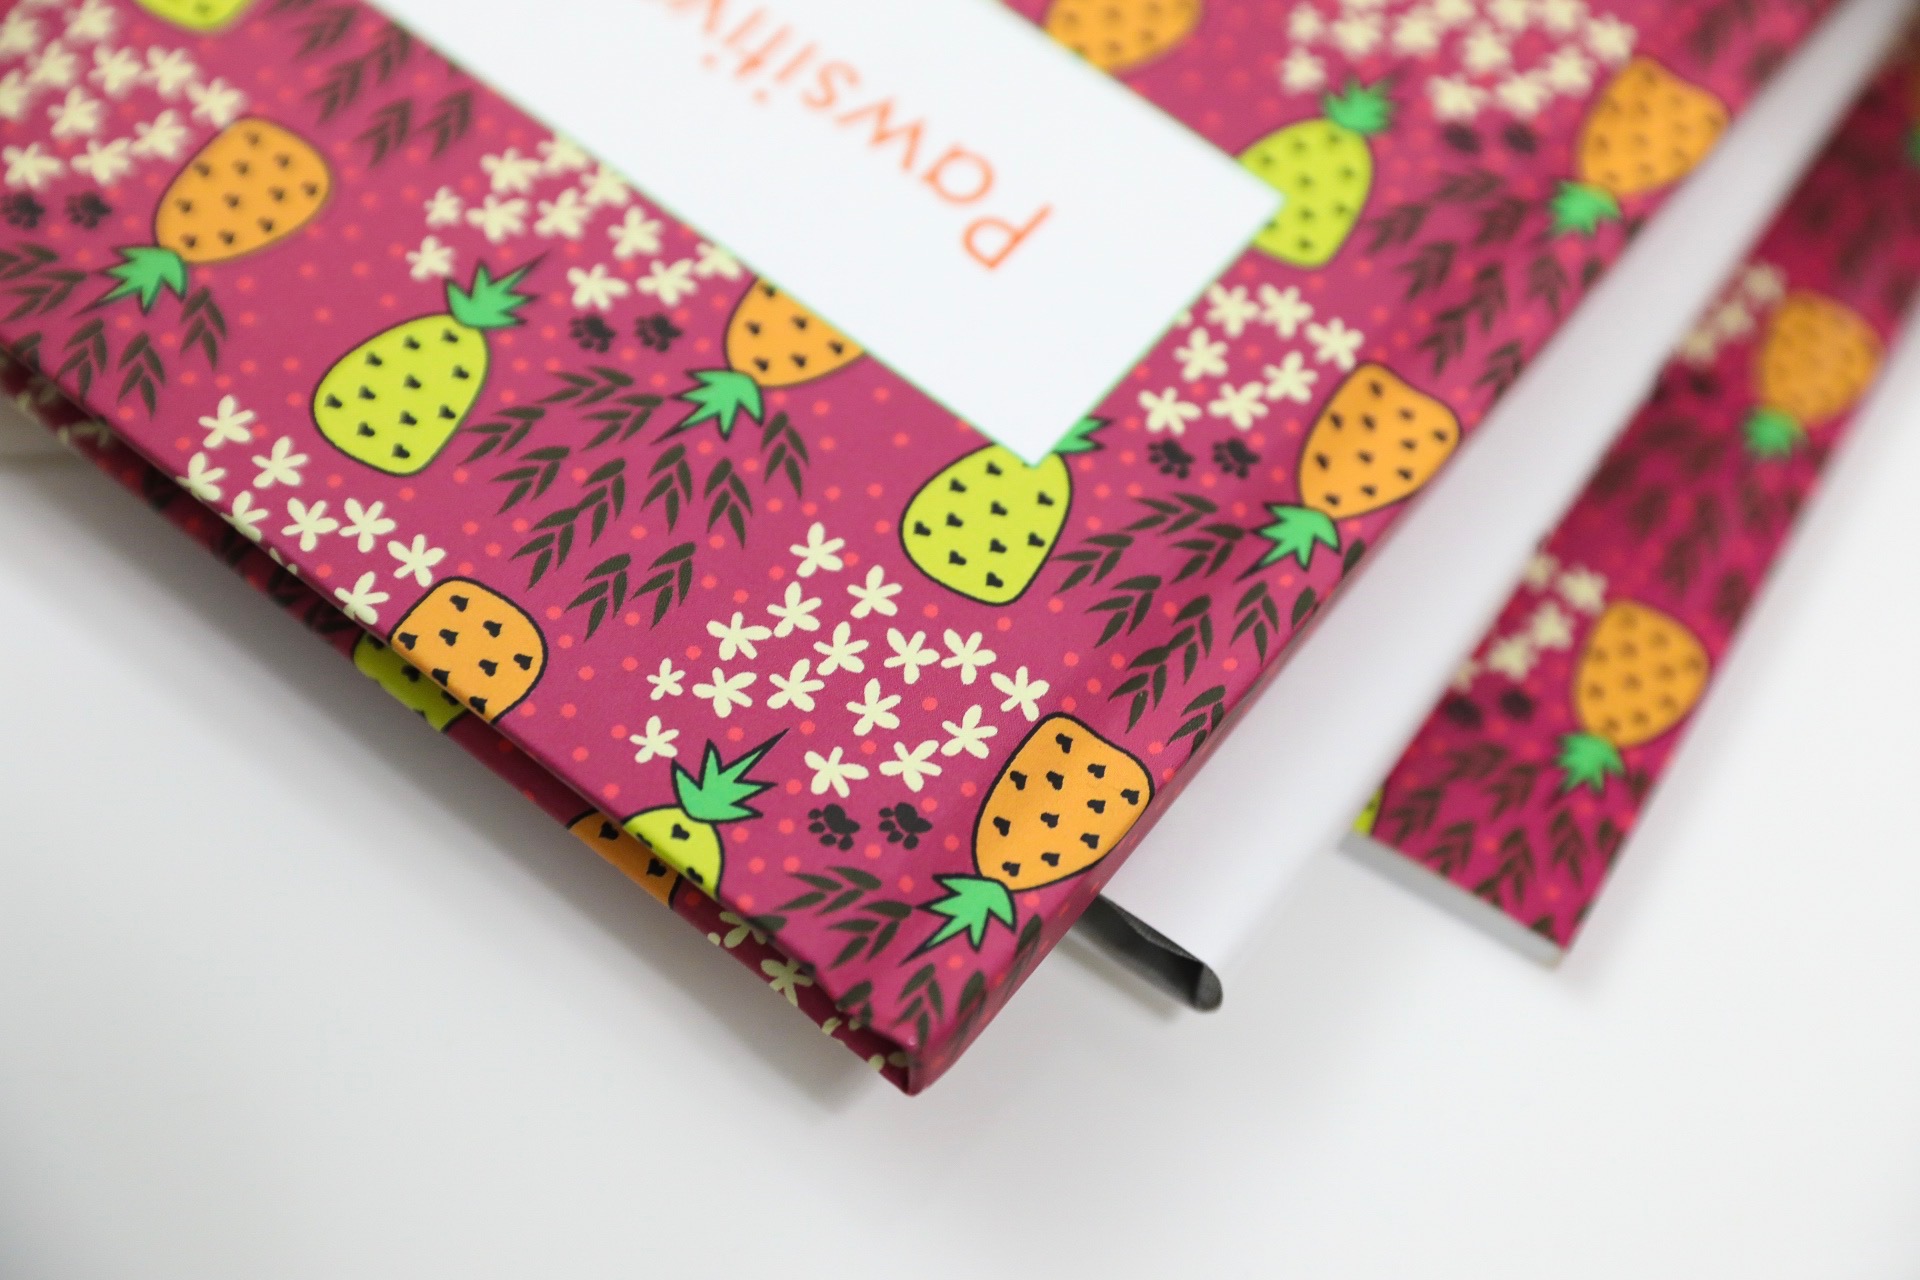
Here’s a photo of the 3 different cover types. Personally, I’d have to say that the hardcover imagewrap (the one on top) is my absolute favorite for notebooks!
Ready to create your own custom notebook with Blurb?
For under $30.00, you can design a very special custom notebook gift for yourself or the ones you love! Even better, you can also sign up and save 35% if you’re a new customer with Blurb — please click here to learn more.
*All of this information is only accurate as of the time of this post. Please visit the Blurb website for the most up-to-date information.
Leave a Reply