Interested in creating your own card–better yet, having the ability to create them using FREE web-based tools like Google Draw?
Google Draw is part of the Google Docs suite and we think it’s pretty easy and straightforward to use!
Today, we’re going to show you 10 basic steps on how to create your own card using Google Draw. After you learn the basics, we’re pretty sure you’re going to want to explore, experiment, discover, and create more! That’s what happened to us!!!
So, onto the basics…
Ready to begin?

Here are the 10 Basic Steps To Creating A Card In Google Draw:
- Launch Google Draw
- Google’s documentation suggests going to: drive.google.com, then click New on the top left, hover over More, and choose Google Drawings
- If you have an older version of Google Drive, Google’s documentation suggests clicking the Create button on the top left, then choose Drawing
- Go to File > Page Setup and select Custom from the drop-down, then change the dimensions to 8.5 x 5.5 inches
- NOTE: We will be creating a 4.25 x 5.50 inch folded card that fits perfectly into an A2 Invitation Envelope.
- Go to Insert > Shape and choose a Rectangle to cover the entire project (be sure to keep your border lines within the canvas / drawing so you don’t lose your “cut lines” during printing)
- Change the Fill Color of the Rectangle to white
- Insert a Line down the center of the Rectangle so you know where your fold line is going to be (we will remove this line later)
- Insert an Image of your choice then position and re-size
- Insert Text Box (select your font style, font size, and alignment–center, left, right–as desired)
- Remove line at the center of your drawing (the line we created in Step 5)
- Go to File > Download As > PDF Document
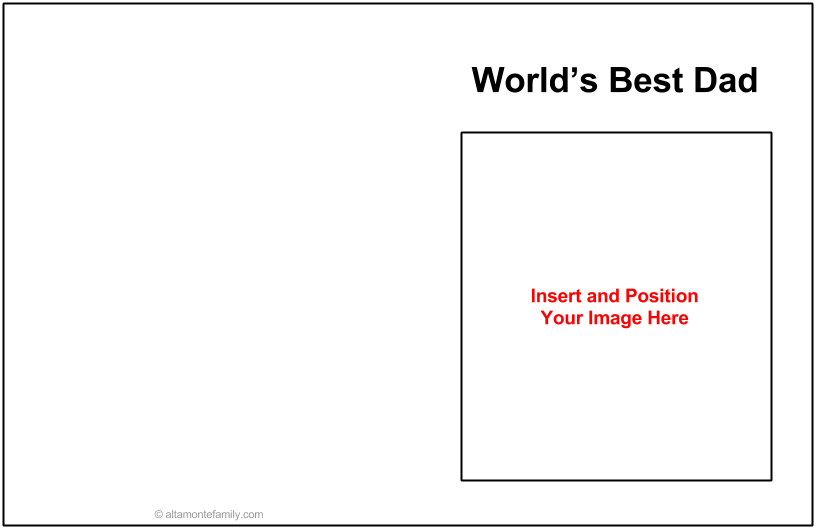
- Your PDF document will look like the one below (when printing this on 8.5 x 11 paper or card stock, it may / may not automatically print in landscape format–so do double-check; the 8.5 x 5.5 dimensions of your card should remain in tact). Cut along the border lines, fold your card, and you’re done!

So–what do you think?
Easy enough?
Once you learn these basic steps, it won’t take long ’til you’re off to creating amazing cards for friends and family!
Have fun using Google Draw to make your own cards!
Disclosure: As of the time of writing this post, AltamonteFamily.com is by no means affiliated with any of the companies or organizations mentioned in this article. AltamonteFamily.com has not been compensated in any way nor has AltamonteFamily.com been influenced to write about these products. This post is a result of the personal observations and independent research of members of AltamonteFamily.com. All opinions solely belong to AltamonteFamily.com.
Thank you SO MUCH for this!!! I was pricing invitations on a popular photo/invitation website and it would cost over $300 for 160 invitations and RSVP cards. That was even with a 40% off Promo Code! I went to a craft store and purchased two different size envelopes (one for the invitations, one for the RSVP cards) four packs of card stock paper, and a $20 paper cutter. Since i used a 40% coupon on the paper cutter, I spent $52 on materials to make 200 invitations and RSVP cards. Now I just have to print them myself! I wouldn’t have been able to do it without the help of this article.
We are paying for the wedding ourselves, and every penny we save we can use towards home renovations.
Thank you thank you thank you!
Perfect! I took what you suggested and was able to make a foldable invite (one page, 4 quadrants that with 2 folds makes a nice invite). I keep the page as a full page and rotate my work for the upper left corner so it would be facing correctly when folded.
I love these kind of Thank you notes and invitations because we can personalize. Thanks for making this easy! I was intimidated to start.