Now that school is back in full swing, there will be lots of opportunities to share some yummy treats and goodies with students in your little Einstein’s class 😉 Sometimes, the only thing that’s keeping us from sharing is not having any treat bags on hand. We may not always have the time or energy to go to the store–either that or we forget to pick up some treat bags while we’re out and about (it seems to happen a lot when you’re getting old). Thankfully, the light came on and we decided to create our own treat bags with resources that we already have at home! As with our other owl printables, we’re happy to share our free printable owl treat bags with you!
Supplies Needed:
- Color printer
- Printer paper
- Scissors
- Glue / Adhesive
- Hole puncher (optional)
- Twine (optional)
These owl treat bags are super easy to make! Plus, you can write in your own sentiment or occasion on the owl’s body (like we added “woot!”) or you can write in the student’s name. Have fun making a bunch of these with your kids while teaching them the importance of sharing. A good Bible verse to teach your children while making these owl treat bags would be:
And whatsover ye do, do it heartily as to the Lord, and not unto men;
Colossians 3:23 KJV
Free Printable Owl Treat Bag Assembly Instructions
- Print out the file on 8.5 x 11 paper and cut out the gift bag template as well as the matching gift tag.
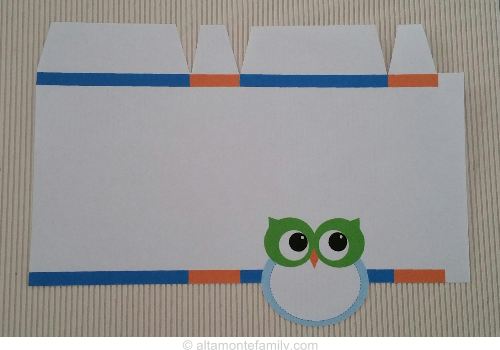
- Fold in the flaps.
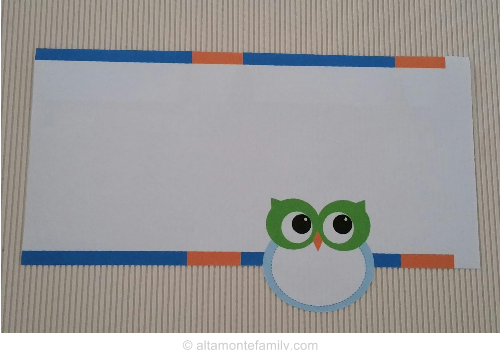
- Make 4 fold lines. Use the different-colored lines (in this case, blue and orange) to serve as your guide so you know where to fold.
- The 4th fold line will be at the end of the 2nd orange line (just before the empty space where you will need to add glue.)
- Add glue onto the thin white strip (as seen below) and adhere that section onto the other end of your project (making sure that the glue doesn’t catch any of the flaps).
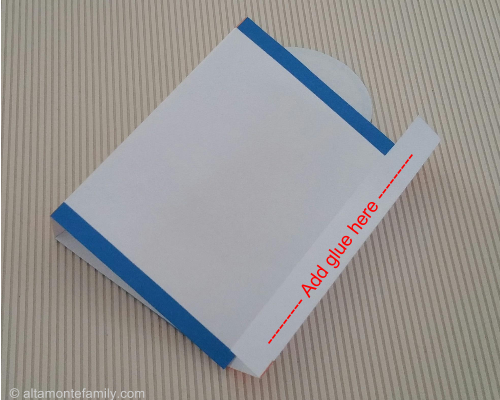
- Fold in the smaller flaps and glue one of the larger flaps onto them.
- TIP: Add glue on top of the smaller flaps (instead of adding glue onto the larger flap) to avoid adding glue onto the wrong areas.
- Fold in the other larger flap and glue it onto the first larger flap. The bottom part of your gift bag is now secure!
- Pinch the top of your gift bag on each side (as shown below).
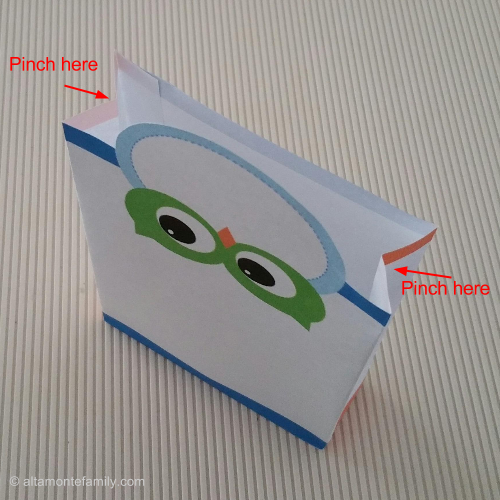
- Fold the top part of the gift bag so that the owl is sitting in an upright position.
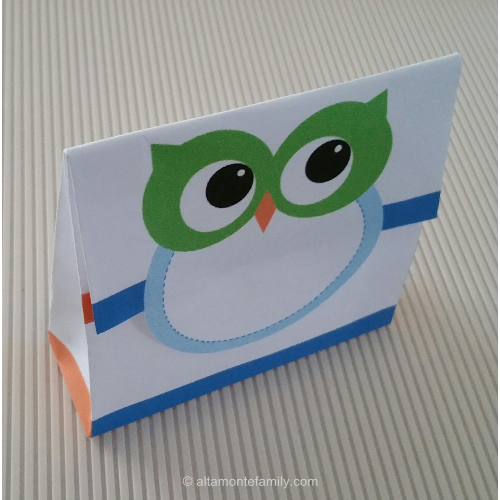
That’s it! Now, you and your kids can decorate and embellish your treat bags as you please!
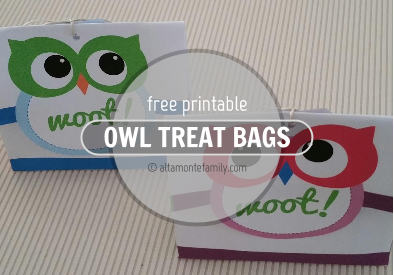
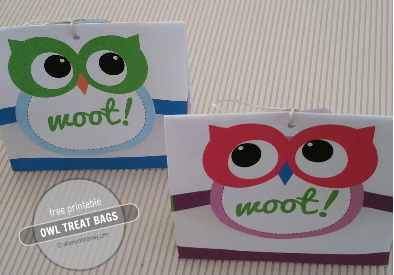
As usual, we have created our free printable owl treat bags in blue and in pink, so feel free to select the color of your choice by clicking on the appropriate button below.
We hope you’ll enjoy using and sharing our printable owls! If you think of other applications or uses for these owls, feel free to share your story in the comments. If you like this post, feel free to pin it, bookmark it, and share it!
For Personal Use Only: We created these free printables for your personal, non-commercial use only. Please do not alter them in any way. Kindly read our full Terms of Use. The watermark on each image has been removed from the free printable PDF file.
Follow Us On Social Media: Keep checking back for more owl kinds of owl-themed inspiration! Follow us on Pinterest, Facebook, and Instagram for updates.
See ya back soon!
Disclosure: As of the time of writing this post, AltamonteFamily.com is by no means affiliated with any of the companies or organizations mentioned in this article. AltamonteFamily.com has not been compensated in any way nor has AltamonteFamily.com been influenced to write about these products. This post is a result of the personal observations and independent research of members of AltamonteFamily.com. All opinions solely belong to AltamonteFamily.com.


Leave a Reply