Thanksgiving is just around the corner! You’re probably here because you’re looking to make your own DIY Thanksgiving Dinner Napkins to match your Fall tablescape. The nice thing is, you can easily design one if you’ve got a Cricut Explore machine and some iron-on vinyl! If you don’t have one yet, check out our 10 reasons to buy a Cricut Explore!
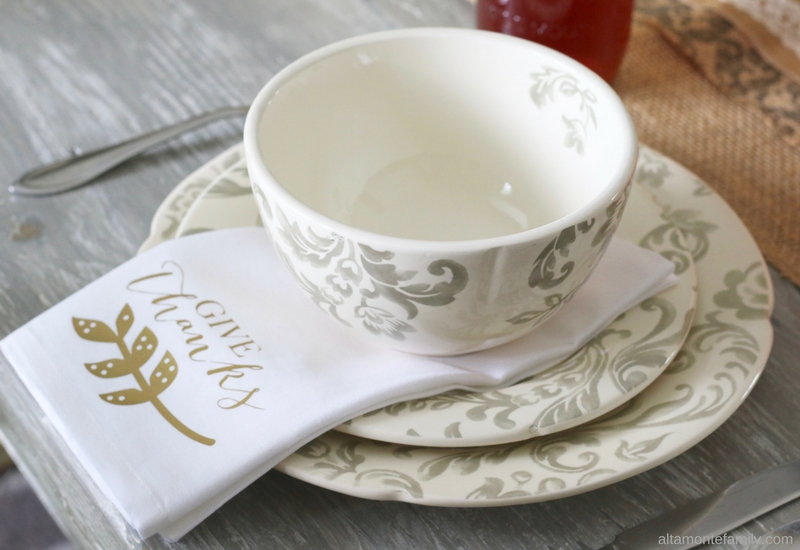
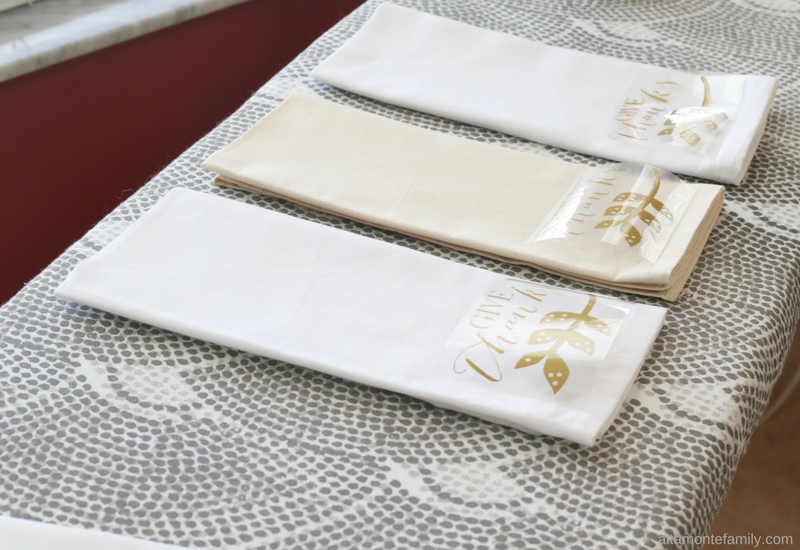
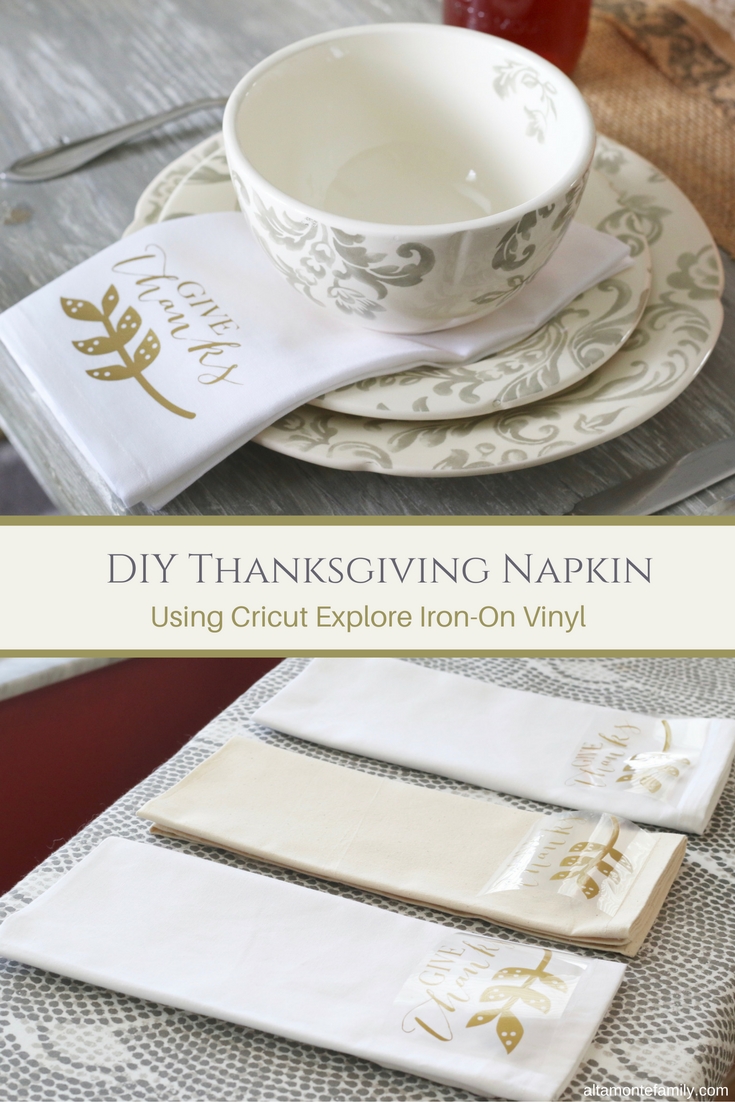
You may consider this quirky, but we like to purposely alternate the colors of our dinner napkins (we used white and beige this time) just in case our guests misplace their dinner napkin a bit too close to the person sitting right next to them. We’ve seen it happen, so we’re trying to avoid that awkward “so-whose-dinner-napkin-is-it-anyway” moment as much as possible 😉
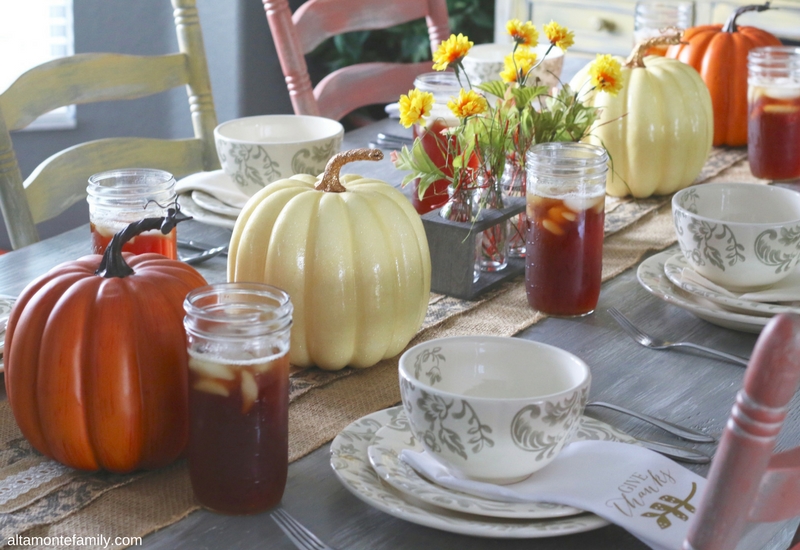
DIY Thanksgiving Dinner Napkin {Cricut Explore Iron-On Vinyl}
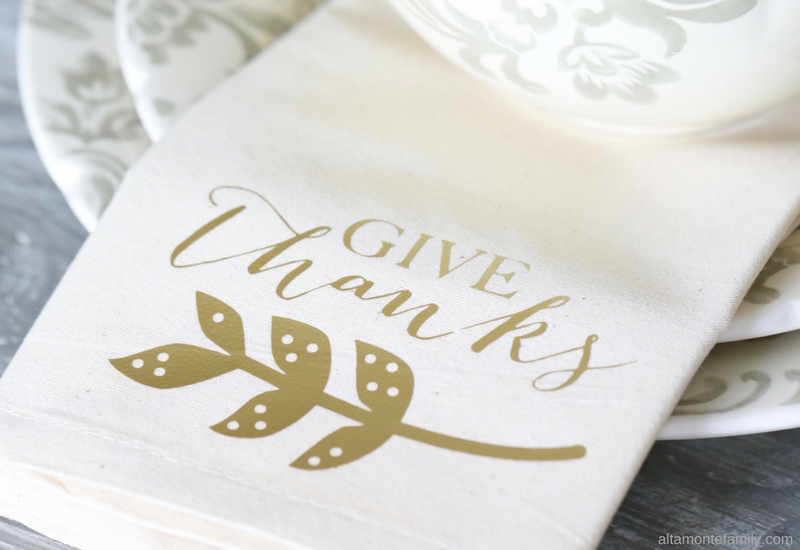
These DIY Thanksgiving dinner napkins are simple yet elegant, and they certainly set the mood for your Thanksgiving gathering. We used a rather simple design using only two digital cut files from Cricut Design Space (we listed them below); how easy is that? 🙂
Supplies
- Cricut Machine or any electronic cutting machine that can read or convert layered SVG files (we typically use a Cricut Explore Air or Cricut Maker)
- DIY dinner napkins in white and / or beige (from a craft store or you can sew your own)
- Cricut Iron-On HTV (gold)
- Access to Cricut Design Space
- Cricut Premium Fine Point Blade
- Cricut StandardGrip Machine Mat
- Decorative leaf design from Four Seasons Home Decor cartridge
- “Give Thanks” design from Cricut Design Space (just search for “Give Thanks”)
- Cricut Weeder from the Tool Set
- Iron and ironing board
- Thin dish cloth or tea towel (to protect iron-on vinyl from iron)
Directions
Step 1. Determine the size of your design by folding your dinner napkins and choosing a desired length and width
Step 2. Open up Cricut Design Space on your computer, laptop, iPad, or iPhone and insert the two designs listed in Supplies
Step 3. Arrange the two designs and re-size as desired (we rotated the decorative leaf sideways) then save your project
Step 4. Prepare your StandardGrip mat by carefully attaching the gold iron-on vinyl (shiny side face down)
Step 5. Follow prompts on Cricut Design Space to start cutting, making sure to check off “Mirror Image” before cutting
Step 6. Set dial on machine to “Iron-On”, load mat, then follow prompts on your screen
Step 7. Remove mat from machine when prompted and weed out the “negative” iron-on vinyl using a Cricut Weeder
Step 8. Place design on dinner napkin (make sure dinner napkin isn’t folded) and cover it with a thin tea towel / dish cloth
Step 9. Iron over the thin tea towel / dish cloth, following the directions that came with the iron-on vinyl
That’s it!
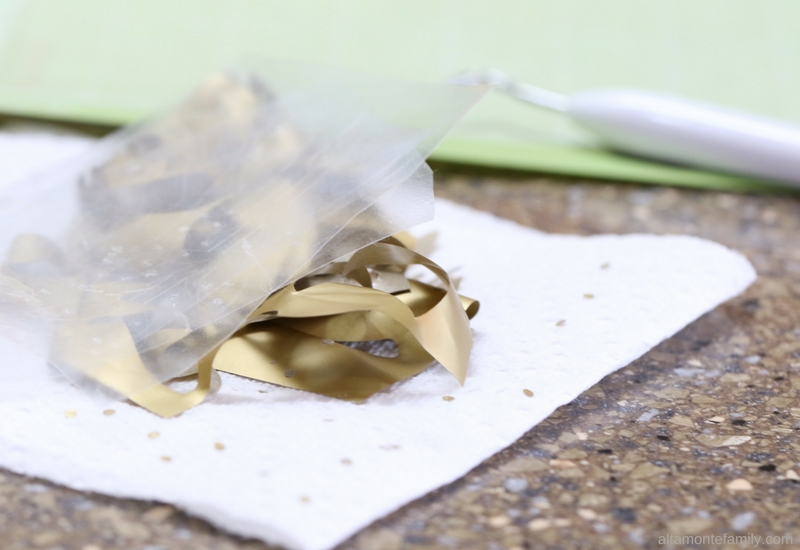
TIP: Using a Cricut Weeder is essential when working with iron-on vinyl. You might want to place a paper towel right next to the StandardGrip mat while you’re weeding, since this design will have tiny details that need to be weeded out.
We’re really loving the simplicity of this design. We are so ready for Thanksgiving! If you’re looking for other designs, there are plenty of seasonal designs to choose from using the Four Seasons Home Decor cartridge!
Feel free to check out our other Thanksgiving-related posts!
- Free Cricut Explore Thanksgiving Place Card Cut File
- Turkeyless Thanksgiving + Free Cricut Explore Cut File
- DIY Fall Centerpiece (using milk bottles)
- DIY Fall Centerpiece (using coffee beans)
- Fall / Harvest Party Ideas
Happy creating!
We’re Social! If you liked today’s post, feel free to share, bookmark, or pin it! Follow us on Pinterest, Facebook, and Instagram for more updates on our latest projects and adventures.

Leave a Reply