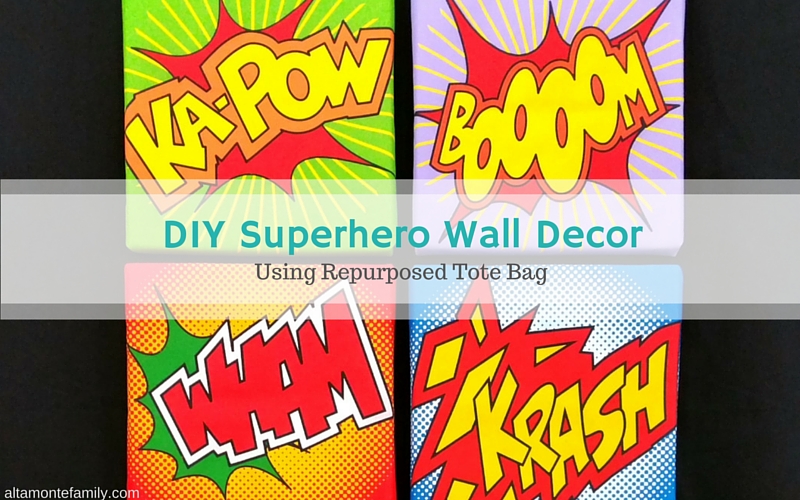
Are you ready to bid July “goodbye” and say “hello” to a new month and a new school year? We’ve been busy preparing for the busy back to school season all week, and we’re giving you a sneak peek into some of our Back To School Party decor! Psstt— we couldn’t wait to show you how we created our own DIY Superhero Wall Decor using repurposed tote bags!
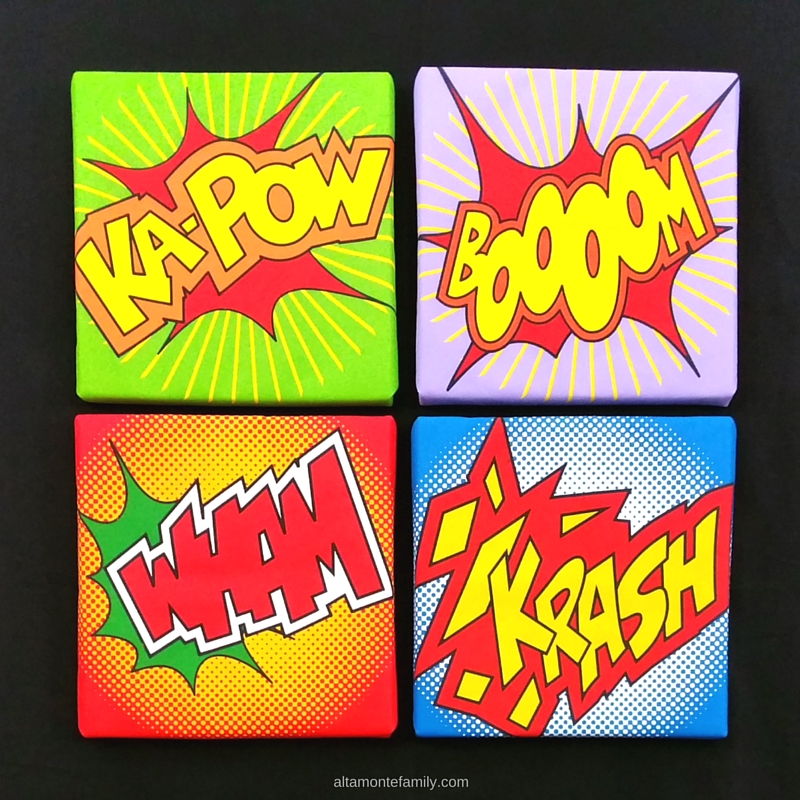
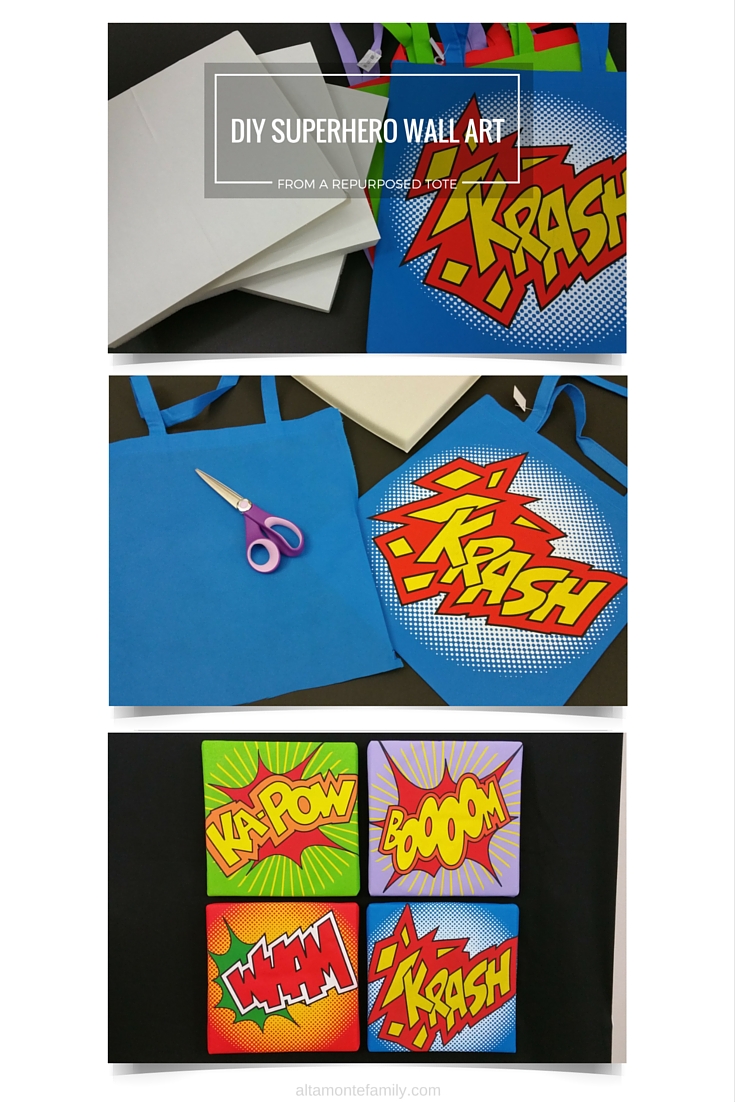
That wasn’t a typo. Yes, we used tote bags! When Oriental Trading* sent us some large Superhero tote bags, we immediately pictured some awesome Superhero tiles hanging on our wall. How could we not? All four designs on the tote bags are fun, bright, and colorful–they’re very decorative and festive all on their own!
DIY Superhero Wall Decor (Using A Repurposed Tote Bag)
Ready to make some “super” awesome wall tiles for your next Superhero-themed back to school or birthday party (or perhaps to decorate your classroom or even your child’s bedroom)? You can make them with just a few supplies in as little as five, easy steps.
Back To School Party Sneak Peek: By the way, here’s the sneak peek that we were telling you about! We’ll share the rest of our Back To School party details real soon!
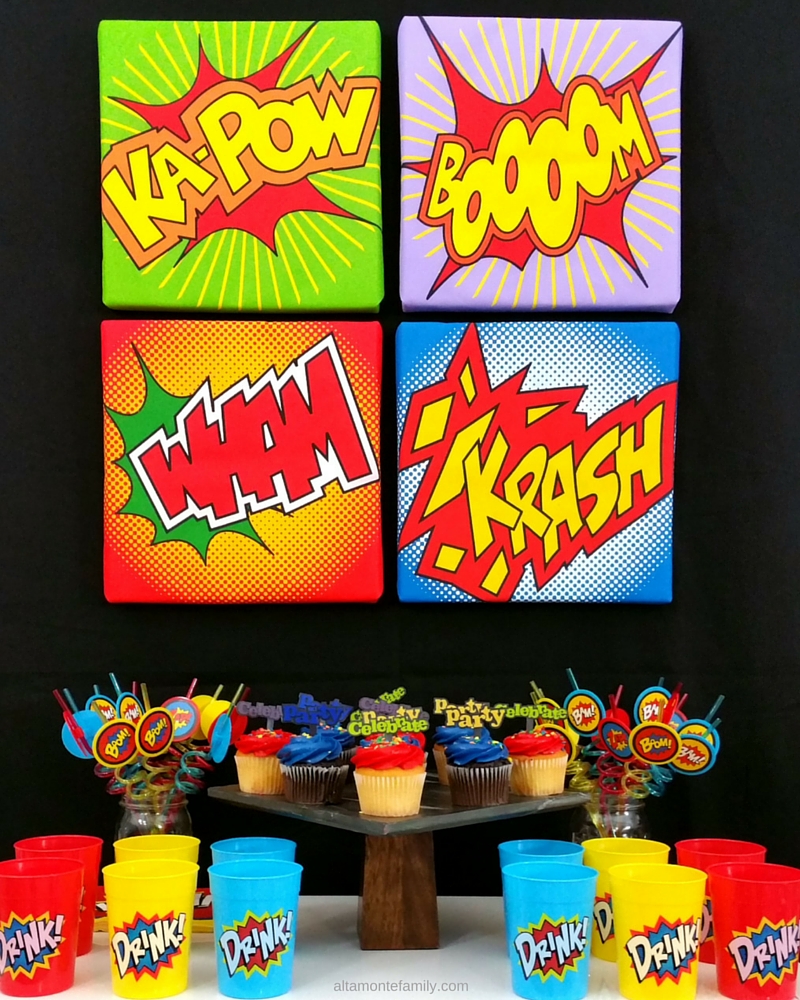
Supplies Needed
- Large Superhero tote bags
- 12 x 12 Foamology soft tiles (1 for each tote bag)
- Scissors
- Optional: Seam ripper (for easy removal of stitches on tote bags)
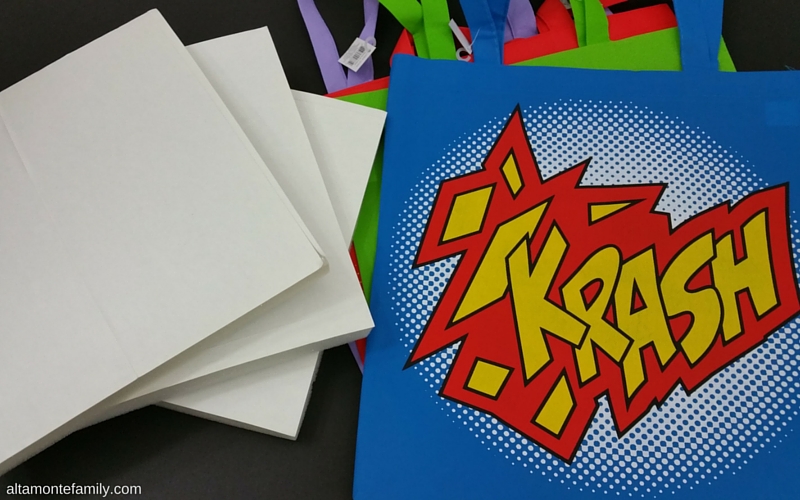
Instructions
Step 1. Turn tote bag inside out, then using scissors or a seam ripper, begin removing the stitches on the left and right side of the tote bag.
Step 2. Once the stitches on both sides have been removed, “open up” the tote bag (to expose the crease down the center) then cut along the crease to separate the front from the back side of the tote bag (you will now have two separate pieces, feel free to set aside the back side–the one without the design–for use in a later project).
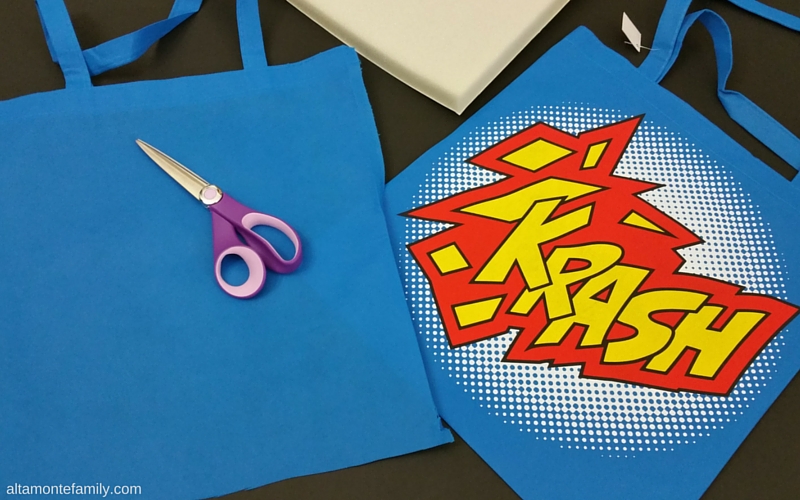
Step 3. Cut out the handles so that all that’s left is the front side of the tote bag.
Step 4. Following Foamology wrapping instructions, wrap tote bag around 12 x 12 Foamology soft tile (as if you’re wrapping a present), making sure that the Superhero design is facing outward (the adhesive side of the tile will be on the back–the side that will be sticking on the wall).
Step 5. Attach Superhero wall tiles onto desired area(s).
That’s it!
Check back soon to see how our DIY Superhero Wall Decor complemented our Back To School Superhero Party decorations!
Have a super weekend!
*Special thanks to Oriental Trading for providing us sample products free of charge in exchange for our honest review. No other type of compensation was received. All opinions are my own.
We’re Social! If you liked today’s post, feel free to share, bookmark, or pin it! Follow us on Pinterest, Facebook, and Instagram for more updates on our latest projects and adventures.
Leave a Reply