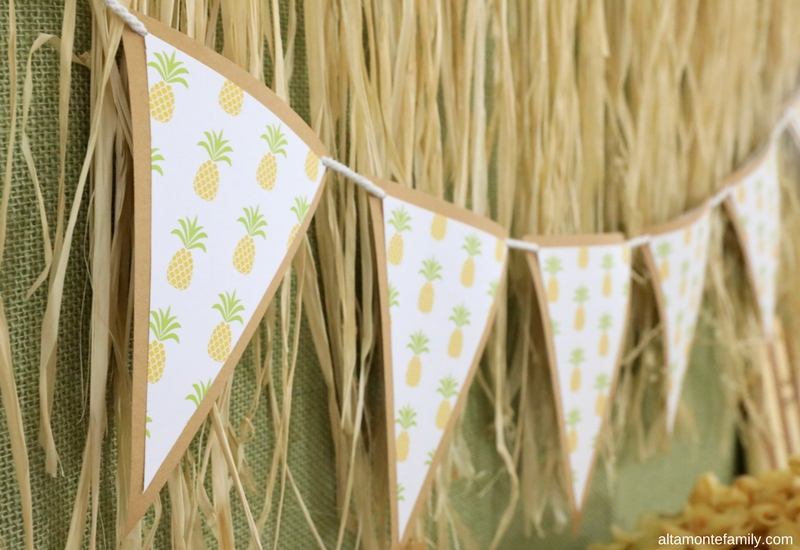
Never mind the dust you see collecting on this nifty not-so-new-anymore craft tool. We’ll leave it up to you to decide whether that’s actually dust or papercrafting debris 😉 In any case, we finally decided to use the We R Memory Keepers Banner Punch Board to make a DIY bunting for our Hawaiian Luau Party!

While this banner punch board can make several different versions of banners / pennants / buntings / whatever-ya-call-it, we’re only showing how to create the most basic one… simply because we have yet to spend the time to figure out how to make the other versions. Bet there’s a blog (or YouTube video) for that… but, first things first. We need a banner / bunting for our pineapple plantation luau party!
So, let’s get started!

How To Use The We R Memory Keepers Banner Punch Board To Make A Basic DIY Bunting
First off… “basic” doesn’t have to mean “boring”… right? We found a gorgeous pineapple print on some Recollections scrapbooking paper at Michael’s a few months back. To add a little bit of color depth, we glued the pineapple paper onto some “Krafty” cardstock.
So, what are we making today??
- A set of 7″ party banner / bunting pieces
- A set of 6″ party banner / bunting pieces
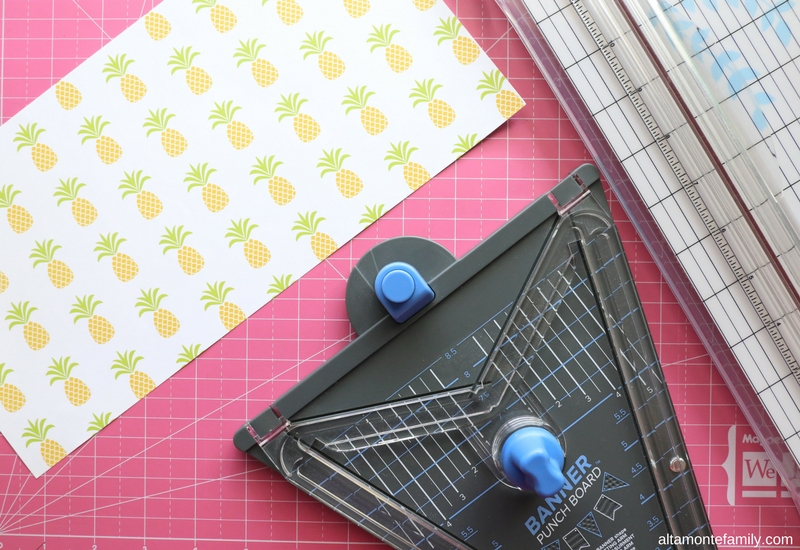
TIP: Optionally, you can pre-cut your paper down to your desired length. For example, we pre-cut the Krafty paper down to 7″ and the pineapple paper down to 6″ (as shown in the photo above).
Supplies Needed
- We R Memory Keepers Banner Punch Board
- 12 x 12 decorative scrapbooking paper (we used 2 pieces of paper to make eight 6″ bunting pieces*)
- Kraft paper (enough to make the desired amount of 7″ bunting pieces)
- Adhesive tape (or glue)
- String / rope / cord / twine (for stringing your bunting)
- Optional: Paper trimmer
*If paper design orientation isn’t an issue, you can actually make eight 6″ bunting pieces using only 1 piece of 12 x 12 paper). In our case, we wanted the pineapples to remain upright, therefore we had to use 2 pieces of paper.

Directions
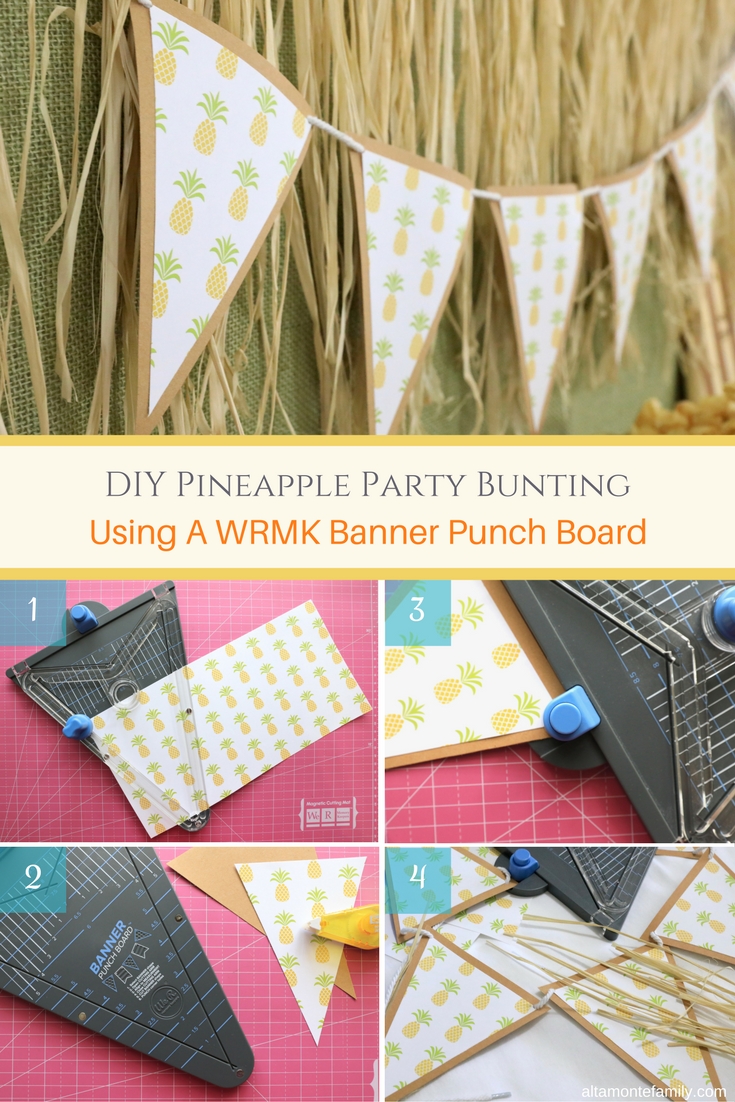
- Remove (blue) blade from the center of the WRMK Banner Punch Board and position in place to cut out your paper (making sure that the paper is aligned according to its size). In the photo above (Step #1), we positioned our paper on the 6″ mark.
- Run the blade according to the direction of the grooves; then, carefully lift up the top of the banner punch board to remove paper.
- Position your bunting underneath the blue button located on the top of the banner punch board; punch top left and right sides of bunting. Note that you will need to flip your paper around to punch the opposite side of your bunting.
- String your bunting!
NOTE: If you’re layering your bunting pieces to create more depth, repeat Steps #1 and #2 while making sure you’re creating a bunting in a smaller / larger size. Attach the layers together using adhesive tape or glue before punching the holes on the top.
That’s it!
We’ve found that sometimes, it’s simply more convenient to pull out a smaller craft tool vs. always having to use our large electronic die cutting machine. The We R Memory Keepers Banner Punch Board is fairly simple to use and makes only the most basic banners / pennants / buntings… but, it certainly gets the job done! Here’s to hoping that we don’t wear out the blade pretty quickly!
Do you have a We R Memory Keepers Banner Punch Board?
Do you like it–yay or nay?
What kind of creative projects have you made with your We R Memory Keepers Banner Punch Board?
Drop us a line in the comments or feel free to leave us a note on Facebook or Instagram!
Come back to visit us on Monday to get the scoop about our Hawaiian Luau Party!
We’re Social! If you liked today’s post, feel free to share, bookmark, or pin it! Follow us on Pinterest, Facebook, and Instagram for more updates on our latest projects and adventures.
Leave a Reply