Whether you’re looking to give alphabet flash cards a new–or more exciting–life, or you’re tired of having to reorganize them (let alone keeping them altogether)… or maybe you’re here simply because you’re looking to make a DIY Alphabet Book… whatever your reason may be, we’re here to share a super easy solution with yet another Cinch bookbinding project idea!
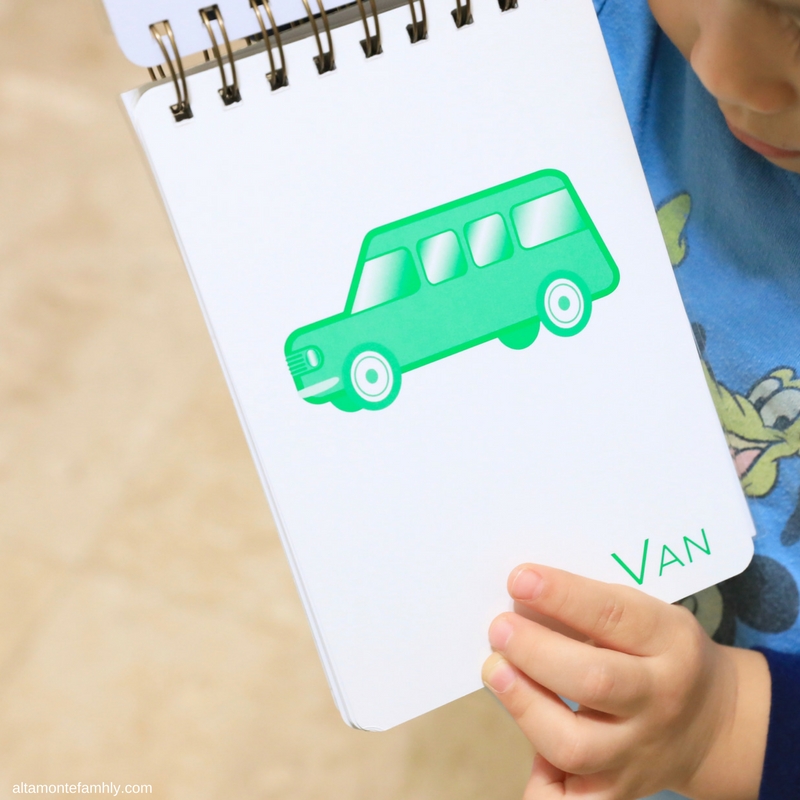
It’s been a while since we last used The Cinch, but it certainly deserves a spot in our crafting room. As a matter of fact, we have two of them (one with the square punch and another with the circle punch–it’s more of a preference thing).
When our son demonstrated his mastery of the ABC’s by successfully arranging the flash cards in order, we knew it was time to reward him with his very own DIY Alphabet Book (using the same flash cards)! He was excited to choose his own book covers from our growing collection of scrapbooking paper). He patiently watched as we made his Alphabet Book using The Cinch!
The DIY Alphabet Book turned out so cute, it’d make for a really cute and practical gift idea for birthdays, Christmas, or just because!
How To Use The Cinch To Make A DIY Alphabet Book
Before we get into the details, don’t forget that we used the alphabet flash cards that we already had on hand (unfortunately, we can’t remember where we got them). These alphabet cards came pre-laminated so our child write on them using a non-toxic dry-erase marker. In any case, feel free to use any alphabet flash cards of your choice 🙂
Supplies Needed
- Alphabet flash cards
- Scrapbooking paper (to make the front and back covers)
- 110 lb card stock (to strengthen the front and back covers)
- Adhesive tape (to attach the scrapbooking paper onto the card stock)
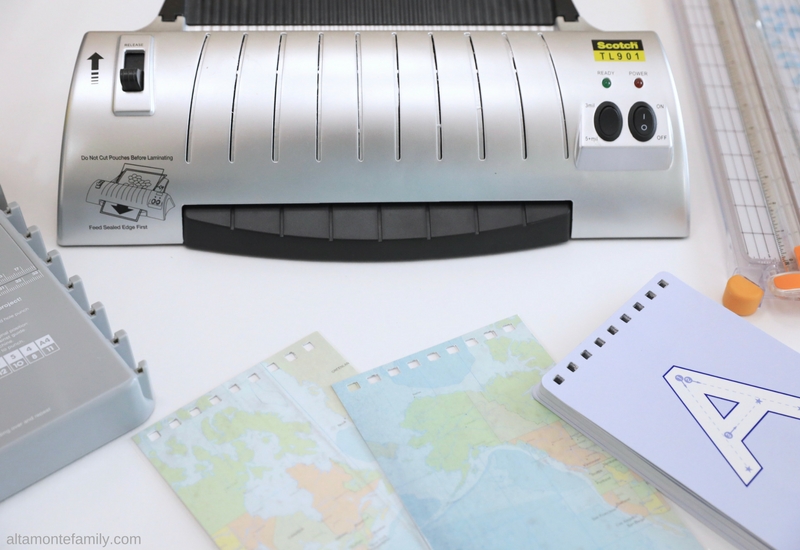
- Laminator (to laminate the front and back covers for added durability)
- 3 mil laminating sheet (big enough to laminate the front and back covers)
- The Cinch Bookbinding Tool (by We R Memory Keepers)
- 1.25″ Bookbinding wire
- Wire cutter
- Paper cutter (optional)
Step 1. Decide on the number of holes to punch (and which side, i.e. top or left).
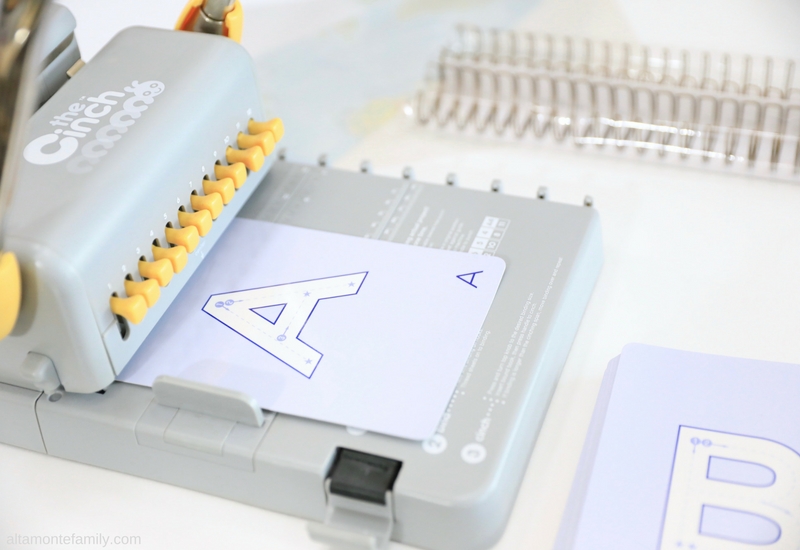
Tip: Do test the placement of the punched holes using scrap pieces of paper before you start working on your actual materials.
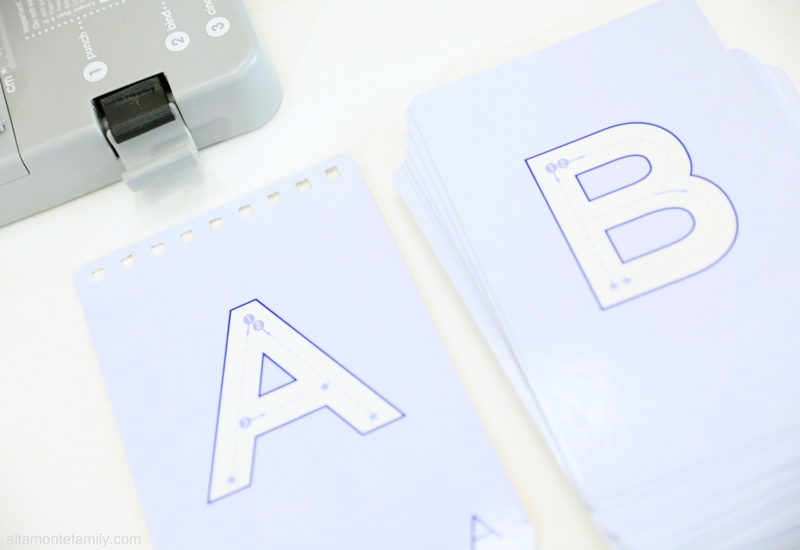
Step 2. Using a paper cutter, make the front and back covers to match the size of the flash cards.
We used scrapbooking paper (our son chose a map design since we love to travel) and glued it onto 110 lb white card stock, for added stability.
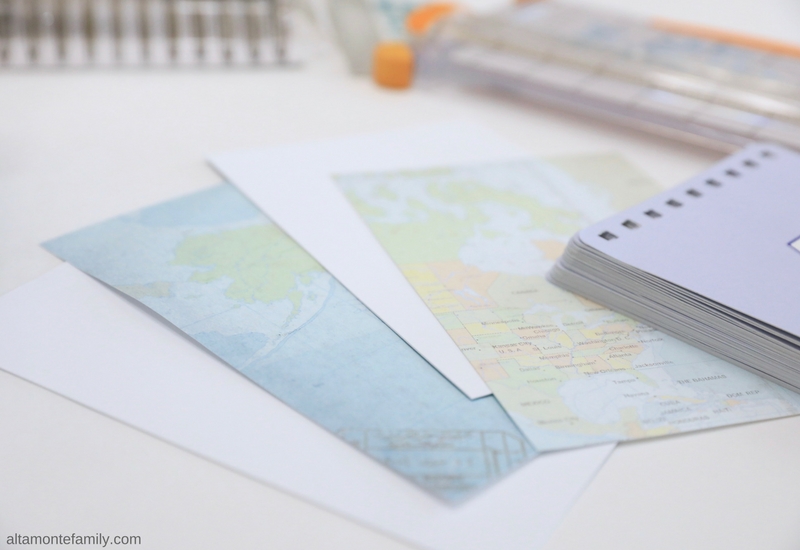
Step 3. Laminate the front and end covers, then use The Cinch to punch holes (make sure they’re properly aligned with all of the other flash cards).
Tip: Don’t forget to flip the back cover so that the “wrong side” faces you when you’re running it through The Cinch. I forgot to do this the last time and ended up having to re-do the covers since they didn’t end up aligning properly!
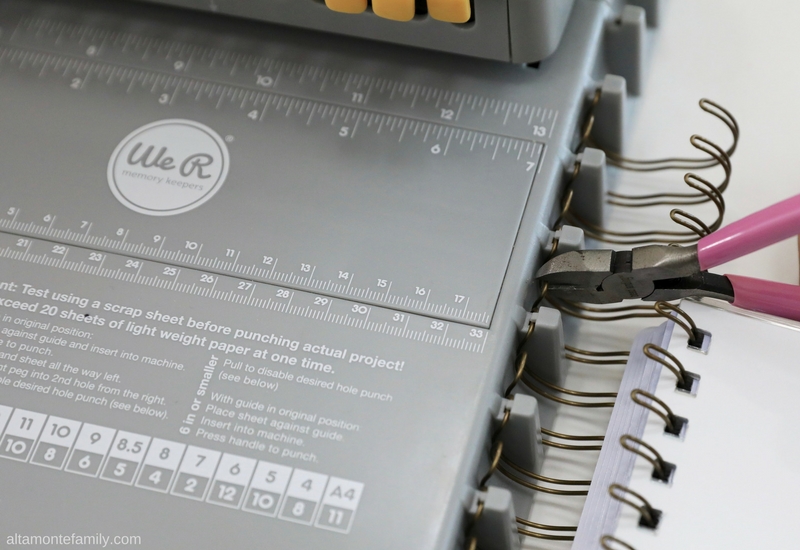
Step 4. Thread bookbinding wire onto the side of The Cinch (making sure to leave enough loops to account for all punched holes), then trim off the excess using a wire cutter.
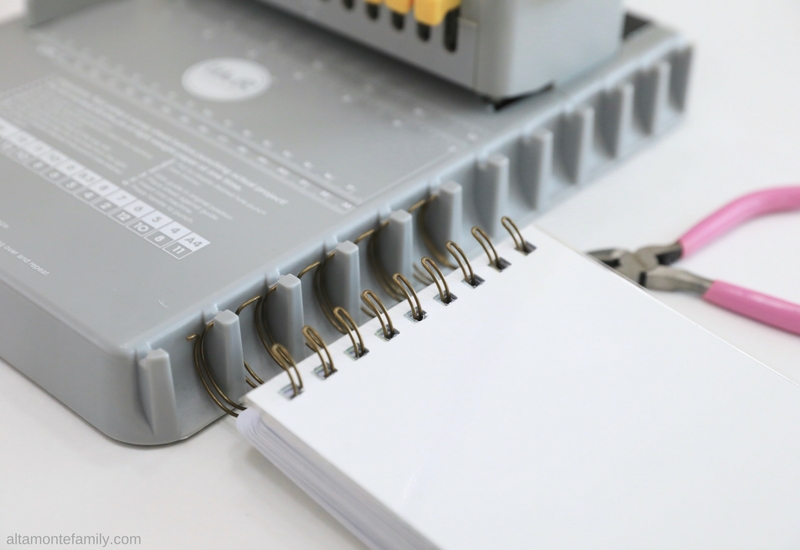
Step 5. Thread all of the contents through the loops, starting with the last page on the bottom and working your way up to the top (the covers get threaded in last).
Tip: To hide the bookbinding wire’s seam, thread in the back cover last (with the “wrong side” facing up).
Step 6. Adjust the knob according to the thickness of your “closed wires” (not the size of the bookbinding wires as it appears on the package).
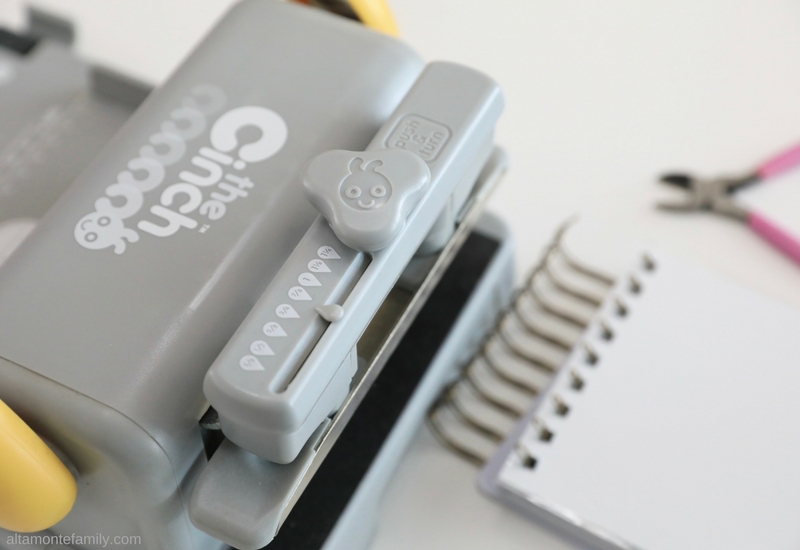
Step 7. Place the wires against the “cinch area”, then pull the handle down to cinch.
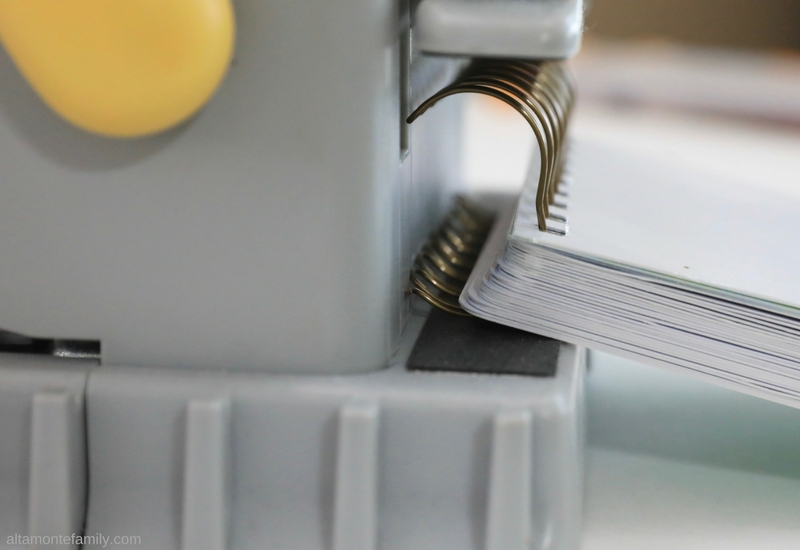
That’s it!
By the way, here’s the last page of the DIY Alphabet Book (Z is for Zebra!) where you’ll find the bookbinding wire “seam”.
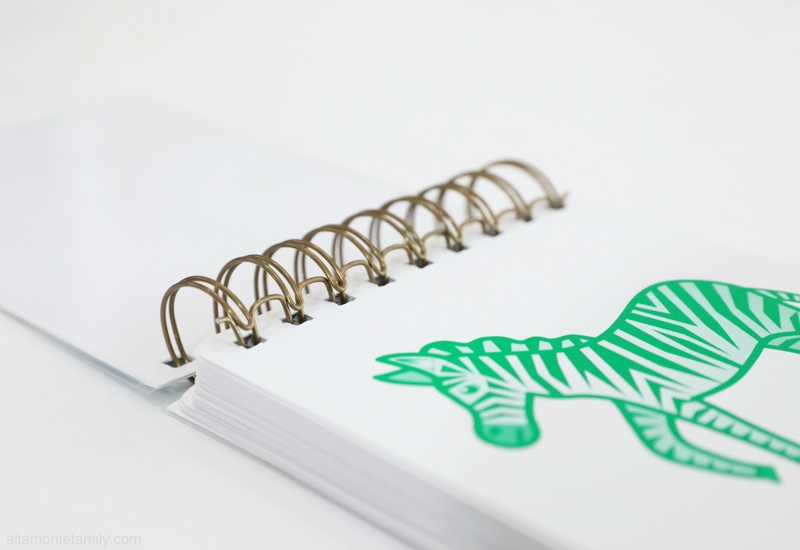
We just made a DIY Alphabet book, the easy way!
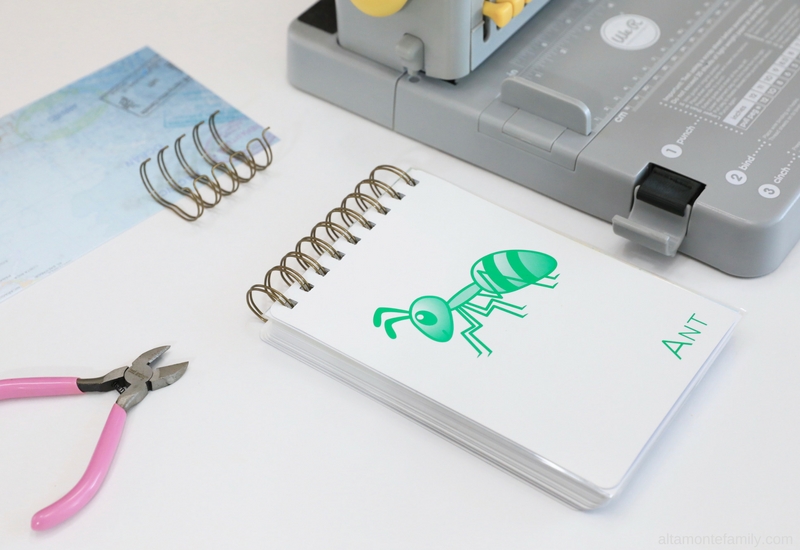
We hope we inspired you to make a DIY Alphabet Book with/for your kids! There are so many applications from this, especially if you’re going to be using flash cards. Think numbers, Presidents, State Capitals, etc.!
Looking for more ideas?
Feel free to check out our other projects made with The Cinch!
Have you turned flash cards into books before? We’d like to know about it! Join the conversation on Facebook or leave us a comment!
Happy creating!
We’re Social! If you liked today’s post, feel free to share, bookmark, or pin it! Follow us on Pinterest, Facebook, and Instagram for more updates on our latest projects and adventures.
Leave a Reply