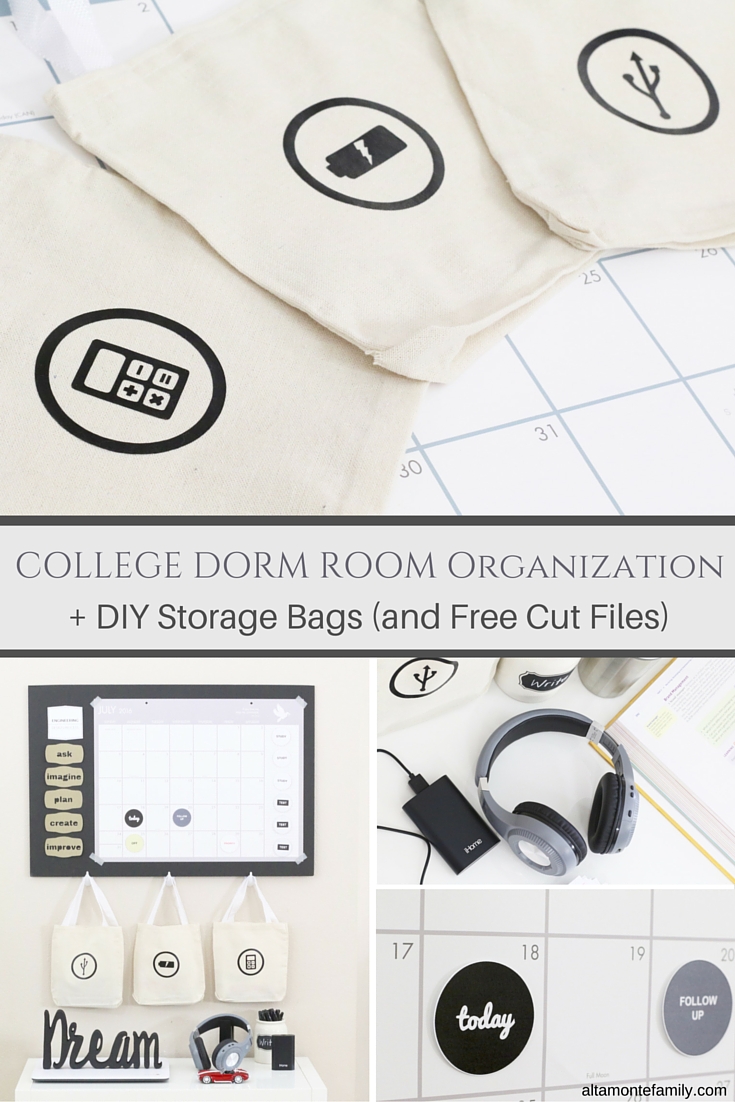
Keeping a college dorm room functional, inspirational, and organized can be a challenge–and finding small, essential items during crunch time can often lead to frustration and a whole lot of wasted time. After helping out a family friend get his dorm room set up with the furniture and gadgets from our first-home-now-rental (the guys are still loading up the UHAUL as we speak), we were inspired to design this command-center-like wall to help get our new college student friend set up for success. Here are some college dorm room organization ideas to optimize college life as we know it–plus a set of free Cricut Explore cut files to make your own DIY Storage Bags!

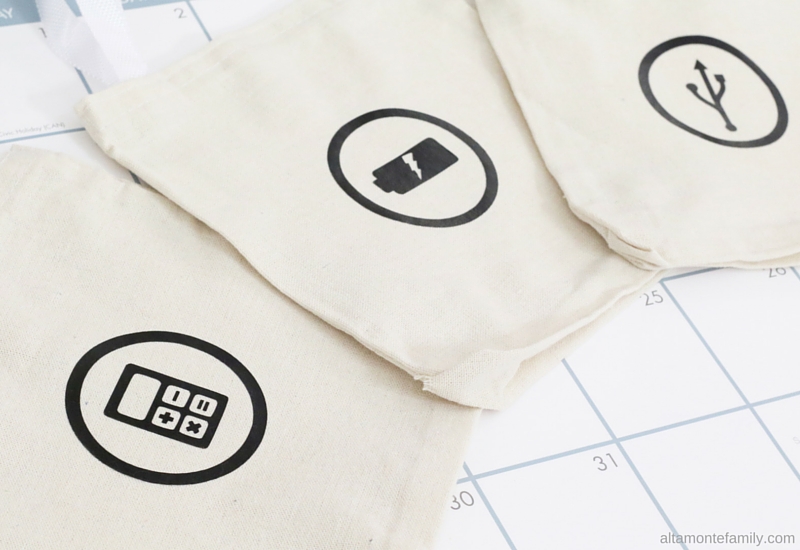
When Oriental Trading* sent a set of DIY customizable tote bags for our review, it got our creative gears turning with all kinds of DIY projects, including an Owl Party Loot Bag that we recently designed! We thought the small size of these bags would also be perfect for storing small electronics accessories like chargers, backup batteries, USB cables, and even calculators (the small but essential items that often get misplaced).

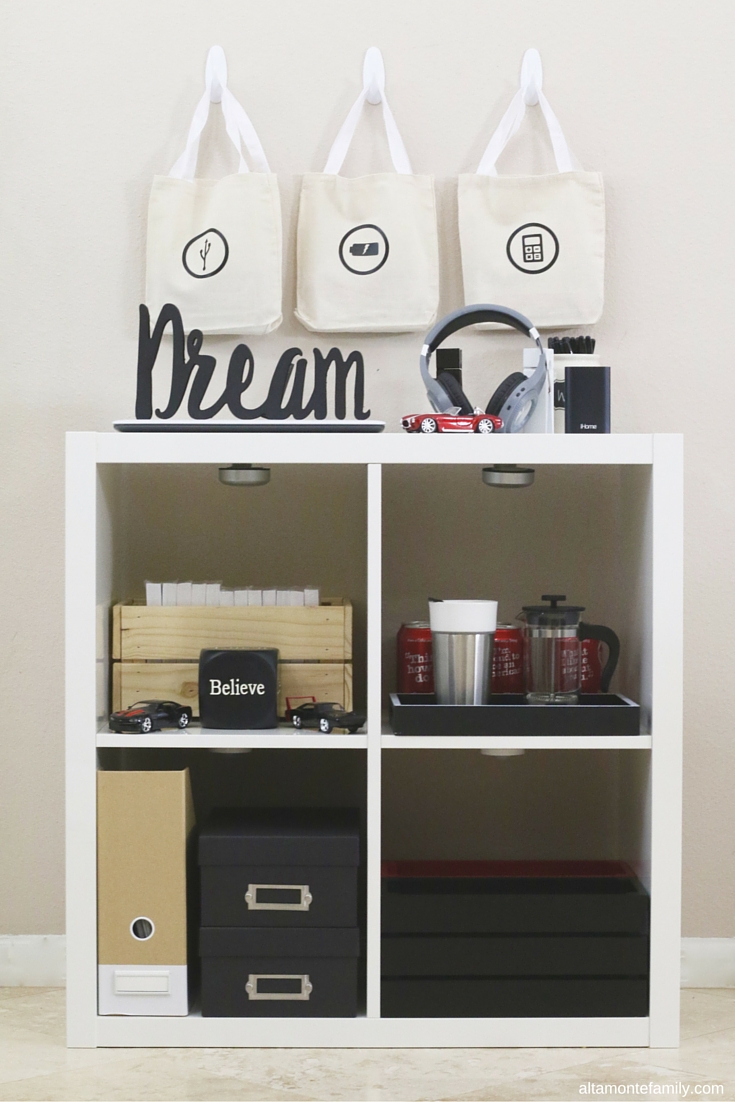
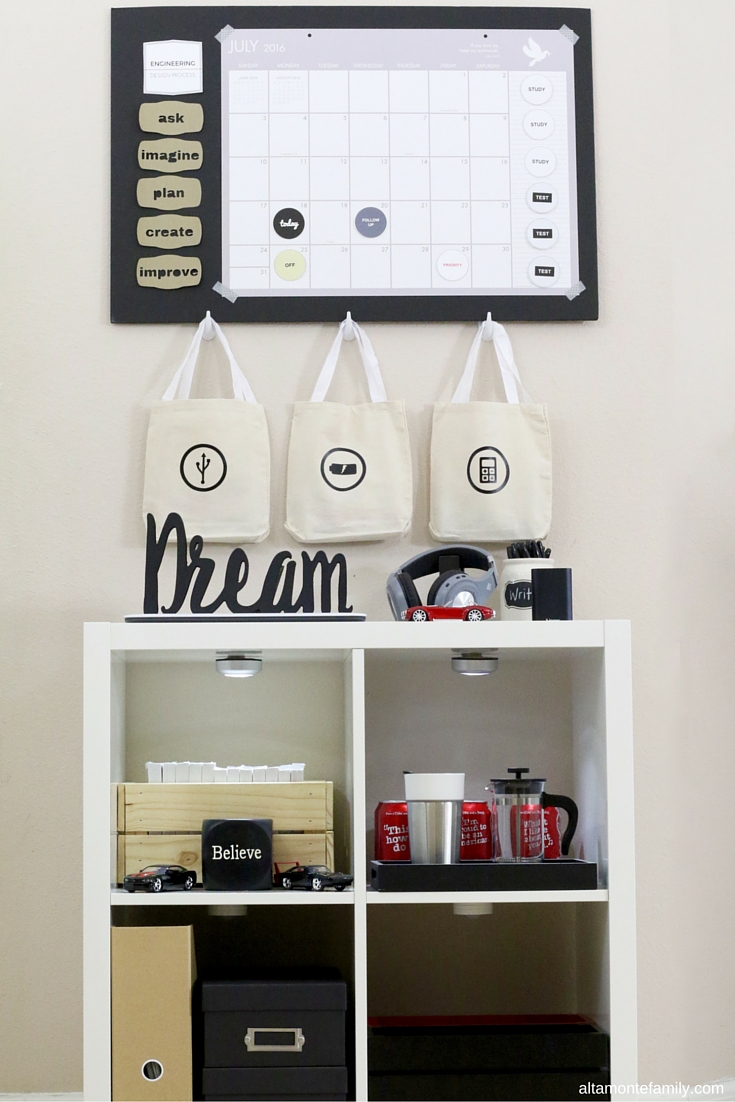
Since space is typically a luxury when it comes to dorm life, we made use of the wall with the help of some damage-free hanging essentials like these wall hooks.
Cubical storage shelves are always an easy solution, especially when complemented by other small storage solutions like crates, trays, magazine holders, and photo boxes to hold much needed items like index cards, caffeine, and more. We added battery-operated LED lights, just because.

Of course, the wall wouldn’t be complete without a calendar to keep our college friend organized!

We’ll share the free cut files and free printables (that helped this desktop-turned-wall-calendar come to life) in an upcoming DIY Wall Calendar post!
DIY Storage Bags
Back to the storage bags that keep small electronics accessories in check…
Supplies Needed
- DIY customizable tote bags
- Iron-On HTV | or | Smart Vinyl (if cutting without a mat)
- Iron and iron board
- Cricut Machine (or scissors and / or utility knife if cutting by hand)

Directions
- Download our free cut files (at the bottom of this post)
- Upload file in Cricut Design Space (do clean out / delete the white spaces) or print and use as stencil / pattern
- If using your Cricut Explore, follow prompts to cut iron-on vinyl (click on “Mirror Image” and make sure that the shiny plastic side is the one attached to your mat, then weed out the negative using a weeding tool)
- Iron on the design onto the DIY customizable tote bag (the instructions that came with our iron-on vinyl said to iron on high for 30 seconds while making sure to place a dish towel between your iron and the iron-on vinyl
That’s it!
Get Our Free Cut Files
Feel free to grab our free cut files to make your own DIY Storage Bags!
For Personal Use Only: We created these free cut files for your personal, non-commercial use only. Please do not alter in any way. Kindly read our full Terms of Use.
Happy organizing!
*Special thanks to Oriental Trading for providing us sample products free of charge in exchange for our honest review. No other type of compensation was received. All opinions are my own.
We’re Social! If you liked today’s post, feel free to share, bookmark, or pin it! Follow us on Pinterest, Facebook, and Instagram for more updates on our latest projects and adventures.
Leave a Reply