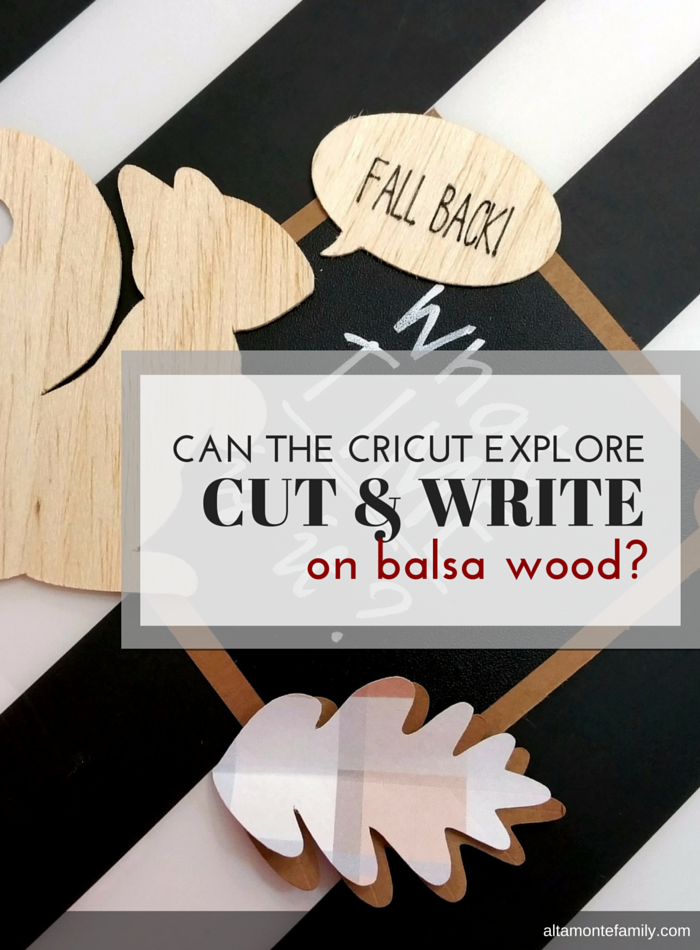

We’ve been enjoying crafting with balsa wood since we started using it over a week ago. During that time, we discovered that the Cricut Explore CAN cut balsa wood, mostly without any damages, as long as we use balsa wood that’s 1/32-in thick and adhered it to a Cricut StrongGrip adhesive mat.
Cricut StrongGrip Adhesive Mats: We’ve picked up a few extra Cricut StrongGrip adhesive mats since it can be a bit tough to get the balsa wood dust off of the mat (thus reducing its stickiness after a number of cuts). You can get away with using washi tape to adhere the balsa wood to the cutting mat after it has lost most of its stickiness but you can only do that for a little while. The stickiness of the mat helps to prevent the balsa wood from breaking during the cutting process.
Today, we discovered that the balsa wood started to crack whenever we would cut projects larger than 4 x 4 inches using our Cricut Machine (we used our Cricut Explore Air). As long as we stayed within the threshold and we didn’t choose projects with too much detail work (1/32-in balsa wood is very brittle), we’re okay. So far, so good.
Project Tutorial Link: If you would like to find out how we cut balsa wood using the Cricut Explore, please feel free to go to the tutorial that we shared just the other week.
Product Review Link: If you would like to see our thoughts about the Cricut Explore Air after having owned it for 3 months, please check out our review. We’ve included photos of some of our Cricut Explore projects in that post.
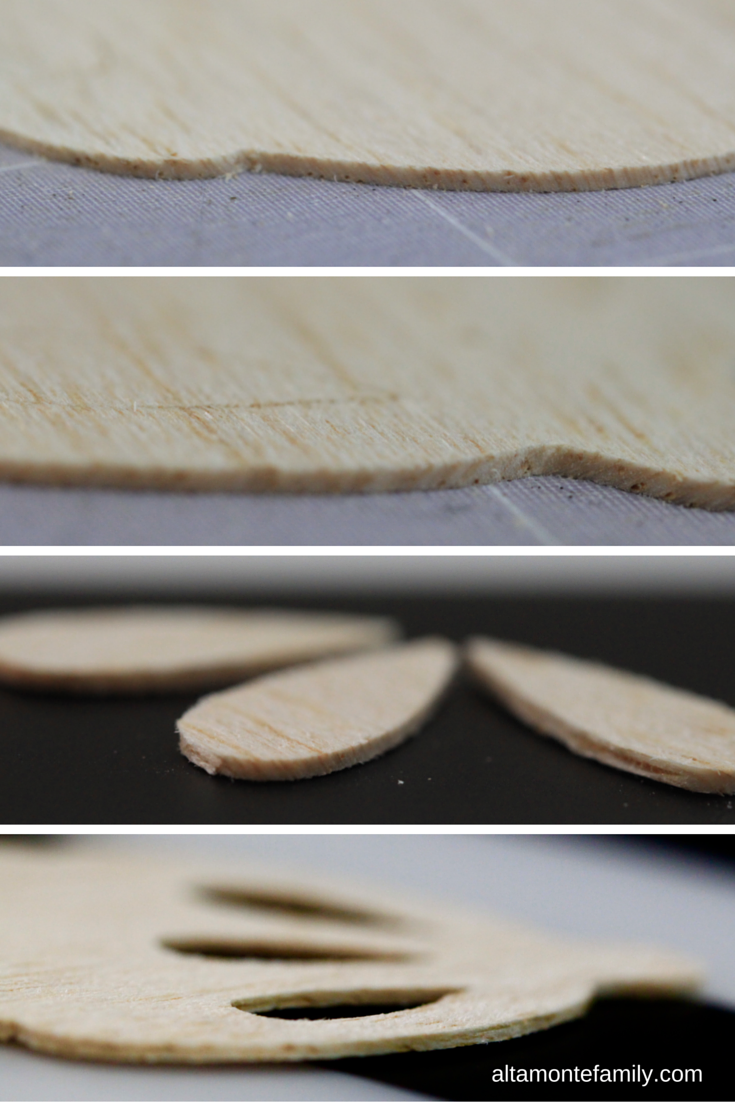
In our previous experiment with balsa wood using our Cricut Explore Air, we ran the project 5 times using the Post-It Note setting, to get the cleanest cut possible without incurring any damages. As you can see in the “Fall Back” text bubble below, the edges aren’t clean at all. This is the result of running it through the machine only once. The Cricut Explore Air didn’t completely cut through the balsa wood after a single pass (cut). We had to jiggle the cut-out a little bit as if we were working with perforated paper.
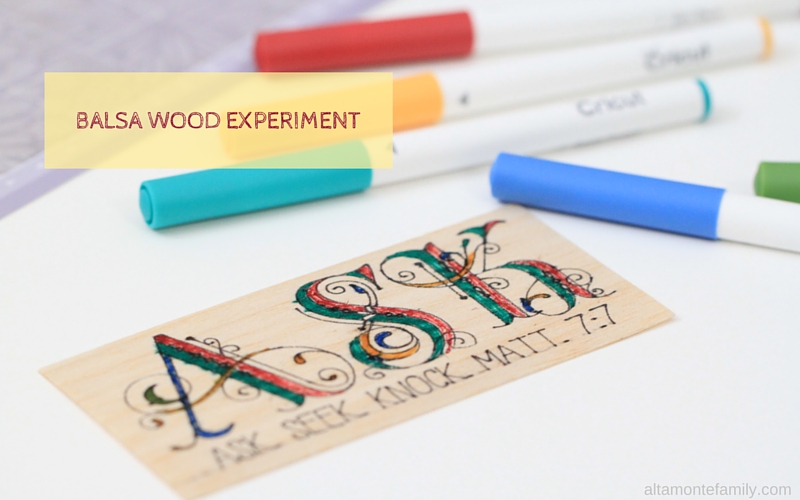
The good news is, we discovered that the Cricut Explore Air can write on balsa wood without any bleeding! We used the black fine-point pen from a variety of Cricut Pens.
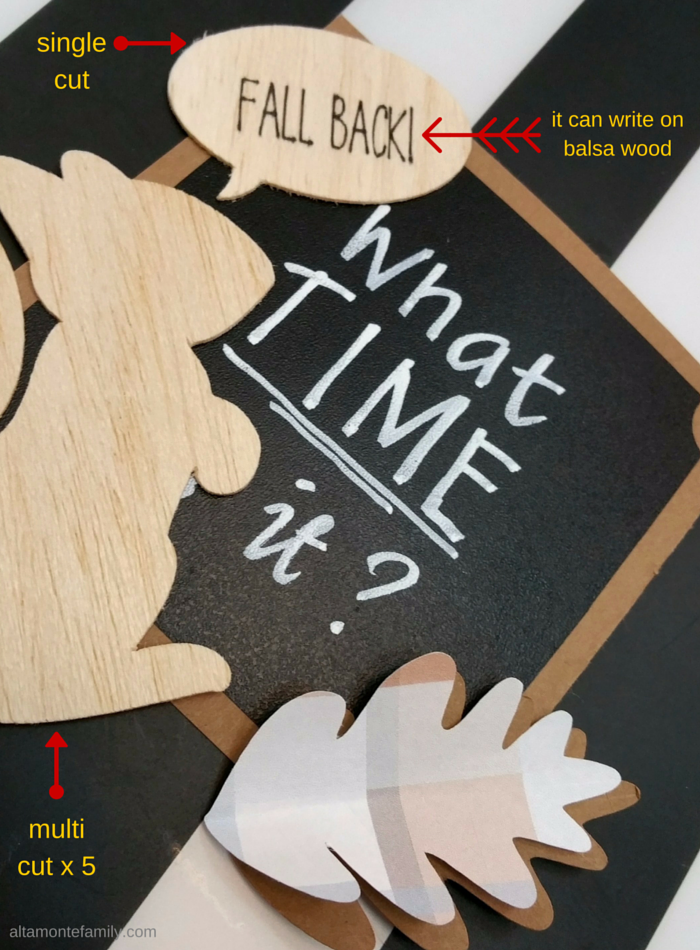
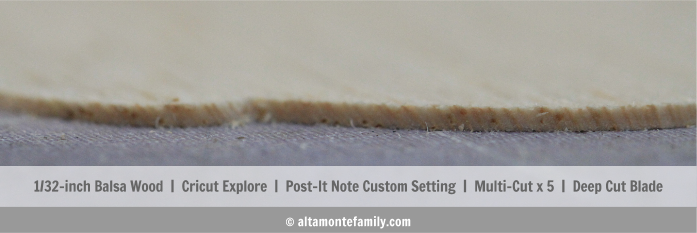
Running the project 5 times through the Cricut Explore Air using the custom Post-It Note setting and a Cricut Deep-Point Blade yielded better results, as seen on the edges of the squirrel (in the above photo). It’s still not as smooth as our original project (shown below); we think it’s because we used an older StrongGrip cutting mat this time and simply taped the balsa wood onto the mat so that it didn’t shift during the cutting process.
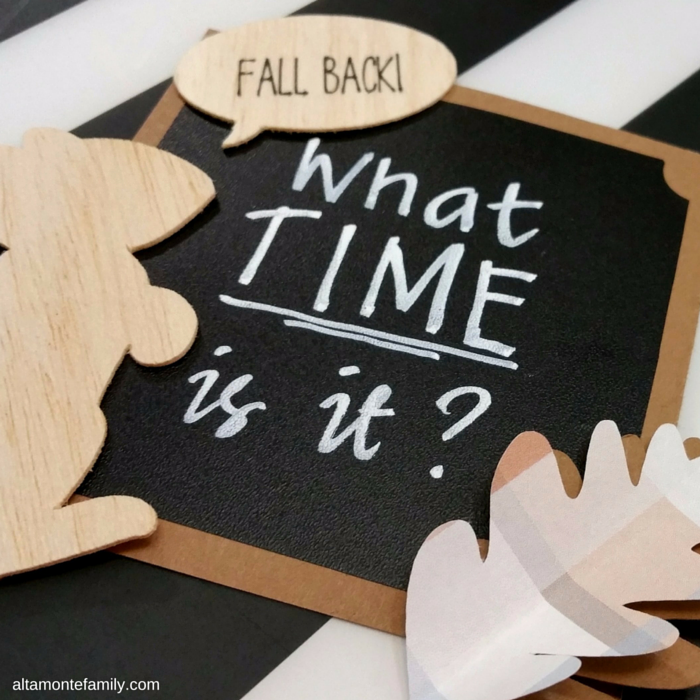
In any case, we used the balsa wood “Fall Back” text bubbles as cupcake toppers for our Fall-Back Time Change Party Table. We liked how they turned out! We love the unique texture and natural look of balsa wood.
So, can the Cricut Explore Air cut and write on balsa wood?
Our conclusion: Yes!
To recap, these are the supplies that we used:
- 1/32-in thick balsa wood (no larger than 4 x 4 inches)
- Cricut Machine (we used the Cricut Explore Air)
- Cricut StrongGrip adhesive mat
- Cricut Deep-Point Blade + Housing (or if you already have the housing, here’s the link to just the replacement blade)
- Cricut Pens
- Cricut Tool Set (we used the scraper and spatula to gently lift the balsa wood off the mat and to clean the balsa wood dust off the mat)
- Font from the Four Seasons Home Decor cartridge
These are the settings that we used:
- Custom Post-It Note setting
- Ran the project 5 times through the Cricut Explore Air (we removed the pen after the first cut)
So, tell us: what kind of balsa wood projects do you have in mind using the Cricut Explore?
Recent Cricut Explore Balsa Wood Project
Click on the pic below to check out our latest Cricut Explore balsa wood project / experiment!
If you like today’s Cricut Explore experiment, feel free to share, bookmark, or pin it!
We’re Social! Follow us on Pinterest, Facebook, and Instagram for more updates on our latest projects and adventures.
Hi there I can’t seem to find the steps of how you used your pens to write on the wood? Can you share that with me? Thanks so Much.